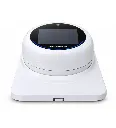
OpenTherm master
Sets the boiler's flow temperature, so the burner modulates instead of switching on and off.
Ready for Home Assistant
ESPHome pre-installed: every boiler value and every setting arrives as an entity, no YAML.
The boiler on the wall
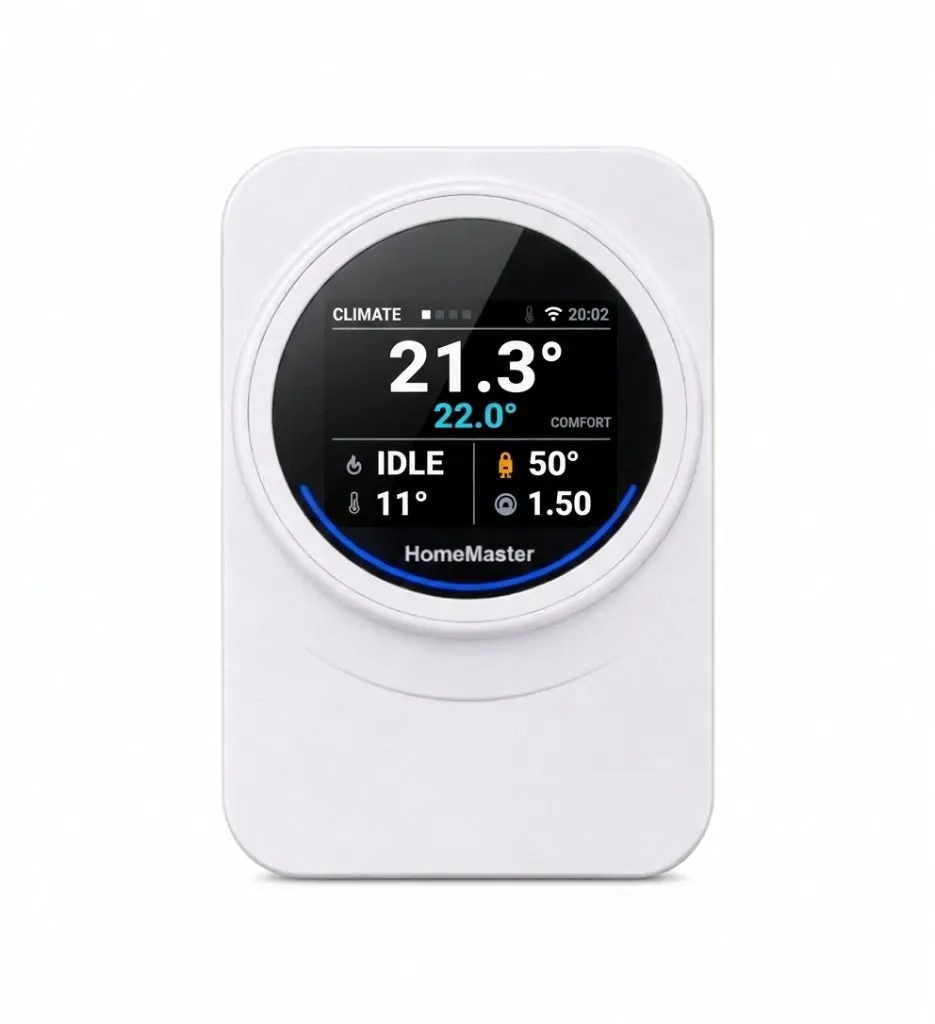
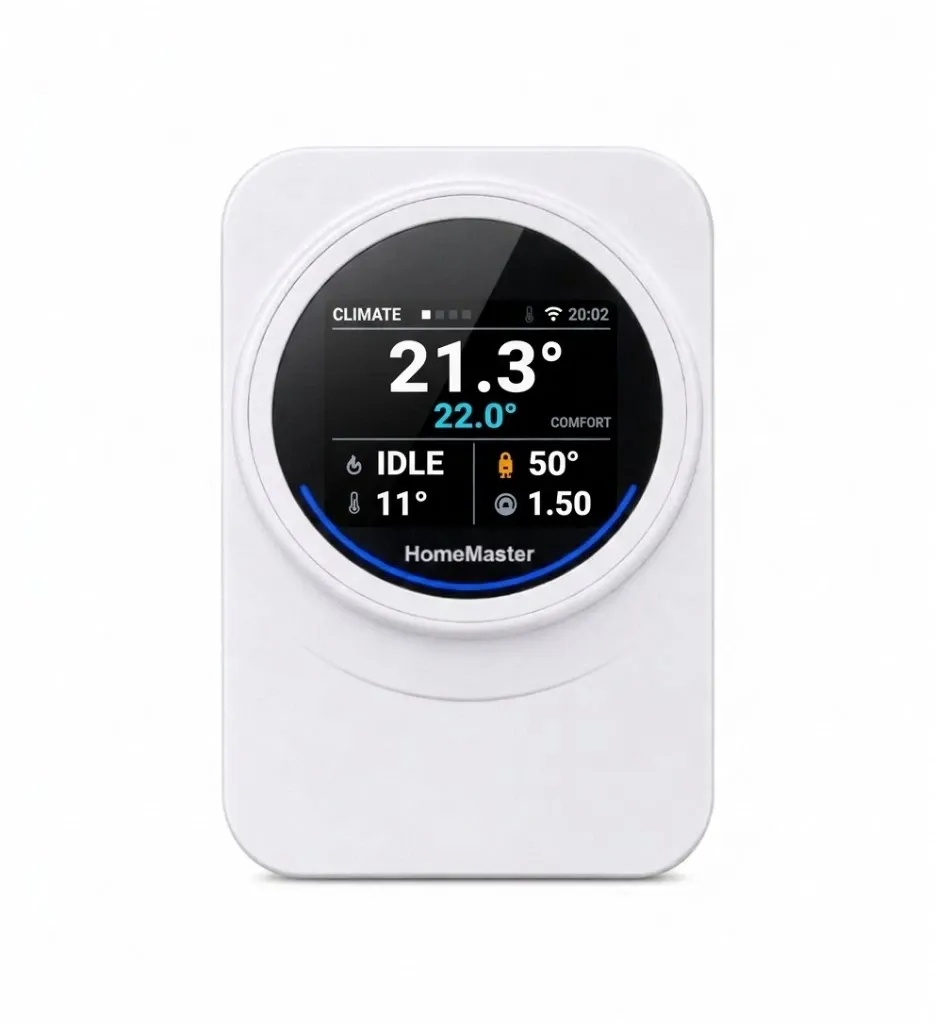
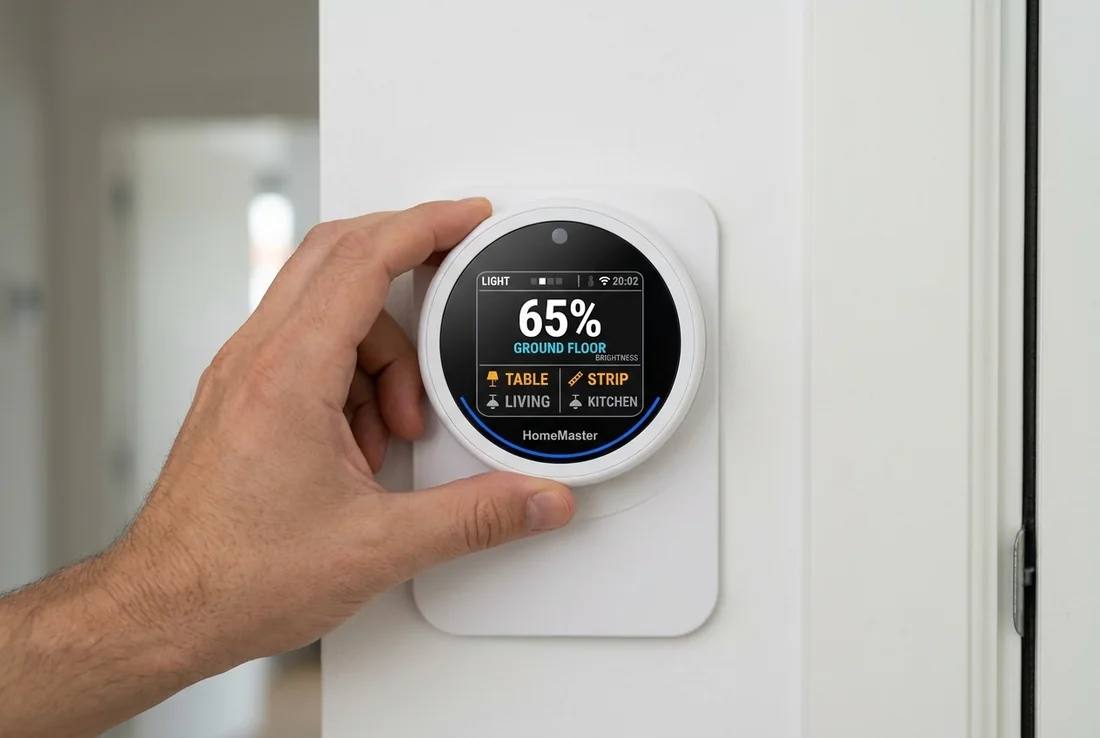
Pressure, faults, flame and hot water on a 2.8″ colour screen, set with one turn-and-press ring.
Open hardware
Schematics under CERN-OHL-W v2, firmware under MIT. You own the design, not a vendor.
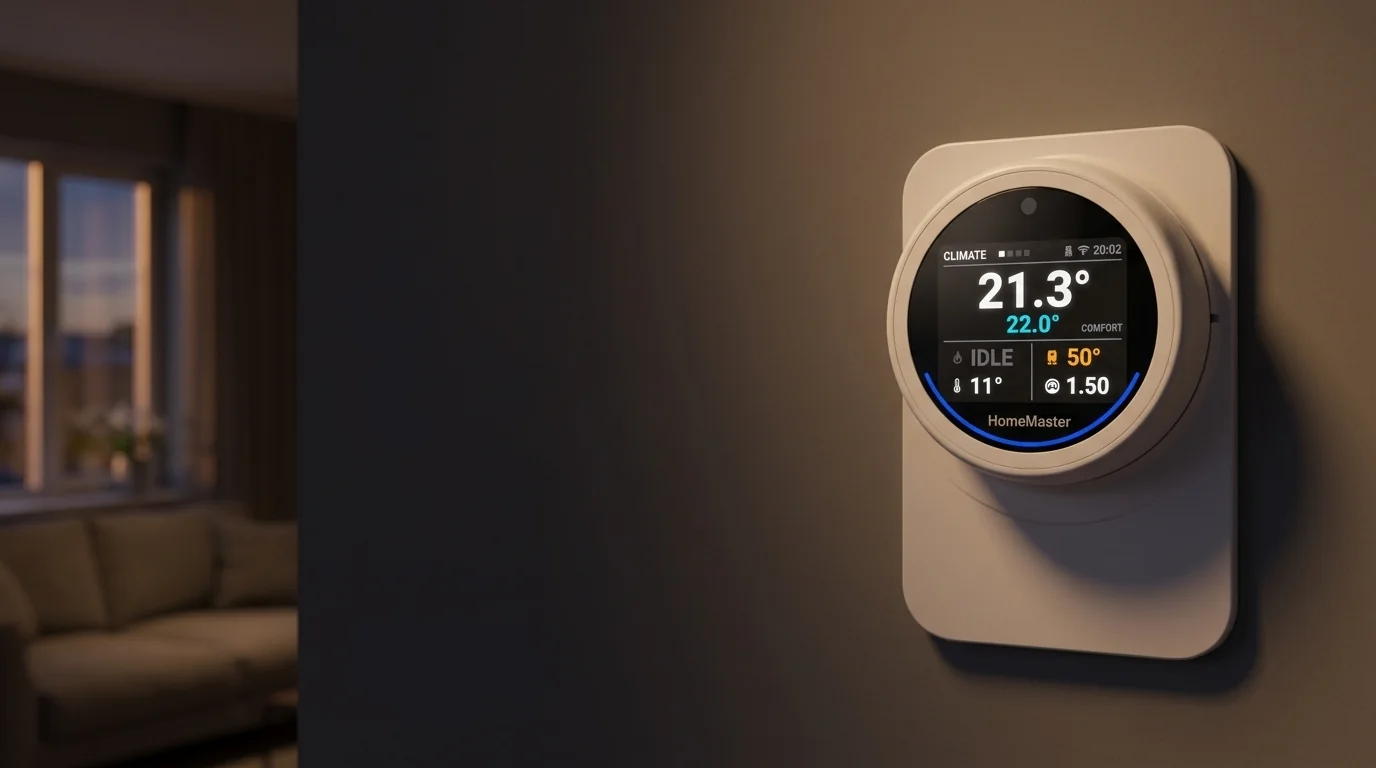
HomeMaster Thermostat for OpenTherm · OTT-R1
Your boiler, on the wall, in Home Assistant.
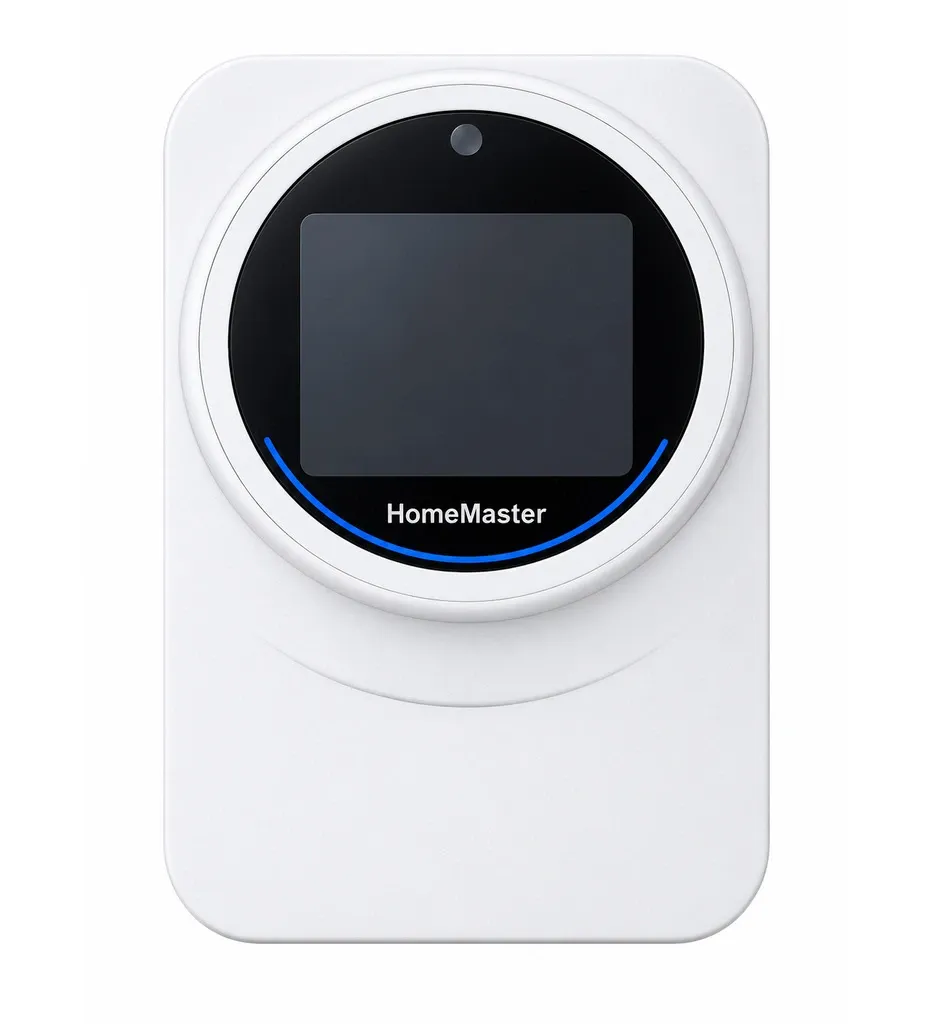
A wall thermostat that is the OpenTherm master: it modulates the boiler, runs the schedule and the weather curve itself, and shows the boiler on a colour screen.
Before you buy: two checks
1. Your boiler has OpenTherm
Look for terminals marked OT or OpenTherm, or the OpenTherm logo in the boiler manual. Many modulating gas and oil boilers have it; some need the maker's OpenTherm interface module. A boiler with only a 230 V or volt-free room-thermostat input will not work. Not sure? Send us the boiler model.
2. 24 V DC at the wall
The thermostat is not powered from the boiler. It needs four wires: a 24 V DC pair and the OpenTherm pair. Replacing an OpenTherm room unit? Its two wires become the OpenTherm pair, power needs two more. The 24 V supply is not in the box; 2.4 W is enough.
OpenTherm thermostat for Home Assistant
OpenTherm master · ESPHome pre-installed · local schedule and weather curve · 24 V DC
An on/off thermostat can only tell the boiler “heat” or “stop”. This one tells it how hot the water should be: every 30 seconds it sends a flow temperature over OpenTherm and the boiler modulates its flame to reach it. Lower water temperature, fewer starts, steadier rooms.
The boiler answers with everything it knows — flow and return temperature, hot water, modulation, water pressure, outside temperature and fault flags. All of it is on the screen and in Home Assistant over the ESPHome API, with no MQTT broker and no YAML on the Home Assistant side.
Home Assistant is the main platform, not the only one: with MQTT enabled in ESPHome, the thermostat also works with openHAB, ioBroker, Node-RED and SCADA systems.
Looking for an ESPHome OpenTherm thermostat or a modulating, weather-compensating thermostat for Home Assistant in a finished wall housing — this is it.

What it does out of the box
Modulating boiler control
OpenTherm master with full telemetry: flow, return, DHW, modulation, pressure, outside temperature, faults.
Weather compensation
Flow temperature follows the outside temperature, from the boiler's sensor or from Home Assistant.
Comfort, eco and boost
Weekday and weekend comfort windows, eco outside them, boost until the next change.
Hot water
DHW setpoint and DHW on/off at the boiler, on the screen and in Home Assistant.
24 GHz presence radar
Wakes the screen as you walk up and reports presence to Home Assistant.
Room sensor
Temperature and humidity (SHT40, on a thermally isolated tab) and ambient light (BH1750).
Four screens, one ring
Amber — a circuit is running. Red — a fault. Green — healthy. White — a measurement. Real screenshots of firmware 1.1.3.
Press the ring ◀ ▶ to change page, ▲ ▼ to open the menu and move through it, and turn it to change the value — 0.5 °C per click on the Climate page. Changes apply as you turn, there is nothing to confirm. Every setting the heating uses is on the wall.
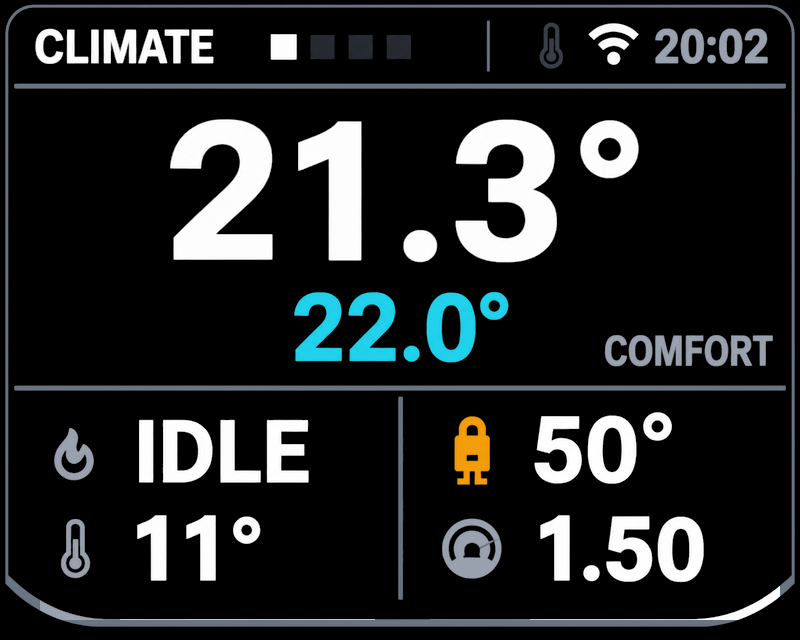
Climate
Room temperature, the setpoint in force, burner, boiler water, outside temperature, pressure.
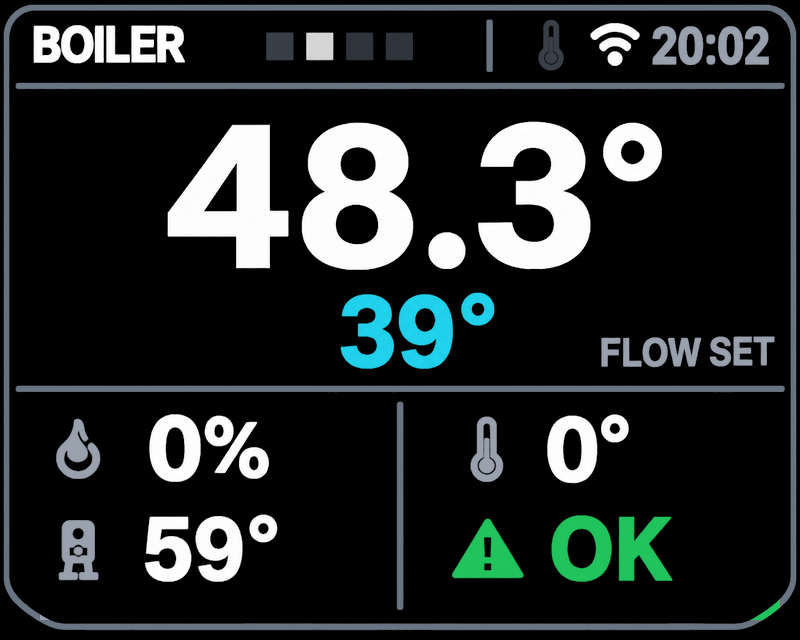
Boiler
Boiler water and requested flow, modulation, return, hot water, faults. DHW setpoint and max flow in the menu.
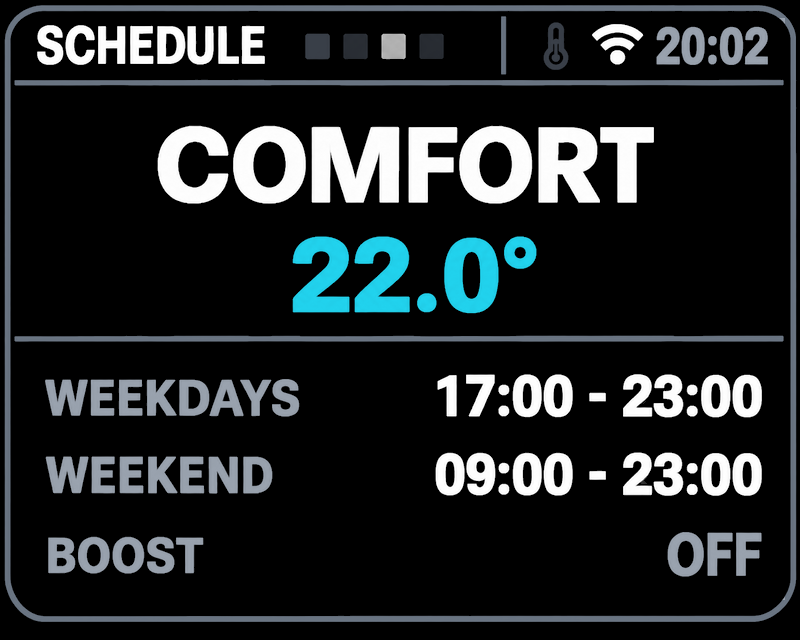
Schedule
The window in force, weekday and weekend comfort windows in 10-minute steps, boost.
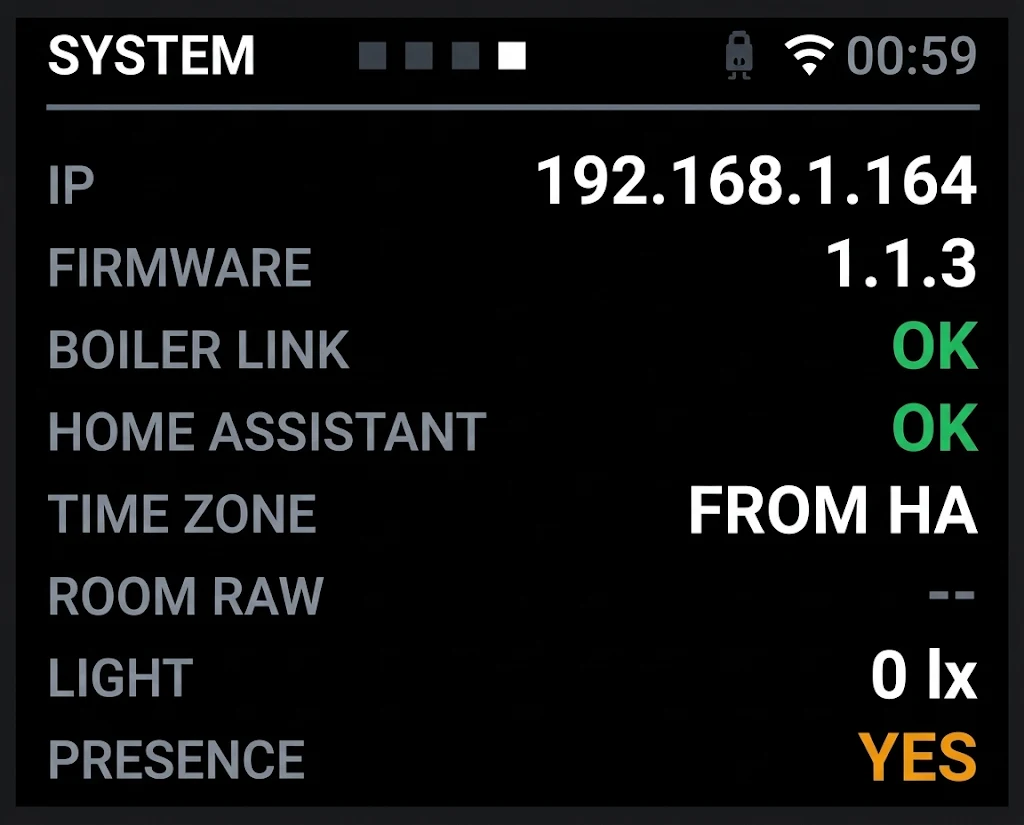
System
IP, firmware, boiler link, Home Assistant link, time zone, raw room reading, light, presence.
What problems it solves
The boiler maker's room unit is a dead end
Its data stays inside the boiler. Here pressure, modulation, flow and faults are entities in Home Assistant, with history.
An on/off relay throws modulation away
A relay on the room-thermostat input only says on or off. A flow temperature lets a condensing boiler run longer at low power, with fewer starts.
Faults found when the house is cold
Low water pressure, a flame fault or a service request is shown in red on the wall and reaches Home Assistant the moment the boiler reports it.
No cloud, no vendor app
Nothing leaves your network: no account, no subscription, no app that stops when a server is switched off.
Runs on the thermostat, independent of the home server
The home server shows the state, keeps the history and changes settings. The heating logic lives in the thermostat.

Schedule
Comfort and eco windows stored on the device.
Weather curve
Calculated on the thermostat from the boiler's outside sensor.
Faults on the wall
Boiler fault, low pressure and a lost boiler link in red.
Never a silent under-heat
No outside reading: a fixed 55 °C flow, not the warm end of the curve.
The clock comes from the home server or an internet time server; for a thermostat used on its own, set the time zone on the System page.
Weather-compensated heating
Cold outside — hotter water; mild outside — cooler water. By default −15 °C → 65 °C and +15 °C → 35 °C, capped at the boiler's maximum.
Outside temperature: Boiler, then Home Assistant (default), Boiler or Home Assistant. Most boilers have no outside sensor — a weather integration in Home Assistant is enough.
Curve off, or no outside reading: the boiler is asked for the fixed flow temperature, 55 °C by default.

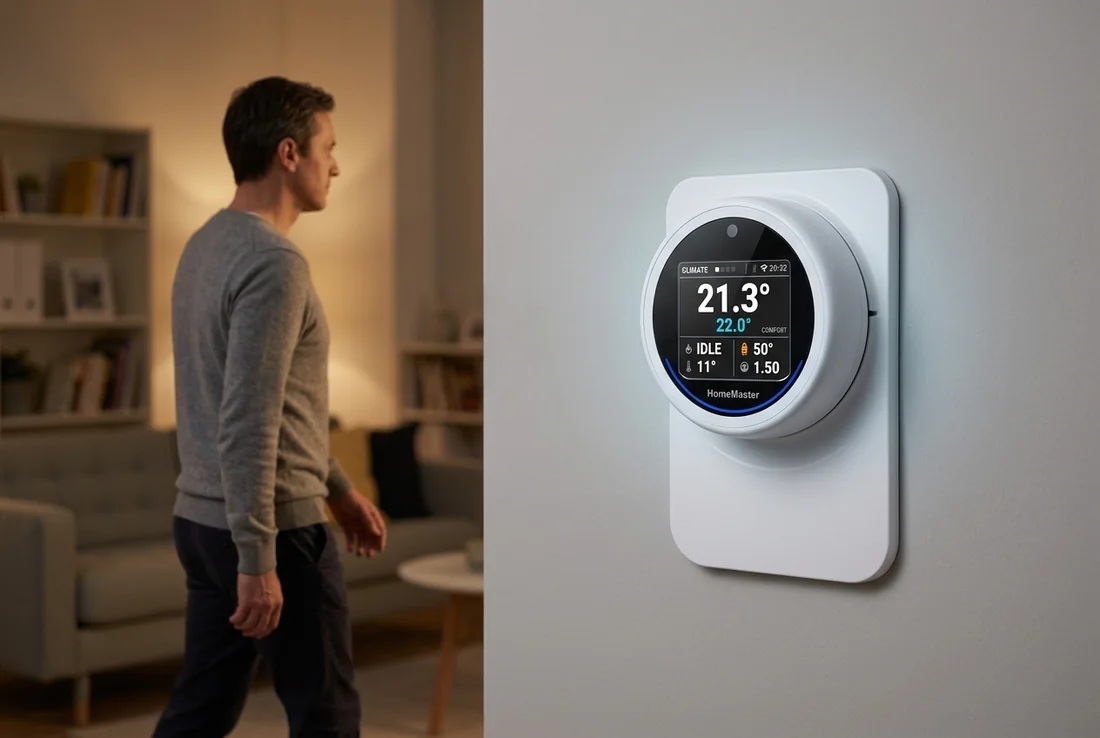
The screen wakes when you walk up
A 24 GHz radar behind the glass, under the logo, sees a person even when they stand still. The screen lights as you approach and goes dark 45 s after the room empties, back on the Climate page — no glowing panel in a dark hallway.
Presence is also an entity in Home Assistant: use it for lights, a lower setpoint or an away scene.
In Home Assistant
Add the device under ESPHome — controls, sensors, configuration and diagnostics are there. Screenshots of a running unit:
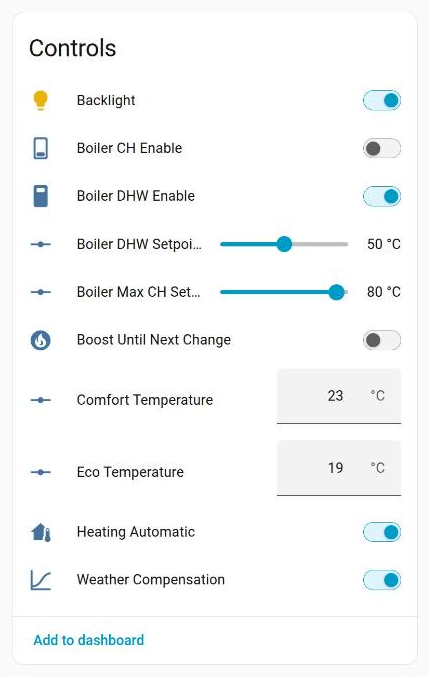
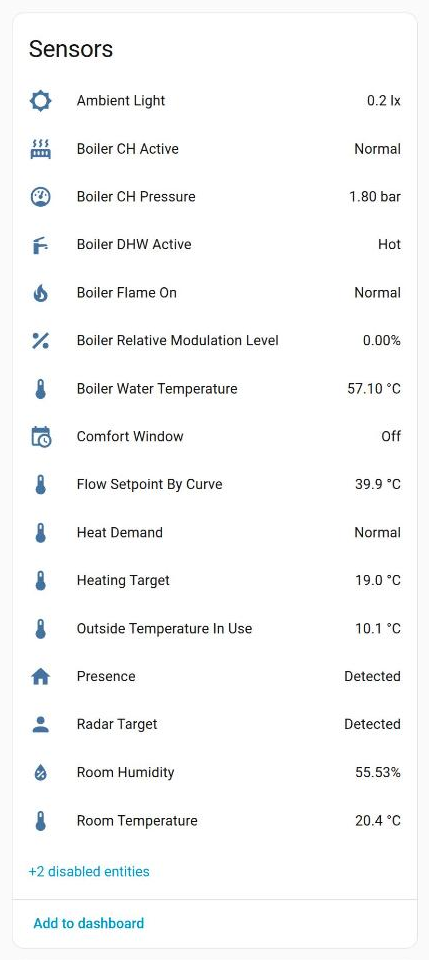
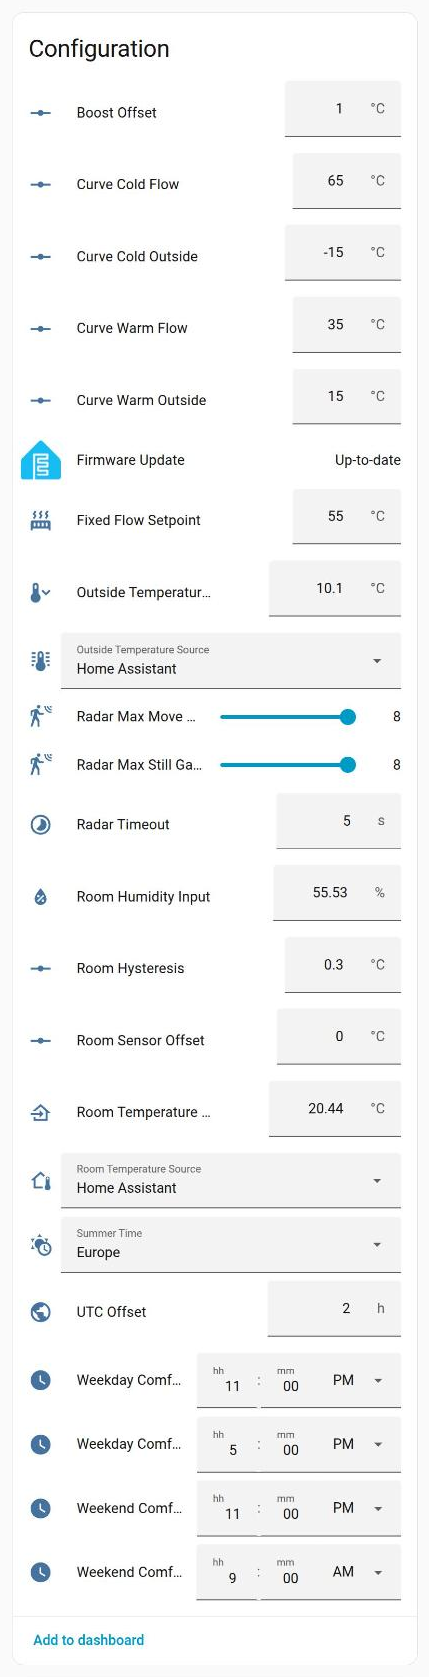
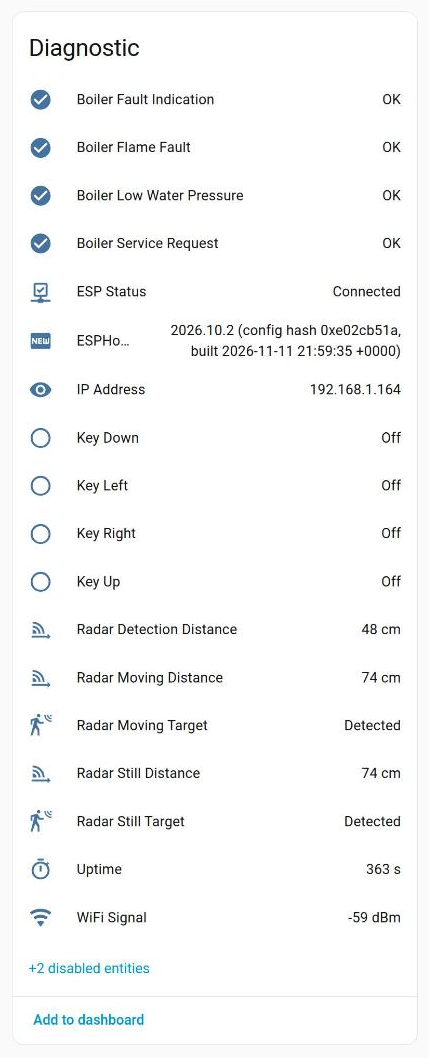
Configuration
Everything the thermostat does can be tuned from the device page, without touching YAML:
- Weather curve: two points, cold and warm
- Fixed flow setpoint and the boiler's max CH setpoint
- Outside and room temperature source: built-in, boiler or Home Assistant
- Comfort, eco and boost offset, room hysteresis
- Room sensor offset against a reference thermometer
- Weekday and weekend comfort windows
- Time zone and summer time for use without the home server
- Radar range per gate and timeout
- Room temperature, humidity and outside temperature written from Home Assistant
With the factory firmware and your automations
Low pressure → phone
The boiler reports low water pressure or a fault; Home Assistant sends a notification before the house gets cold.
Window open → lower setpoint
A window contact opens: Home Assistant lowers the comfort setpoint until it closes again.
Average of several rooms
Set the room source to Home Assistant and feed any sensor or an average into Room Temperature Input, refreshed every 5 min.
Away → lower setpoint
Nobody home: Home Assistant lowers the comfort setpoint. A phone on the way back restores it.
Beyond heating: pages of your own
With a custom ESPHome configuration, the same hardware shows any Home Assistant entity next to the four heating pages, and the ring controls it. Two pages from a working installation:
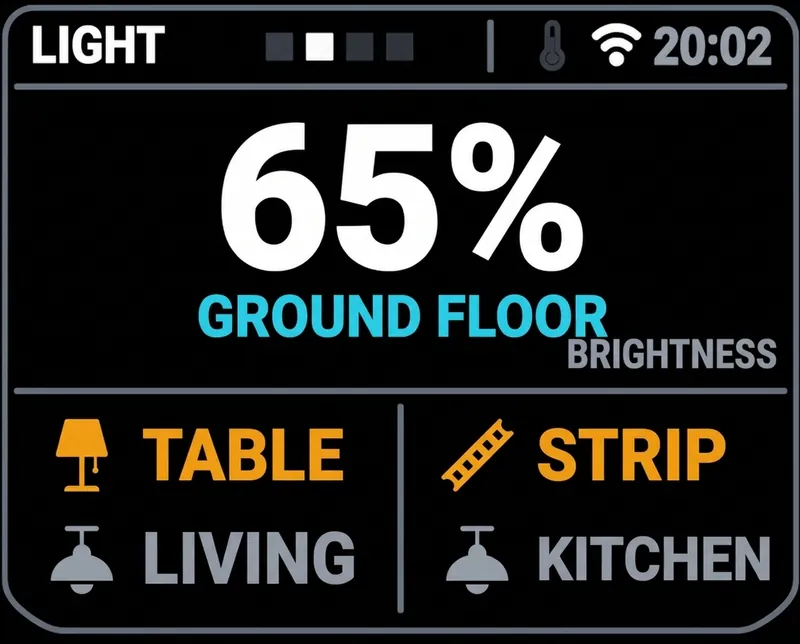
LIGHT — brightness of a lighting group on the ring, individual groups in the tiles.
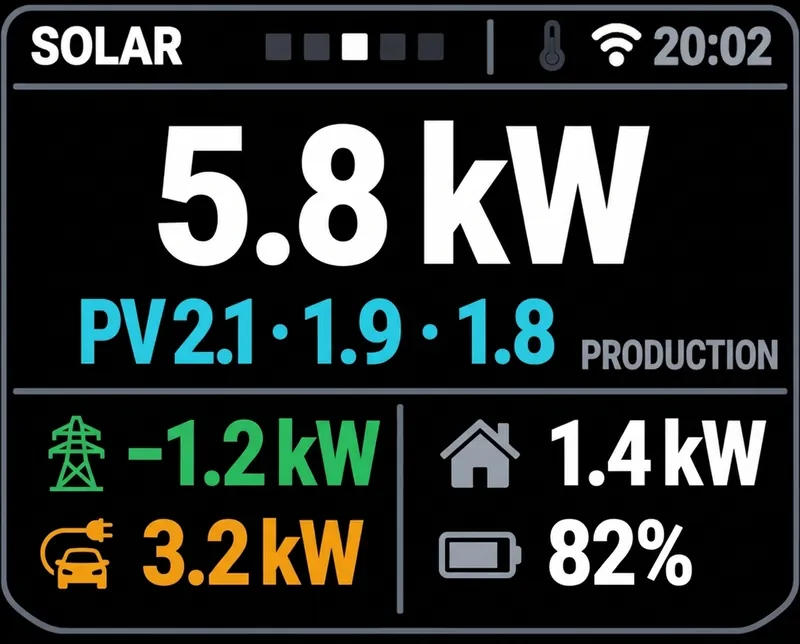
SOLAR — PV output per string, grid exchange, house load, EV charger and battery.
Not part of the factory firmware.
Make your own
Boiler plus extra pages
Keep the factory heating and add pages for lights, solar, the alarm or the weather.
A control panel without a boiler
No OpenTherm wired: a wall panel with a screen, a ring, a presence radar and room sensors.
Take control in the ESPHome Device Builder and start from the published thermostat.yaml.
From then on you build and update it yourself — vendor updates stop, until you adopt the published configuration again.
Something went wrong? USB-C and the factory image bring it back.
Thermostat or OpenTherm Gateway?
Both are OpenTherm masters with ESPHome, and a boiler takes one master. The thermostat is a finished room unit — screen, ring, radar, room sensors and wall housing. The Gateway is the OpenTherm interface for the cabinet.
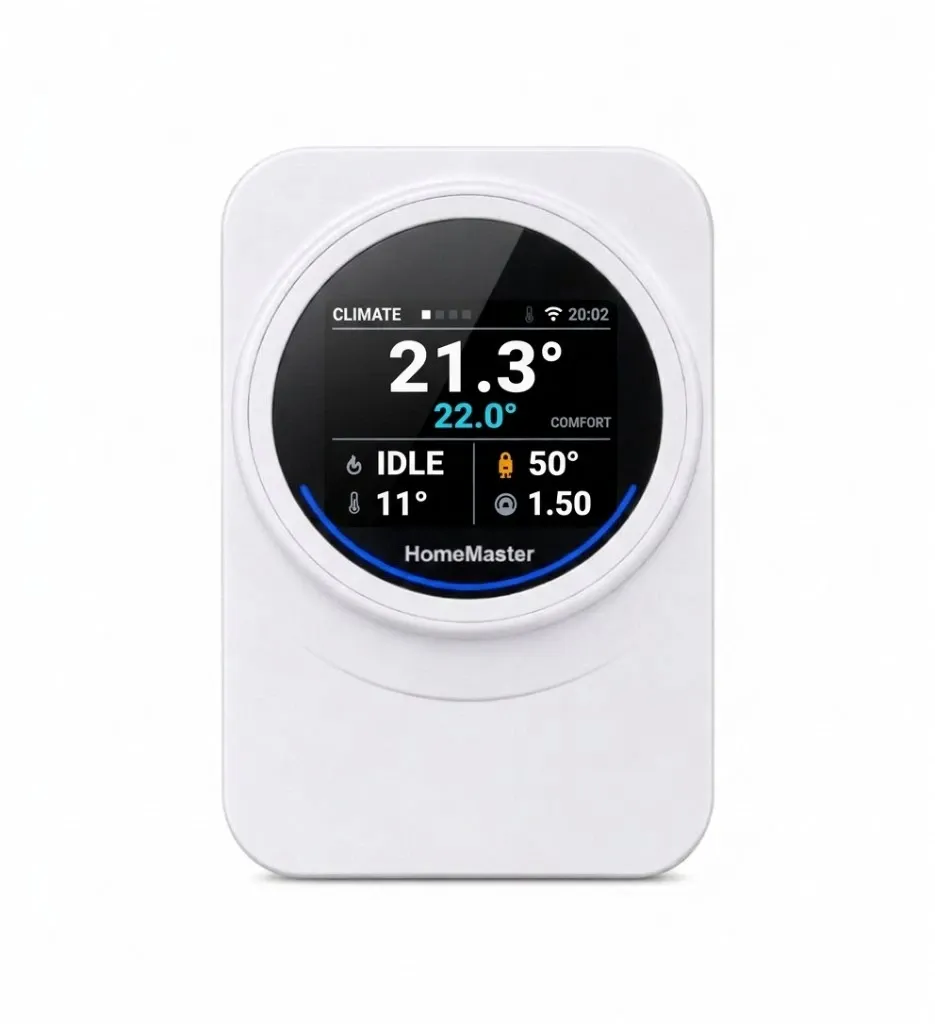
Thermostat for OpenTherm
On the wall of the living space
- Where
- Wall of the room
- Screen
- 2.8″ colour IPS, four pages
- Controls on the device
- Turn-and-press ring: every heating setting
- Room temperature
- Built in (SHT40)
- Humidity
- Built in
- Ambient light
- Built in
- Presence
- Built-in 24 GHz radar
- Relay
- — (OpenTherm boilers only)
- Wi-Fi antenna
- Inside the housing
- Power
- 24 V DC
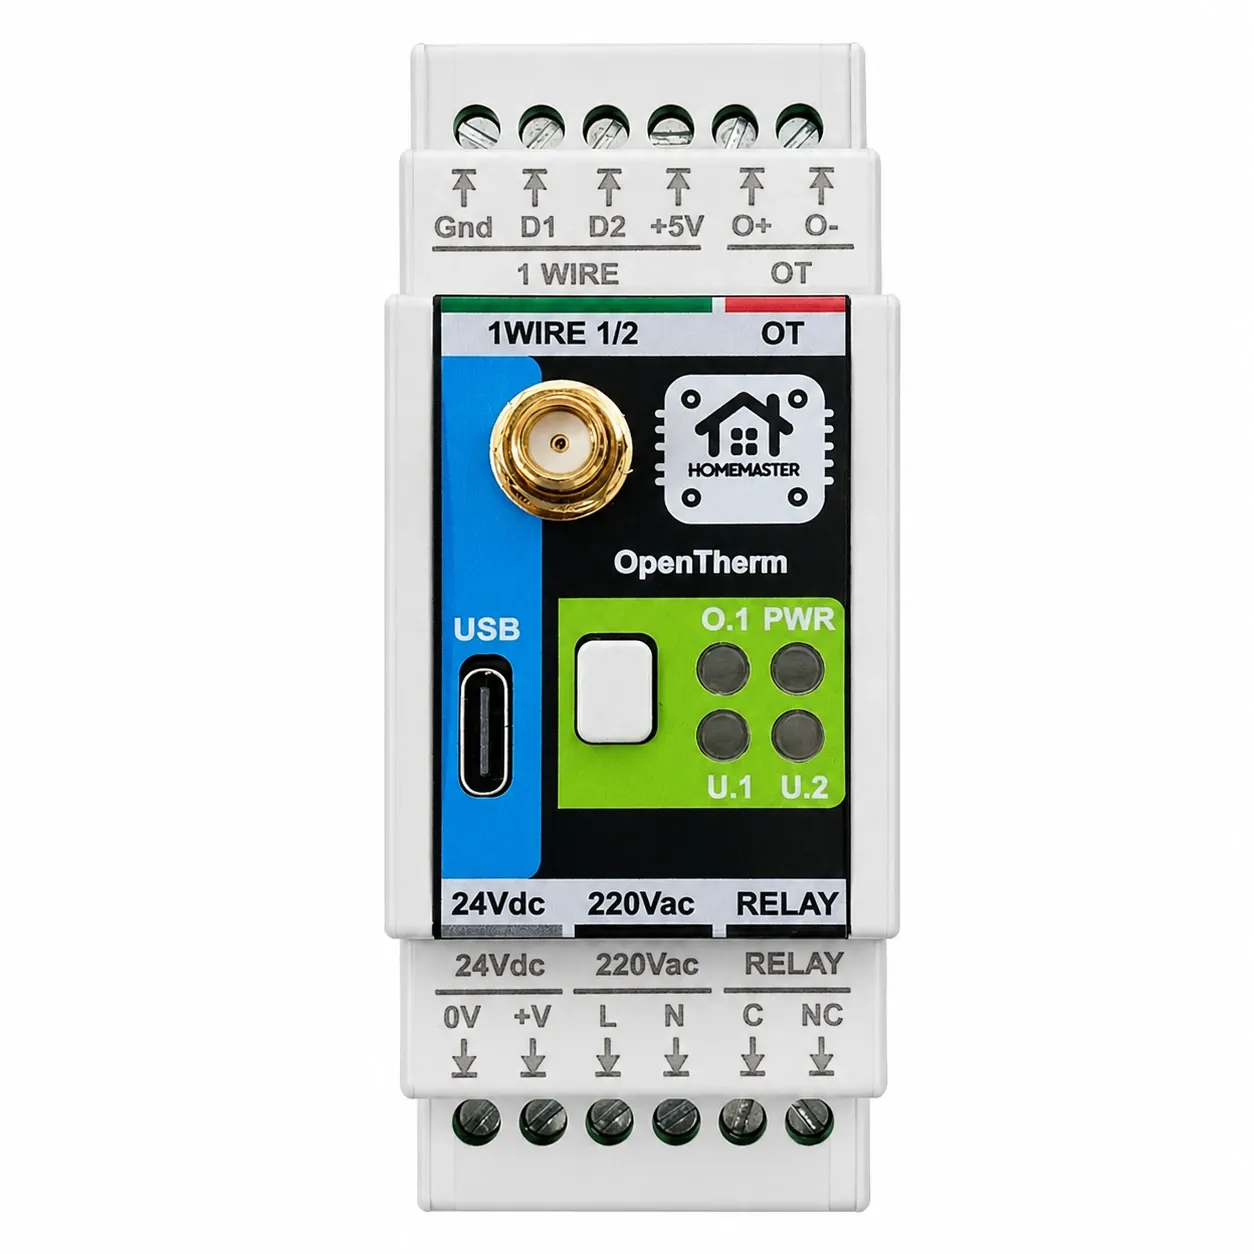
OpenTherm Gateway
On the DIN rail in the cabinet
- Where
- DIN rail in the cabinet
- Screen
- — (1 button, 4 LEDs)
- Controls on the device
- — (settings from Home Assistant)
- Room temperature
- External DS18B20 probes on 2 × 1-Wire, wired to the cabinet
- Humidity
- —
- Ambient light
- —
- Presence
- —
- Relay
- 1 × NC: pumps, valves, or an on/off boiler
- Wi-Fi antenna
- External
- Power
- 24 V DC or 85–265 V AC
The extra cost buys a finished room unit: the screen and ring to run the heating from the wall, a room sensor with temperature, humidity, light and presence built in, and a wall housing — no cabinet, no probe cable to the room. Choose the Gateway when control belongs in the cabinet next to the boiler and other DIN-rail modules.
Mounting and wiring
Choose the place. About 1.5 m above the floor on an internal wall, away from sun, radiators, draughts and the swing of a door. Not in an alcove or behind a curtain: the radar needs a clear view of the room. No large metal or a mirror right in front.
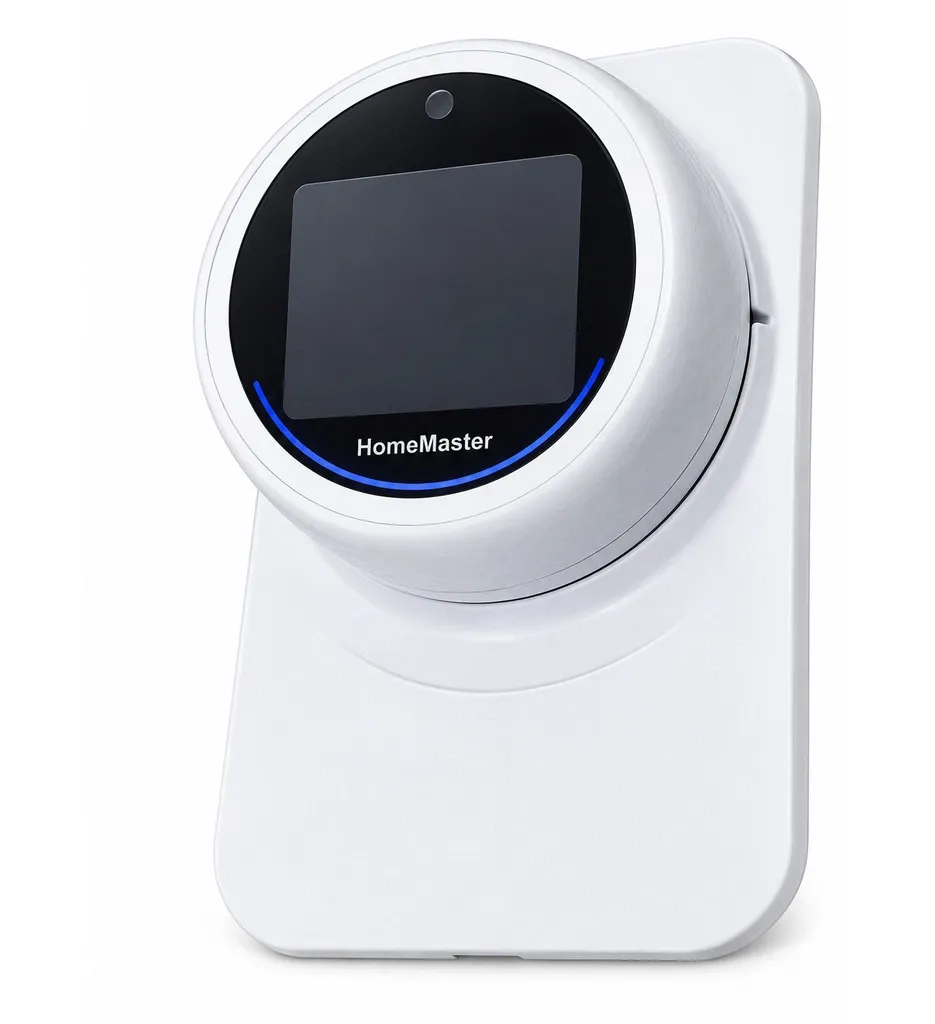
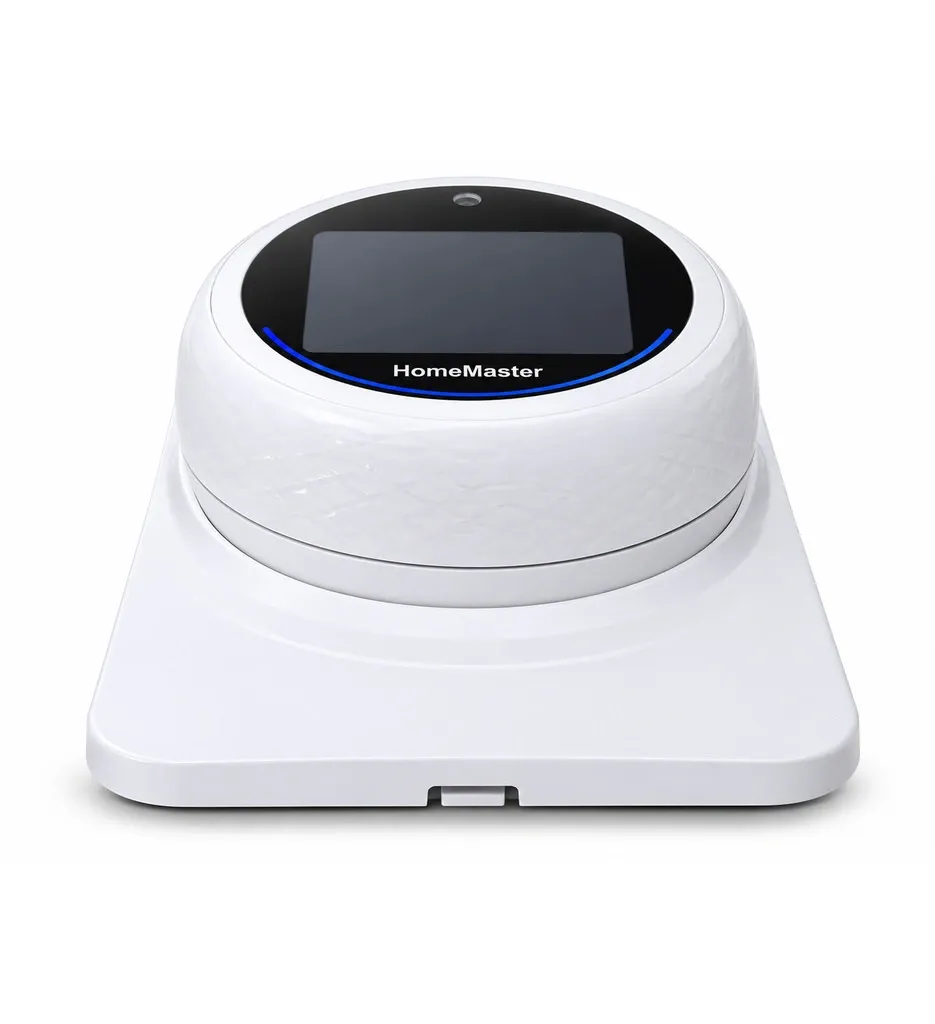
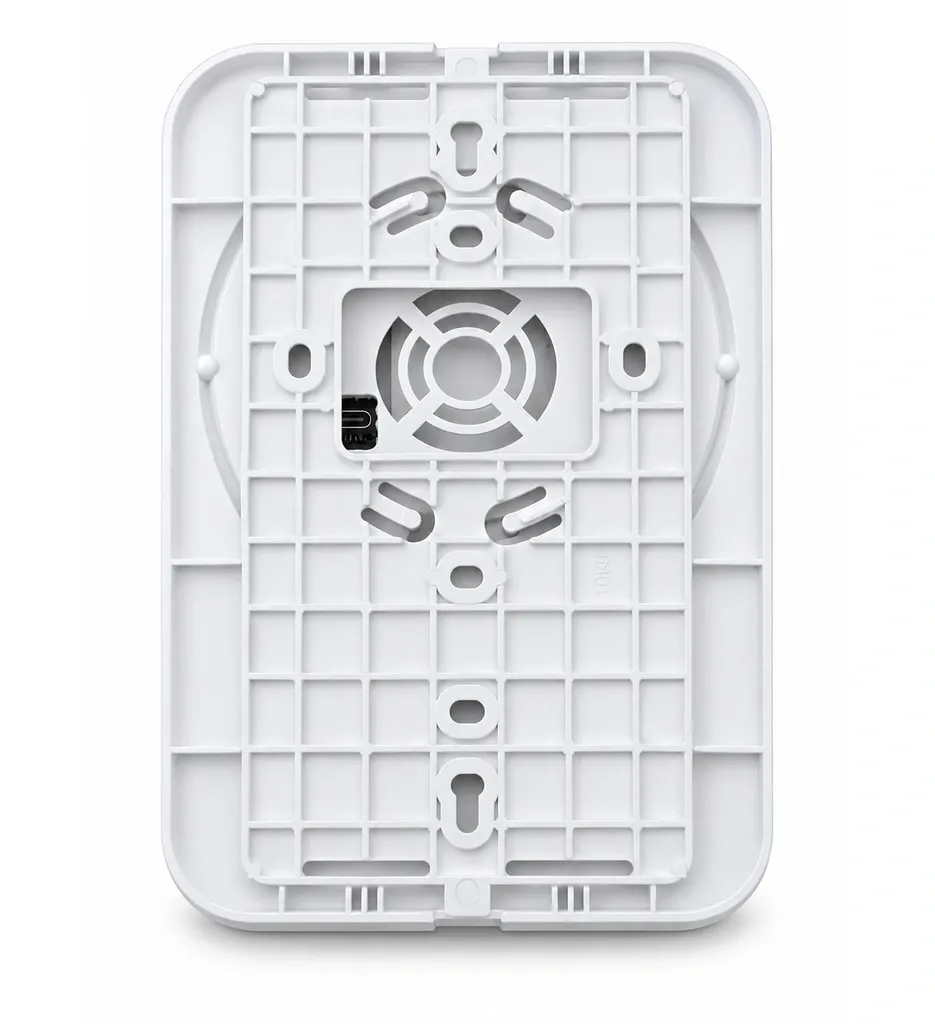
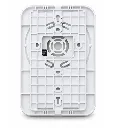
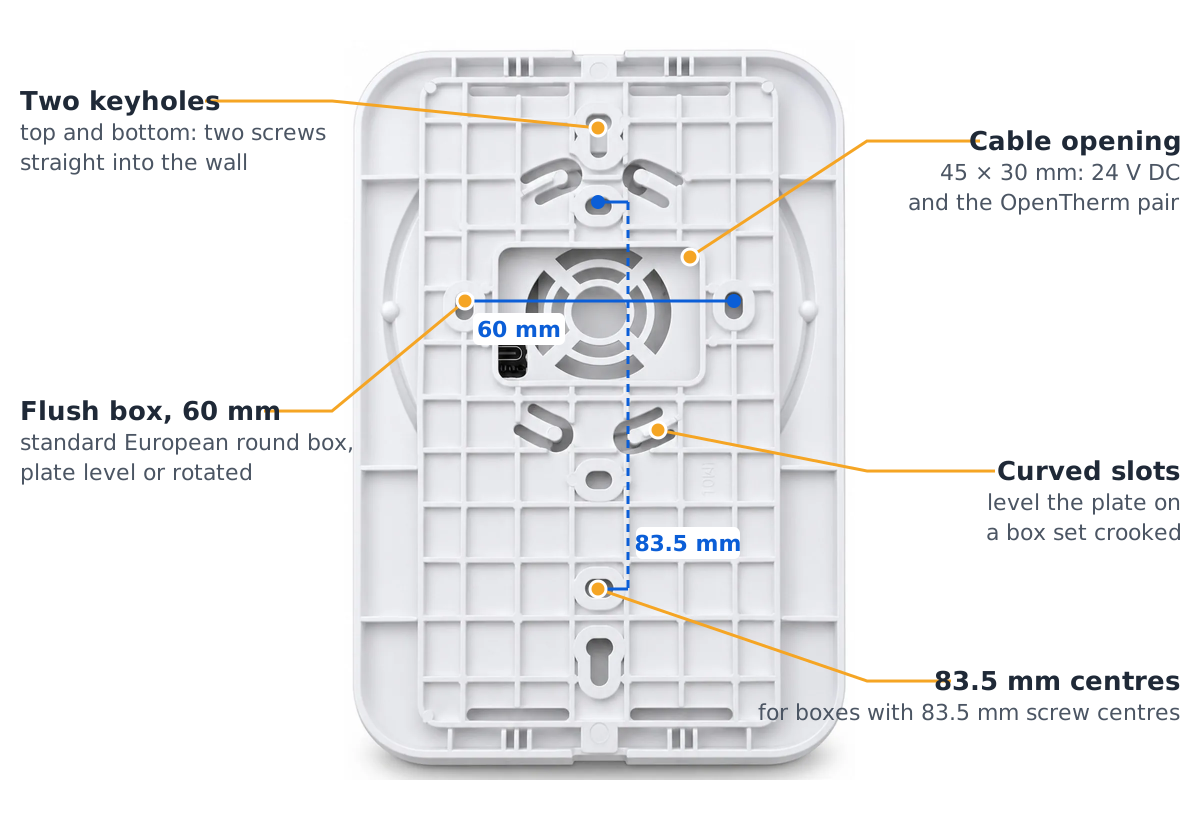
Fix the wall plate. Two screws straight into the wall through the keyholes, or onto a flush box with 60 mm (standard European round box) or 83.5 mm screw centres.
Connect four wires through the 45 × 30 mm opening: +V / 0V from a 24 V DC SELV supply, OT+ / OT− to the boiler's OpenTherm terminals — polarity does not matter, twisted pair up to 50 m. One 4-core cable with two twisted pairs carries both.
Clip the body on. To take it off, pull it straight from the plate; disconnect the 24 V supply before touching the terminals.
Check the boiler terminals. Many boilers have a 230 V room-thermostat input next to OpenTherm. Connect only to the terminals marked OpenTherm — 230 V on OT+ / OT− destroys the thermostat.

Set up in two steps — no flashing
ESPHome is pre-installed. Connect the thermostat to Wi-Fi with Improv over Bluetooth from a browser, or over USB-C before mounting. Home Assistant discovers it — click Add and the boiler, the room sensor and every setting are there. Firmware updates arrive under Settings → Updates.
Four rarely used entities — raw room temperature and humidity, return and DHW temperature — arrive switched off; enable them on the device page.
Technical specifications
| Microcontroller | ESP32-WROOM-32U, dual-core, Wi-Fi 2.4 GHz and Bluetooth LE, antenna inside the housing |
|---|---|
| Boiler interface | OpenTherm master, 2-wire, polarity-insensitive, twisted pair up to 50 m |
| Display | 2.8″ IPS, 320 × 240, four pages |
| Controls | Ring: turn — encoder for values; press — four keys ◀ ▶ ▲ ▼ for pages and menu |
| Presence | 24 GHz radar HLK-LD2410C, detection range set per gate from Home Assistant |
| Room sensors | Temperature and humidity SHT40, ambient light BH1750 |
| Control | 30 s loop: schedule, hysteresis, weather curve or fixed flow |
| Power | 24 V DC SELV, 50–100 mA, 2.4 W max, reverse-polarity protected |
| USB | USB-C, serial (CP2102): setup, logs, recovery |
| Firmware | ESPHome pre-installed, version 1.1.3; OTA from Home Assistant |
| Enclosure | ABS, white, wall plate 152 × 107 mm, round body Ø 95 mm, 47 mm deep |
| Mounting | Wall: two screws, or a flush box with 60 mm or 83.5 mm screw centres |
| Environment | 0 … +40 °C, 0–90 % RH non-condensing, indoor, dry locations |
| Equipment class | Class III, no protective earth |
| Weight | 150 g |
Datasheet DS-OTT-R1-V1.0 · 2026-11 · Hardware V1.0

In the box
The thermostat on its wall plate, with the Wi-Fi antenna inside the housing.
Not included: the 24 V DC supply, the cable, screws and wall plugs.
What it is not
- Not for on/off boilers: OpenTherm is required.
- One heating zone, one boiler, and the only OpenTherm master on it.
- Not powered from the boiler or over OpenTherm.
- Indoor only, 0 … +40 °C — not for bathrooms or unheated rooms.
Documents and downloads
| Datasheet | OpenThermThermostat_Datasheet.pdf |
|---|---|
| Installer and user manual | OpenThermThermostat_UserManual.pdf |
| EU Declaration of Conformity | DoC_OTT-R1.pdf |
| Schematic — MCU board | MCUBoard.pdf |
| Schematic — display board | LCDBoard.pdf |
| ESPHome configuration | thermostat.yaml |
| Factory firmware (USB-C recovery) | thermostat.factory.bin |
| Firmware changelog | CHANGELOG.md |
| Full technical reference | README.md |
Installation and setup
Mounting, wiring, the screens, Wi-Fi setup, entities and troubleshooting are in the technical README:
OpenTherm guides
- ESPHome and OpenTherm in Home Assistant
- Short cycling: when the boiler's minimum output is too high
- Weather-compensated heating with OpenTherm
- Reading what your boiler says over OpenTherm
CE: Radio Equipment Directive 2014/53/EU (EN IEC 62368-1, EN 62479, EN 301 489-1/-3/-17, EN 300 328, EN 300 440, EN 18031-1), RoHS 2011/65/EU and (EU) 2015/863. HomeMaster® is a registered EU trademark (EUTM 019082911). OpenTherm® is a registered trademark of the OpenTherm Association. Hardware under CERN-OHL-W v2, firmware under MIT.
Related products
These other products might interest you