Weather-Compensated Heating with the HomeMaster OpenTherm Gateway
Turn the factory OpenTherm Gateway config into a weather-compensated controller: the boiler's water temperature follows an outdoor-reset curve, gets trimmed by a room thermostat, and a relay opens the upper-floor zone — all local in Home Assistant, mostly native ESPHome components.

1. What the Gateway Gives You Out of the Box
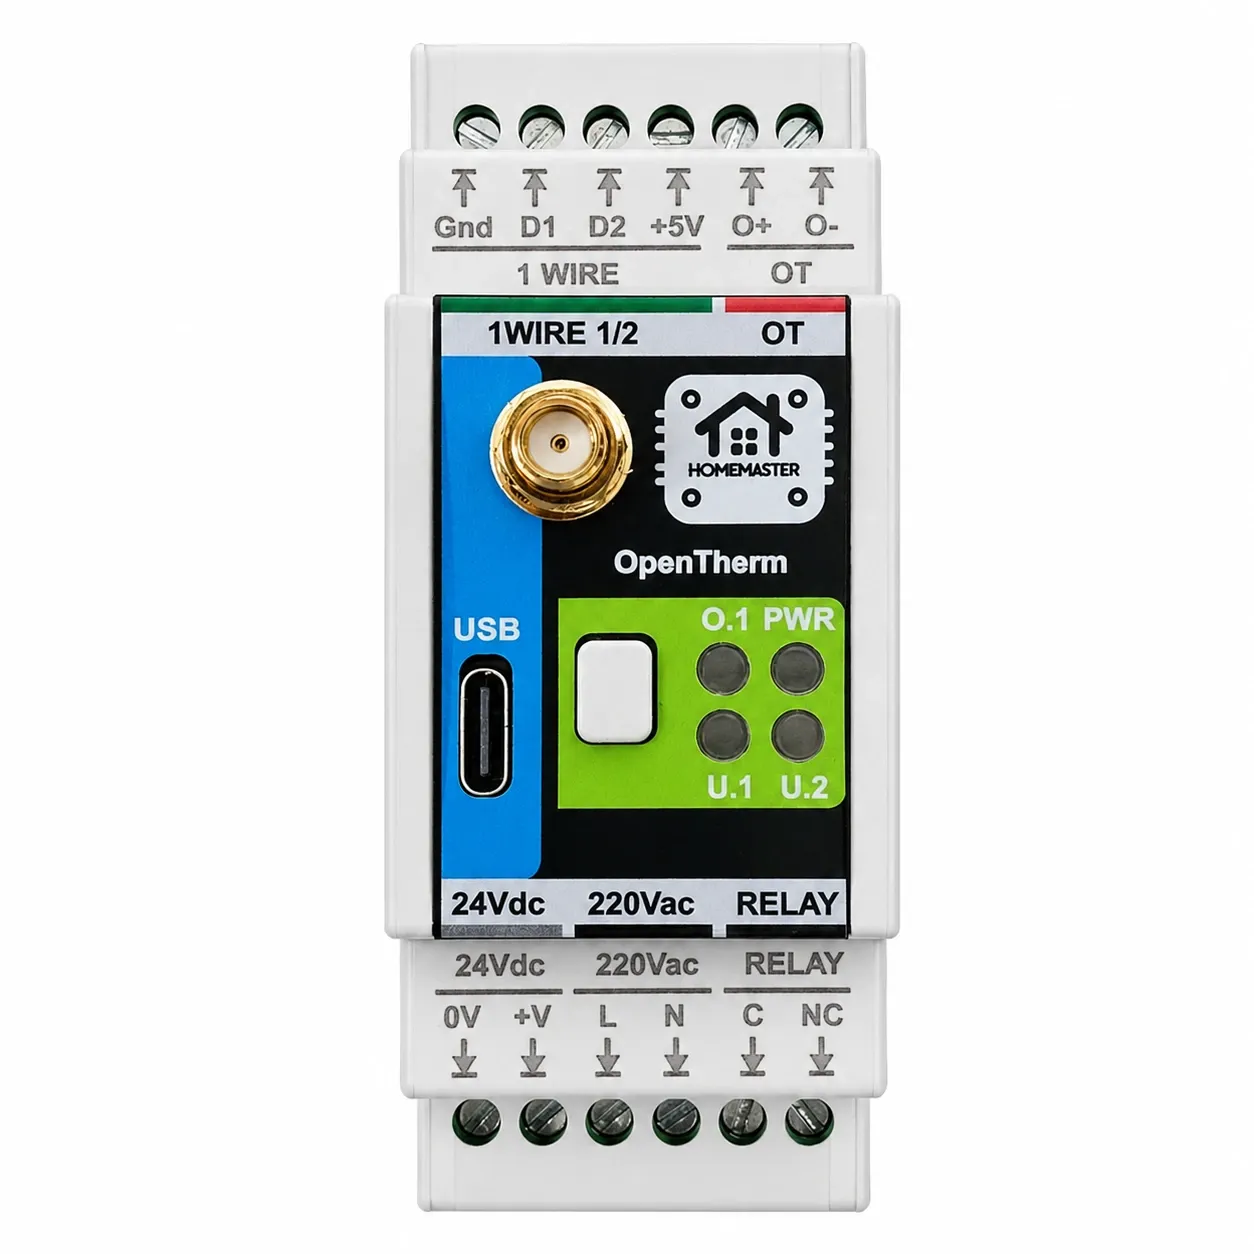
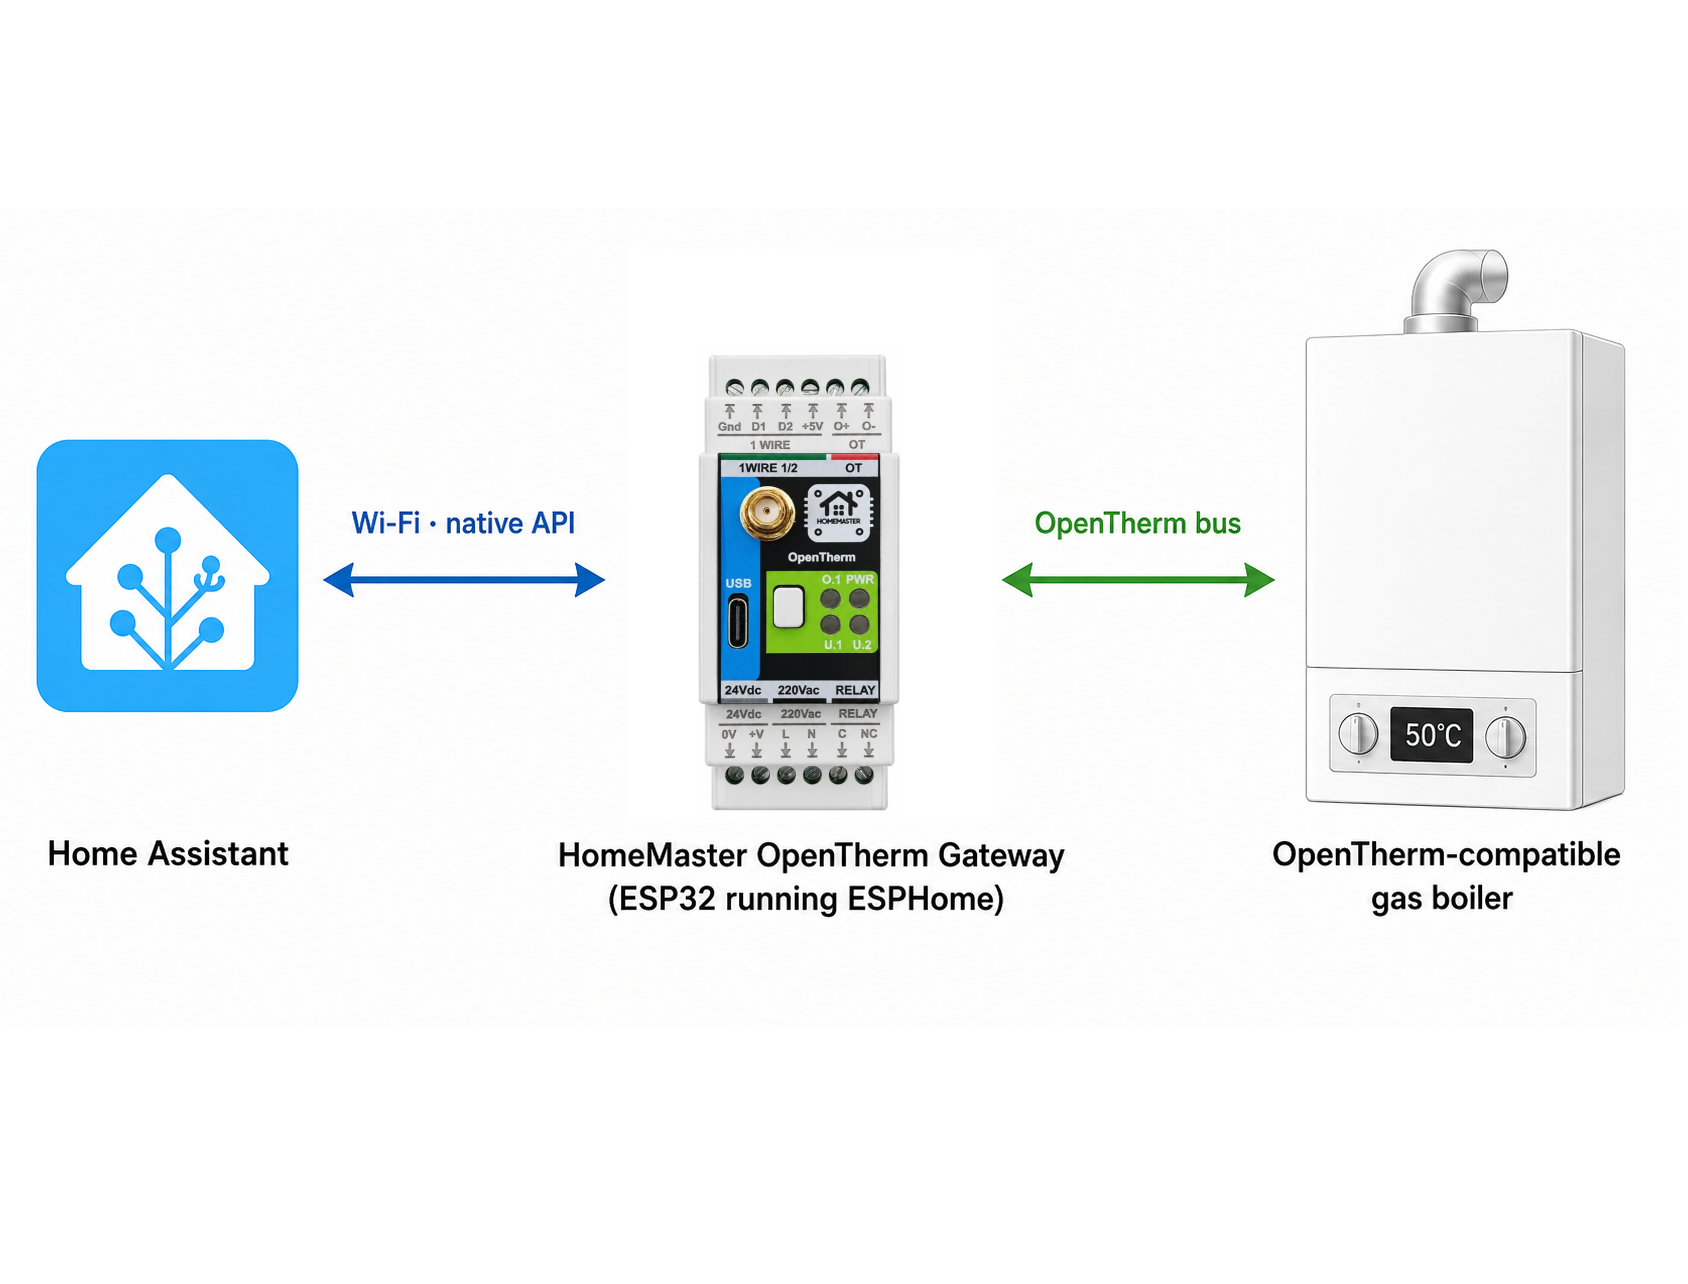
Flash nothing, change nothing, and the gateway already does a lot. The stock ESPHome firmware exposes the boiler over OpenTherm: flow and return temperatures, modulation level, flame and fault flags, CH/DHW enable switches, and — the one we care about most — a Boiler CH Setpoint number you can drag to request a flow temperature. It also gives you the onboard relay and two 1-Wire temperature inputs.
The limitation: that setpoint is static. You set 60 °C, it stays 60 °C whether it's −15 °C or +12 °C outside. Weather compensation fixes exactly that — this guide keeps the whole factory config and adds four things: an outdoor-reset curve, an external-thermostat correction, an upper-floor zone valve on the relay, and an Auto/Manual switch. Almost all of it is done with standard ESPHome components (filters, a thermostat climate, template numbers); there's one small lambda for the curve arithmetic, and we'll point it out.
2. How This Fits the Heating System (Two Separate Controls)
This is worth understanding before the YAML, because it explains a deliberate choice: the gateway never turns the boiler on or off.
The house has two heat emitters. The ground floor is underfloor heating — always connected to the loop (no valve), slow thermal mass. The second floor is regular water radiators, fed through a single zone valve for the whole floor — it sits down by the boiler, where the loop splits into the upstairs and downstairs branches, and is driven by the gateway relay. Heat also moves between them: warm air from the underfloor-heated ground floor (and the fireplace) rises to the second floor, so upstairs is partly heated for free. That's why the two floors need independent control rather than one shared thermostat.
So there are two separate controls, in two different places:
- Boiler on/off — in Home Assistant, driven by the fireplace/chimney controller (a MiniPLC + WLD-521-R1, see our Smart Chimney automation build). It decides when the gas boiler may fire by weighing several inputs together: whether the fireplace is producing heat, whether the air-conditioners running in heating mode (heat pumps) are covering the load, a heating schedule, and the room setpoint on its HA thermostat. The gas boiler is the fill-in source — it runs only when the fireplace and the heat pumps can't hold the room to setpoint during scheduled hours.
- Upper-floor zone — in the OpenTherm Gateway (the
Heating Upper Floorclimate we build below). It independently opens and closes the upstairs valve based on the upstairs temperature, regardless of what the boiler is doing. That independence is the point: the gas boiler and the fireplace are tied in parallel into the same house heating loop, so the upper floor must keep working whether the heat is coming from the boiler or the fireplace.
The gateway's config doesn't automate the burner. A small Home Assistant automation mirrors the chimney controller's heating demand onto the gateway's Boiler CH Enable (the central-heating on/off request):
# Home Assistant automation: gate the OpenTherm boiler from the chimney controller
alias: Boiler CH Enable follows chimney heating demand
triggers:
  - trigger: state
    entity_id: switch.chimney_heating_demand              # "Heating" signal from the MiniPLC
actions:
  - action: "switch.turn_{{ 'on' if is_state('switch.chimney_heating_demand','on') else 'off' }}"
    target:
      entity_id: switch.opentherm_gateway_boiler_ch_enable   # the gateway's CH Enable
mode: single
So the gateway holds the water temperature (the curve), and this automation decides whether the boiler is asked to heat at all (CH Enable). CH Enable is just the central-heating on/off request; the boiler runs its own burner.
3. Before You Flash — the Name/OTA Gotcha
This trips everyone, so it comes first. The factory firmware sets name_add_mac_suffix: true, which makes the real device hostname homemaster-opentherm- (for example homemaster-opentherm-934ca0.local). But ESPHome's wireless upload targets the base name homemaster-opentherm.local, which doesn't exist on your network — so OTA fails to resolve and you get:
ERROR Error resolving IP address of ['homemaster-opentherm.local']. Is it connected to WiFi?
The fix is built into how the dashboard adopts the device. When you click Take Control, ESPHome writes the full name with the suffix baked in and turns the suffix flag off:
esphome:
  name: homemaster-opentherm-934ca0   # full hostname, matches what the board advertises
  name_add_mac_suffix: false
So the rule is simple: edit the device that's already adopted in your ESPHome dashboard — don't create a new config with the bare name. Keep the name exactly as the dashboard generated it (with your board's own suffix). That's why the stock config flashes without drama and a fresh one doesn't.
4. Bring in the Room Temperatures
The external thermostat is just a room temperature that already lives in Home Assistant (a Zigbee/BLE sensor, another ESPHome node, anything). We pull two of them into the gateway — one for the reference room (lower floor) and one for the upper floor:
sensor:
  - platform: homeassistant
    id: ref_room_temp
    name: "Reference Room Temperature"
    entity_id: sensor.living_room_temperature   # <-- your entity

  - platform: homeassistant
    id: upper_room_temp
    name: "Upper Floor Temperature"
    entity_id: sensor.upper_floor_temperature   # <-- your entity (aggregate, see below)
These two entity_id values are the only things you must change for your house. The outdoor temperature comes from a DS18B20 on 1-Wire bus 1 (ow_bus_1_temperature) mounted outside.
The upstairs sensor is special. Because the second floor heats unevenly — rising warm air pools in some spots while far corners lag — a single probe lies to you. Compute the upstairs temperature in Home Assistant as an aggregate of several sensors and feed that to the gateway. A min_max sensor gives you both the mean and the lowest reading:
# Home Assistant configuration.yaml
sensor:
  - platform: min_max
    name: "Upper Floor Temperature"      # -> sensor.upper_floor_temperature
    type: mean                           # use 'min' to heat until the coldest room is satisfied
    entity_ids:
      - sensor.bedroom_1_temperature
      - sensor.bedroom_2_temperature
      - sensor.landing_temperature
Use mean for smooth, comfortable control, or min (lowest room) when you'd rather no room is ever left cold — the safer choice when warm-air distribution is uneven.
5. The Weather Curve (No Hardcoded Heating Equation)
There's no heating equation baked into code. The base curve is two native ESPHome filters: we copy the outdoor sensor and run it through calibrate_linear, which draws a straight line through two points you give it (outdoor temperature in, water temperature out):
  - platform: copy
    source_id: ow_bus_1_temperature
    id: curve_flow
    internal: true
    filters:
      - calibrate_linear:
          - -15.0 -> 60.0      # -15 outside -> 60 C water
          -  18.0 -> 28.0      # +18 outside -> 28 C water
Read it plainly: at −15 °C outside the boiler runs 60 °C water; at +18 °C it comes down to 28 °C; everything in between is interpolated. Those four numbers are your outdoor curve — tune them and nothing else. This is only the outdoor curve; the room correction is added on top next, and only then is the final CH setpoint clamped to 20–80 °C.
6. Correct the Curve with the External Thermostat
Weather alone doesn't know your house. The reference room temperature trims the curve: below target, flow goes up; above target, it comes down. This is the one place arithmetic is unavoidable, so it's a short template sensor with a four-line lambda — the only lambda in the whole config. With the default room_influence of 3, a 1 °C room error shifts the water target by 3 °C (and it's adjustable from Home Assistant, no reflashing):
  - platform: template
    id: ch_target_flow
    name: "CH Target Flow"
    unit_of_measurement: "°C"
    update_interval: 30s
    lambda: |-
      float base = id(curve_flow).state;                 // water from the curve
      if (isnan(base)) return NAN;
      float corr = 0;
      if (!isnan(id(ref_room_temp).state))               // correction from the external thermostat:
        corr = id(room_influence).state *                //   K * (target - actual)
               (id(ref_room_target).state - id(ref_room_temp).state);
      float v = base + corr;
      if (v < 20) v = 20;                                 // boiler CH setpoint limits
      if (v > 80) v = 80;
      return v;
    on_value:
      then:
        - if:
            condition:
              switch.is_on: auto_mode
            then:
              - number.set:
                  id: ot_t_set                           # the factory "Boiler CH Setpoint"
                  value: !lambda 'return x;'
The result is written straight into the factory ot_t_set (Boiler CH Setpoint) — we don't define our own OpenTherm number, we reuse the one already there. Two dashboard knobs control the correction: Reference Room Target and Room Influence (how many °C of water per °C of room error). When the reference room runs warm, the correction drives the setpoint down toward 20 °C; a lower CH setpoint lets the boiler modulate instead of short-cycling. We never touch CH Enable here.
7. The Upper-Floor Valve on the Relay
The lower floor has no valve; it's always connected to the loop. The upper floor gets a single zone valve driven by the relay, controlled by a native thermostat climate with built-in hysteresis:
climate:
  - platform: thermostat
    name: "Heating Upper Floor"
    sensor: upper_room_temp
    min_idle_time: 30s
    min_heating_off_time: 300s
    min_heating_run_time: 300s
    heat_deadband: 0.3
    heat_overrun: 0.3
    heat_action:
      - if:
          condition: { switch.is_on: auto_mode }
          then:
            - switch.turn_off: relay_1   # OPEN valve
    idle_action:
      - if:
          condition: { switch.is_on: auto_mode }
          then:
            - switch.turn_on: relay_1    # CLOSE valve
    default_preset: Home
    preset:
      - name: Home
        default_target_temperature_low: 21 °C
Watch the relay polarity. The gateway's relay exposes C and NC only — there is no NO terminal — so the contact is closed while the relay is off. With a zone valve that opens when energised, that gives relay OFF = valve open, relay ON = valve closed; the actuator is energised in the OFF state, not the ON state. We map "valve open" to relay_1 OFF, so the upper floor stays open when the gateway loses power — fine as a fail-safe, since the lower floor is always open anyway. Check your actuator wiring before copying this; if your valve behaves the opposite way, swap turn_off/turn_on.

Heating Upper Floor climate card — the gateway's own thermostat for the upstairs zone (target 21 °C, currently Off / satisfied). This is the independent upstairs control that drives the relay valve, separate from the boiler.8. The Auto / Manual Switch
Without this, the control loop overwrites your setpoint and relay every 30 seconds and you can't touch them by hand. A single template switch gates everything (you've already seen it referenced above as condition: switch.is_on: auto_mode):
  - platform: template
    id: auto_mode
    name: "Heating Auto Mode"
    optimistic: true
    restore_mode: RESTORE_DEFAULT_ON
Turn Heating Auto Mode off and the gateway stops driving the setpoint and the relay — now Boiler CH Setpoint and Relay (Upper Floor Valve) are yours to set manually. The OpenTherm link stays active either way, so the boiler keeps communicating. Turn it back on and automation resumes (the setpoint within 30 s, the valve on the next thermostat cycle).
9. Flashing It Over WiFi
In ESPHome Dashboard, open the already-adopted gateway and edit its YAML (paste the full config). Keep the name the dashboard generated. Click Install → Wirelessly; the first compile takes a few minutes and the board reboots into the new firmware. If you see Error resolving IP address of ...local, re-read section 3 — you're almost certainly flashing a config whose name lost the MAC suffix, or the device isn't the adopted one.
10. What You Get in Home Assistant
After it reboots, four new controls/sensors confirm your firmware is live: Heating Auto Mode (the auto/manual switch), Heating Upper Floor (a climate card with the upstairs target), Outdoor Temperature (the 1-Wire reading driving the curve), and CH Target Flow (the computed setpoint the gateway is sending the boiler).


11. How It All Works, End to End
Every 30 seconds the gateway reads the outdoor temperature and turns it into a base flow target via the curve, adds the room correction from the reference thermostat, clamps the result to 20–80 °C, and writes it to the boiler as the CH setpoint — the boiler then modulates its flame to hold that flow temperature. Independently, the upstairs thermostat opens or closes the relay (the upper-floor valve), while the lower floor stays open.
The boiler does the combustion; the gateway only ever sets the target water temperature and which floors are open. Whether the boiler is asked to heat at all is decided by the other control — the HA one driven by the fireplace/chimney controller, which weighs the fireplace's output, the heat-pump air-conditioners running for heating, the heating schedule, and the room setpoint before requesting heat (CH Enable) from the gas boiler. Two jobs kept separate: the chimney controller decides if the gas boiler runs, the gateway decides how hot the water is and whether upstairs is in the loop.
12. Tuning the Curve
Start with the defaults (−15 °C → 60 °C, +18 °C → 28 °C, room influence 3) and adjust over a few cold days:
- Rooms never quite reach target on the coldest days → raise the flow at −15 °C.
- Rooms overshoot in mild weather → lower the flow at +18 °C.
- Slow to recover after a setback → raise Room Influence.
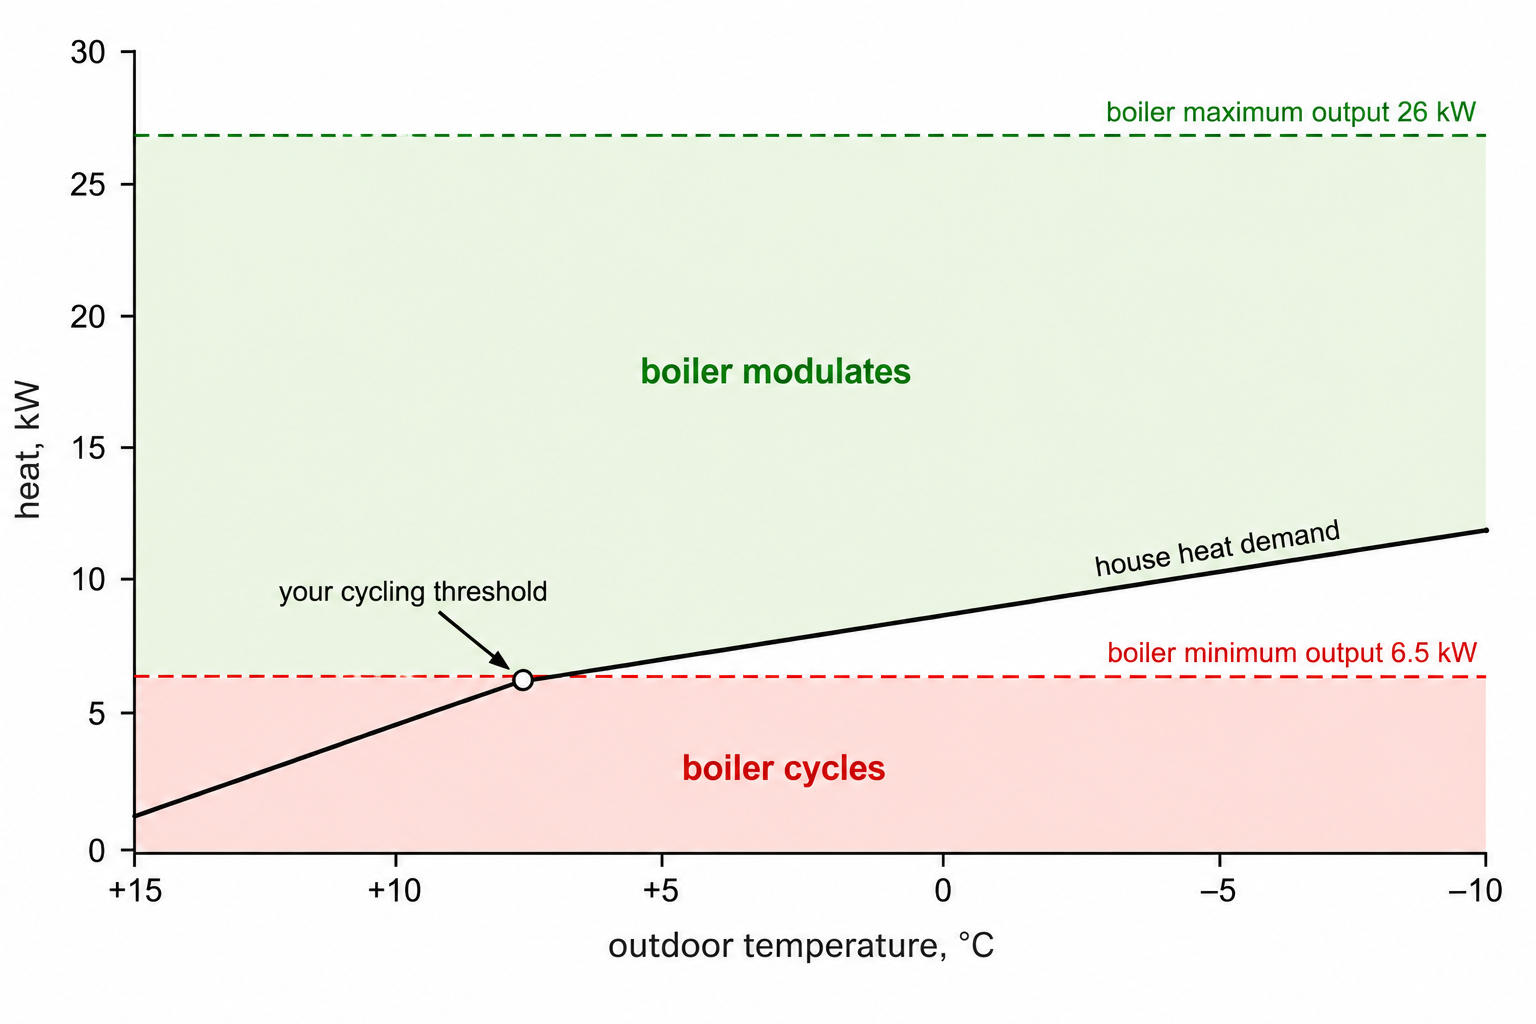
- Boiler short-cycles → lower the flow temperatures (and check the boiler's own minimum modulation).
For low-temperature systems (underfloor) start much lower — something like 40 °C at −15 °C and 24 °C at +15 °C.
13. What to Watch Out For
- The name/OTA gotcha (section 3). Edit the adopted device; keep the MAC-suffixed name; don't create a new config with the bare name.
- Relay direction. Relay OFF = valve open, relay ON = valve closed; the upper valve is open on power loss. Check your actuator wiring before copying.
- Two
entity_idvalues for the room sensors are the only mandatory edits for your house. - Manual override. Heating Auto Mode must be ON for automation to drive the setpoint and relay; OpenTherm stays active either way.
- Outdoor source. Defaults to the 1-Wire bus 1 sensor mounted outside; you can point it at the boiler's own outside reading or a Home Assistant weather entity instead.