Smart Home Build Guides — System Design & Engineering Tutorials
Learn how to build smart home systems using ESPHome and Home Assistant, design reliable automation, and create a fully local setup without cloud dependency. See how the platform is put together.

All guides
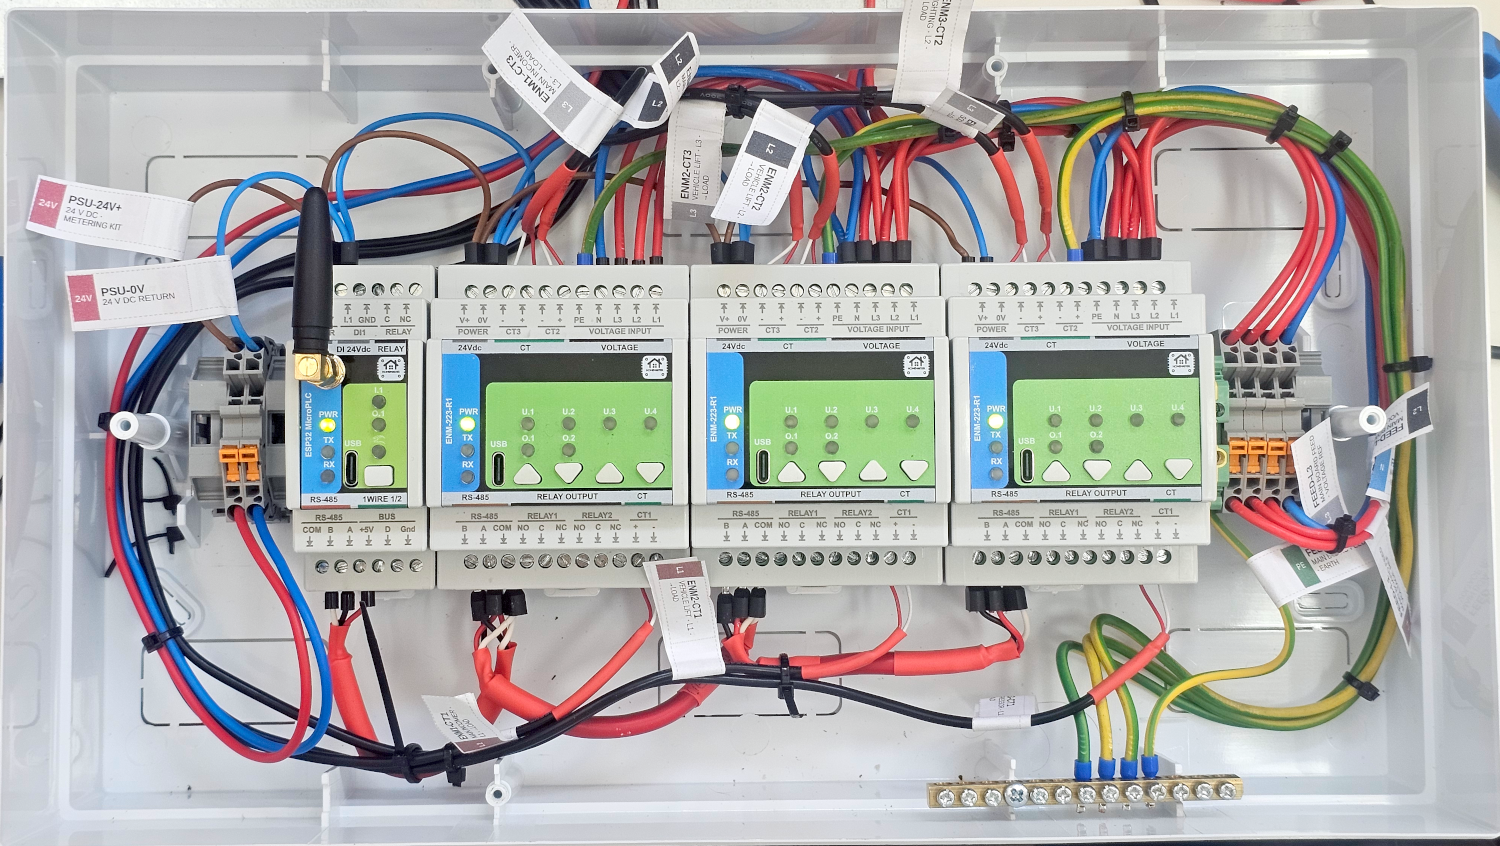
Nine Circuits in Four DIN Modules: Multi-Circuit Energy Metering That Keeps Working When the Server Does Not
Nine circuit-level channels in four DIN modules. Three-phase Modbus RTU metering with on-board disconnect relays and local alarm logic, native in Home Assistant. No cloud.
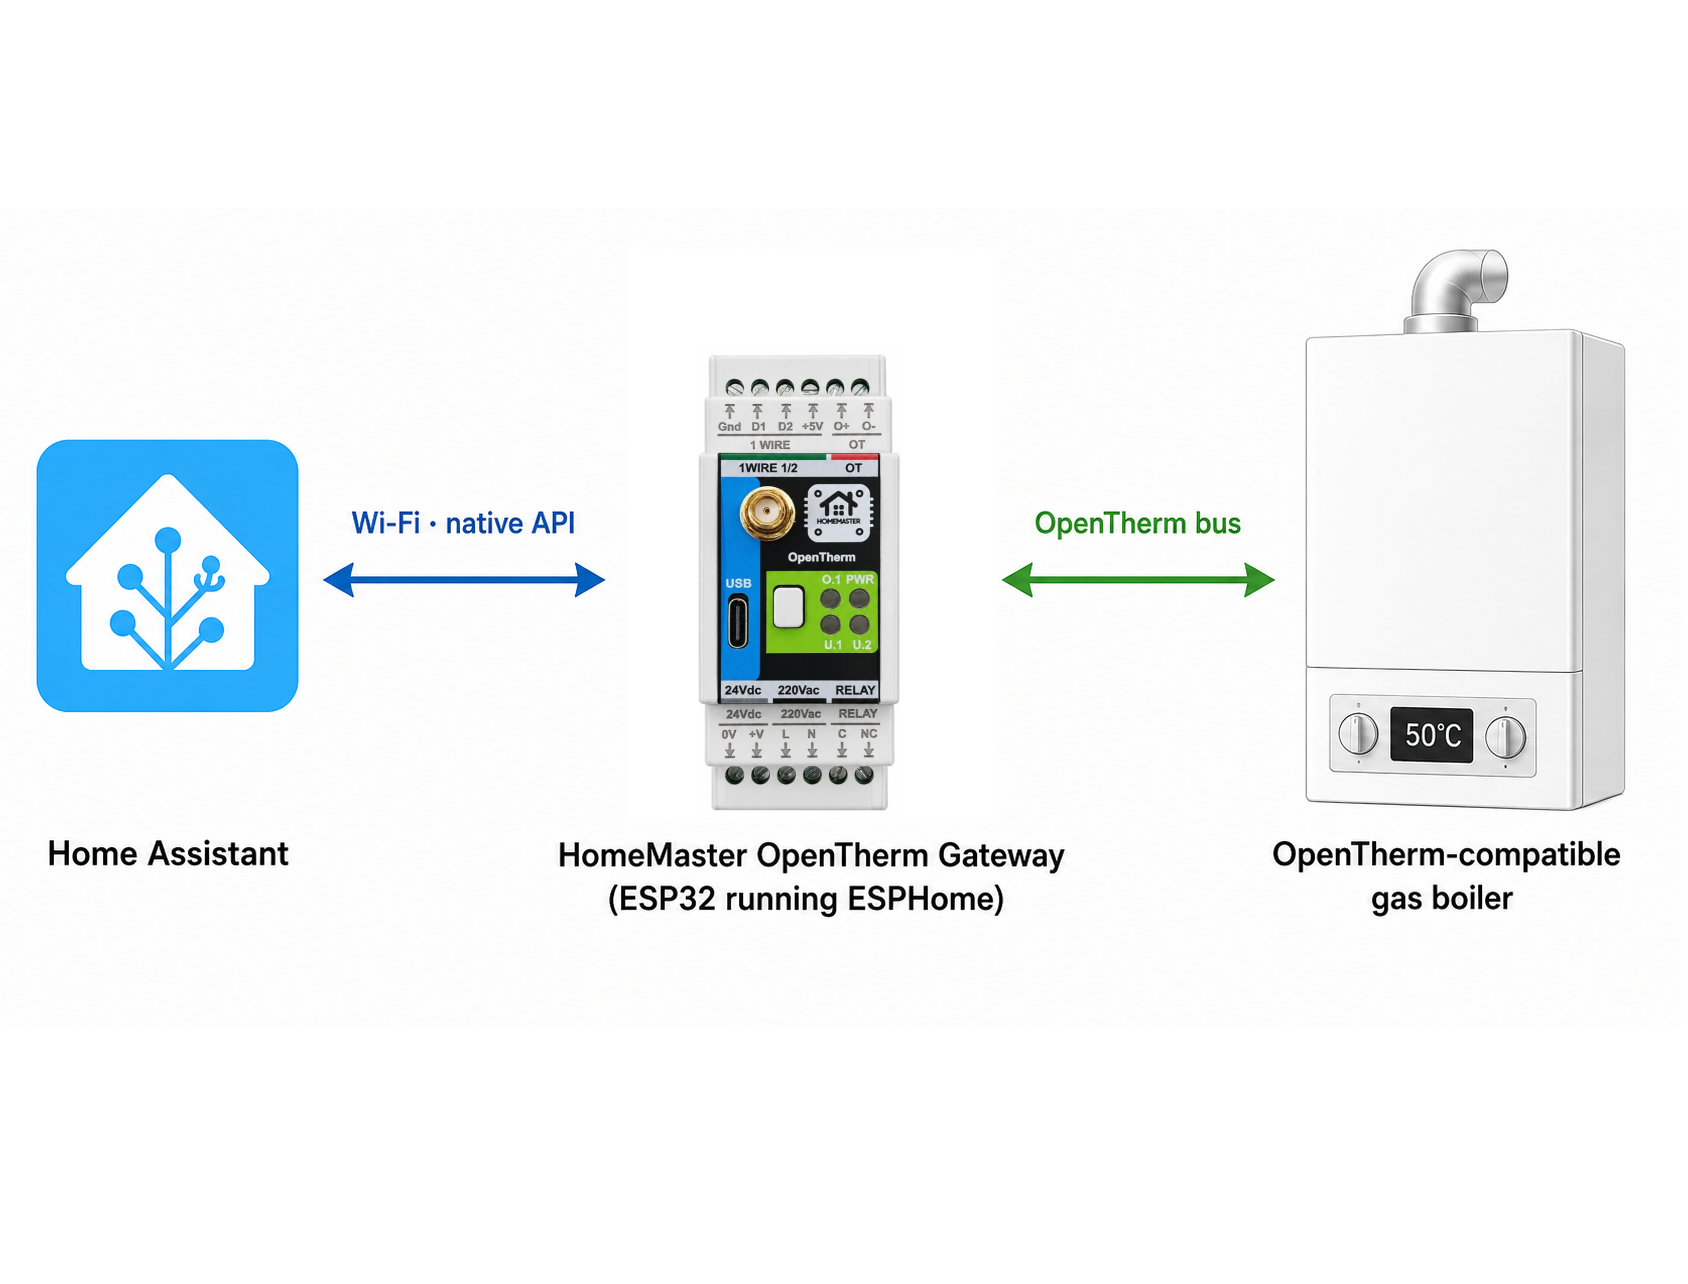
OpenTherm in ESPHome: How to Actually Control Your Boiler with Home Assistant
A relay thermostat gives Home Assistant one command: heat, or don't. OpenTherm turns that into a conversation — you ask for a flow temperature, the boiler tells you what it is doing. Here is how that looks with an ESPHome gateway, where the boiler still has the last word, and what to expect when Home Assistant goes…
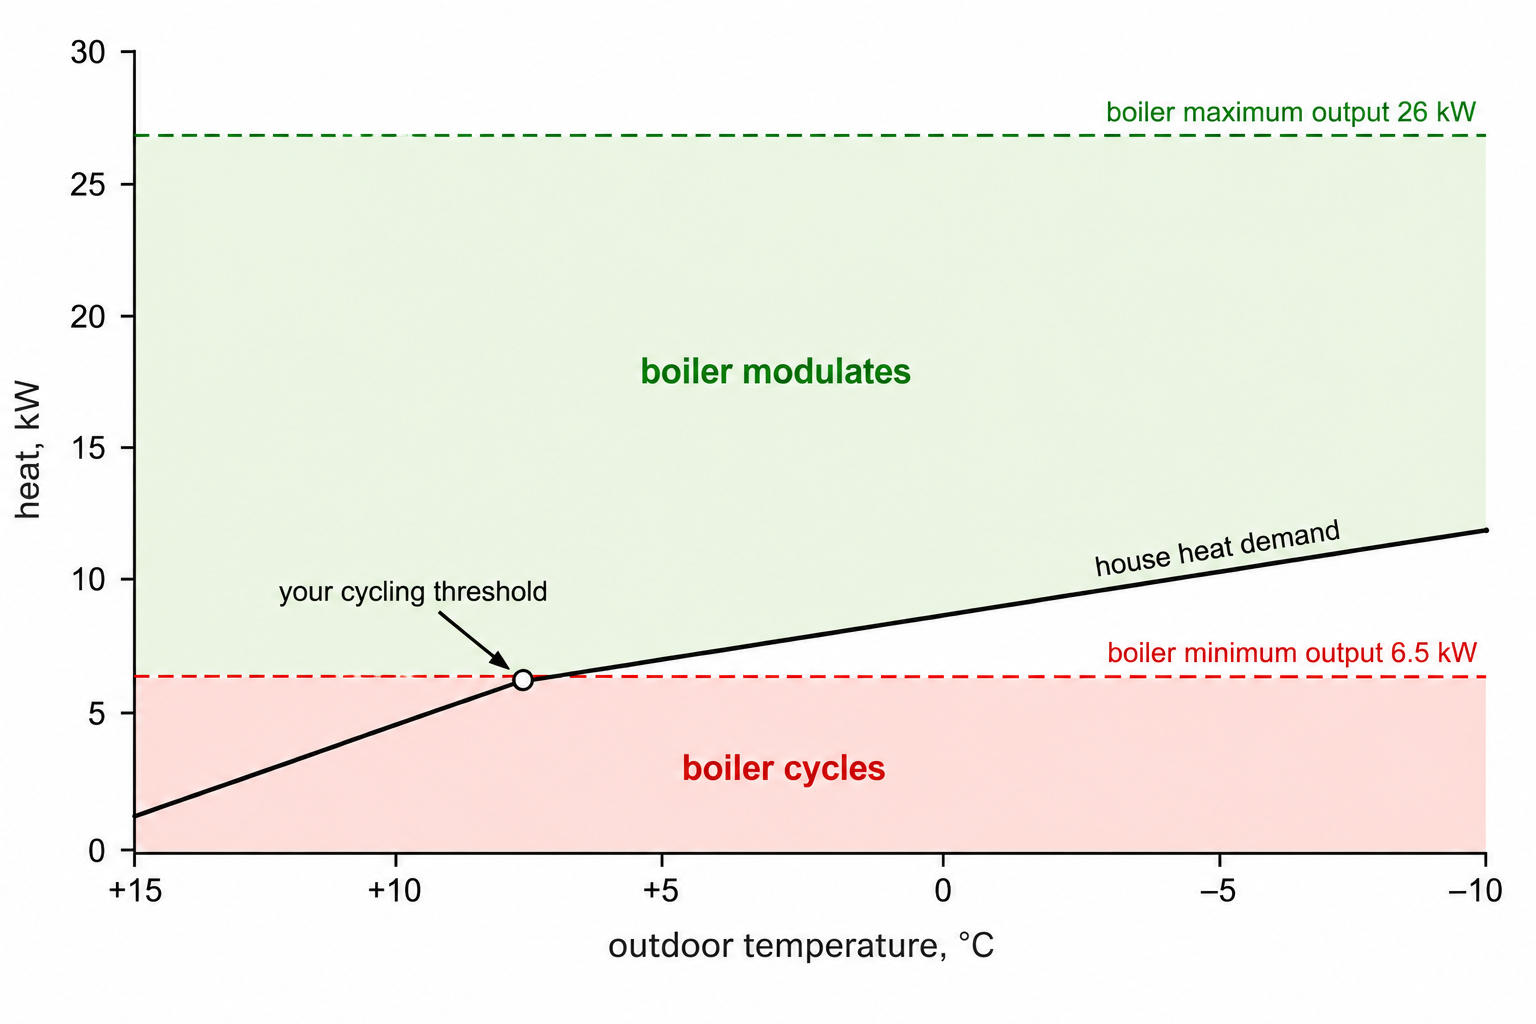
OpenTherm Doesn't Stop Short Cycling: The Boiler Minimum-Output Problem
People put a boiler on OpenTherm, connect it to Home Assistant, and in October the burner still starts every few minutes. The gateway is not broken and neither is the boiler. The house needs less heat than the boiler can produce at its lowest setting, and no protocol changes that number. Here is where the floor is,…
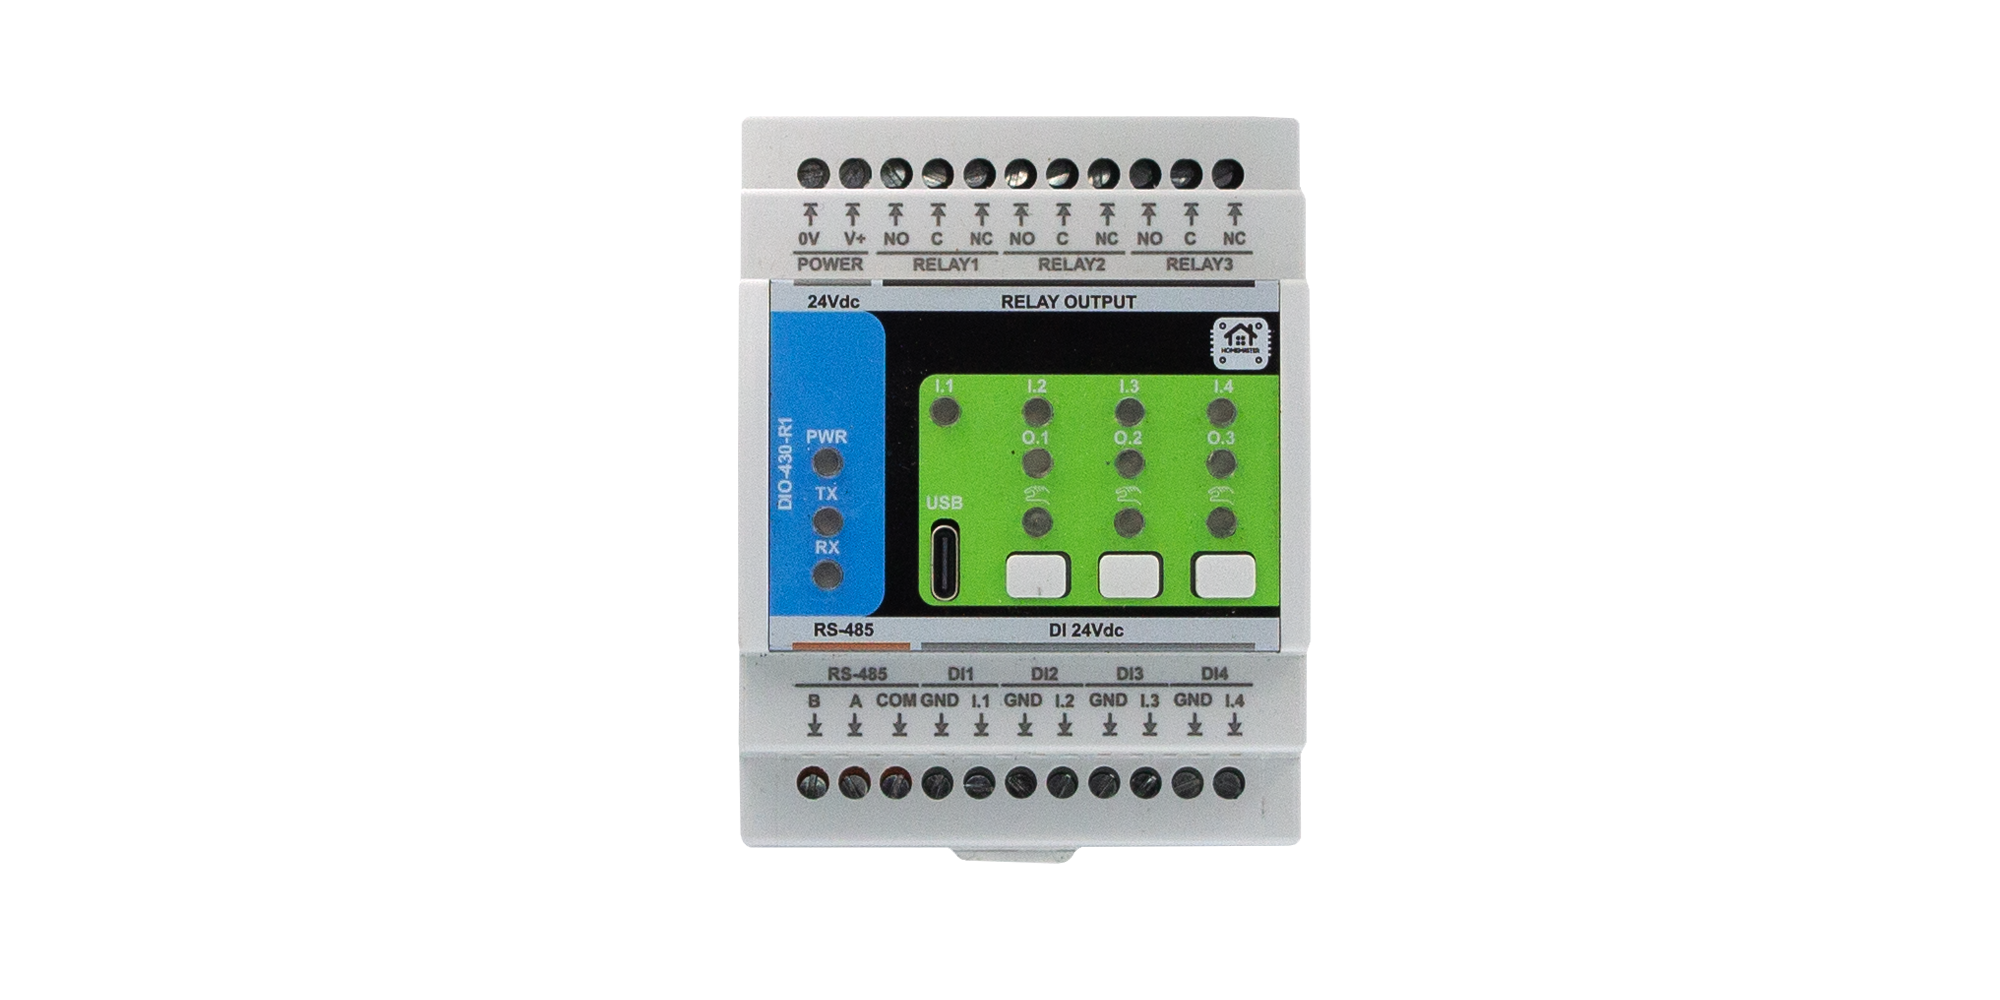
Driving Roller Shutters from Home Assistant with a Relay Pair and Interlock
A shutter motor has two windings and one absolute rule: never energise both at once. Everything else about automating shutters — the buttons, the timing, the position in the app — is built on top of that rule being enforced by something that cannot forget it, which is not the same thing as being enforced by an…
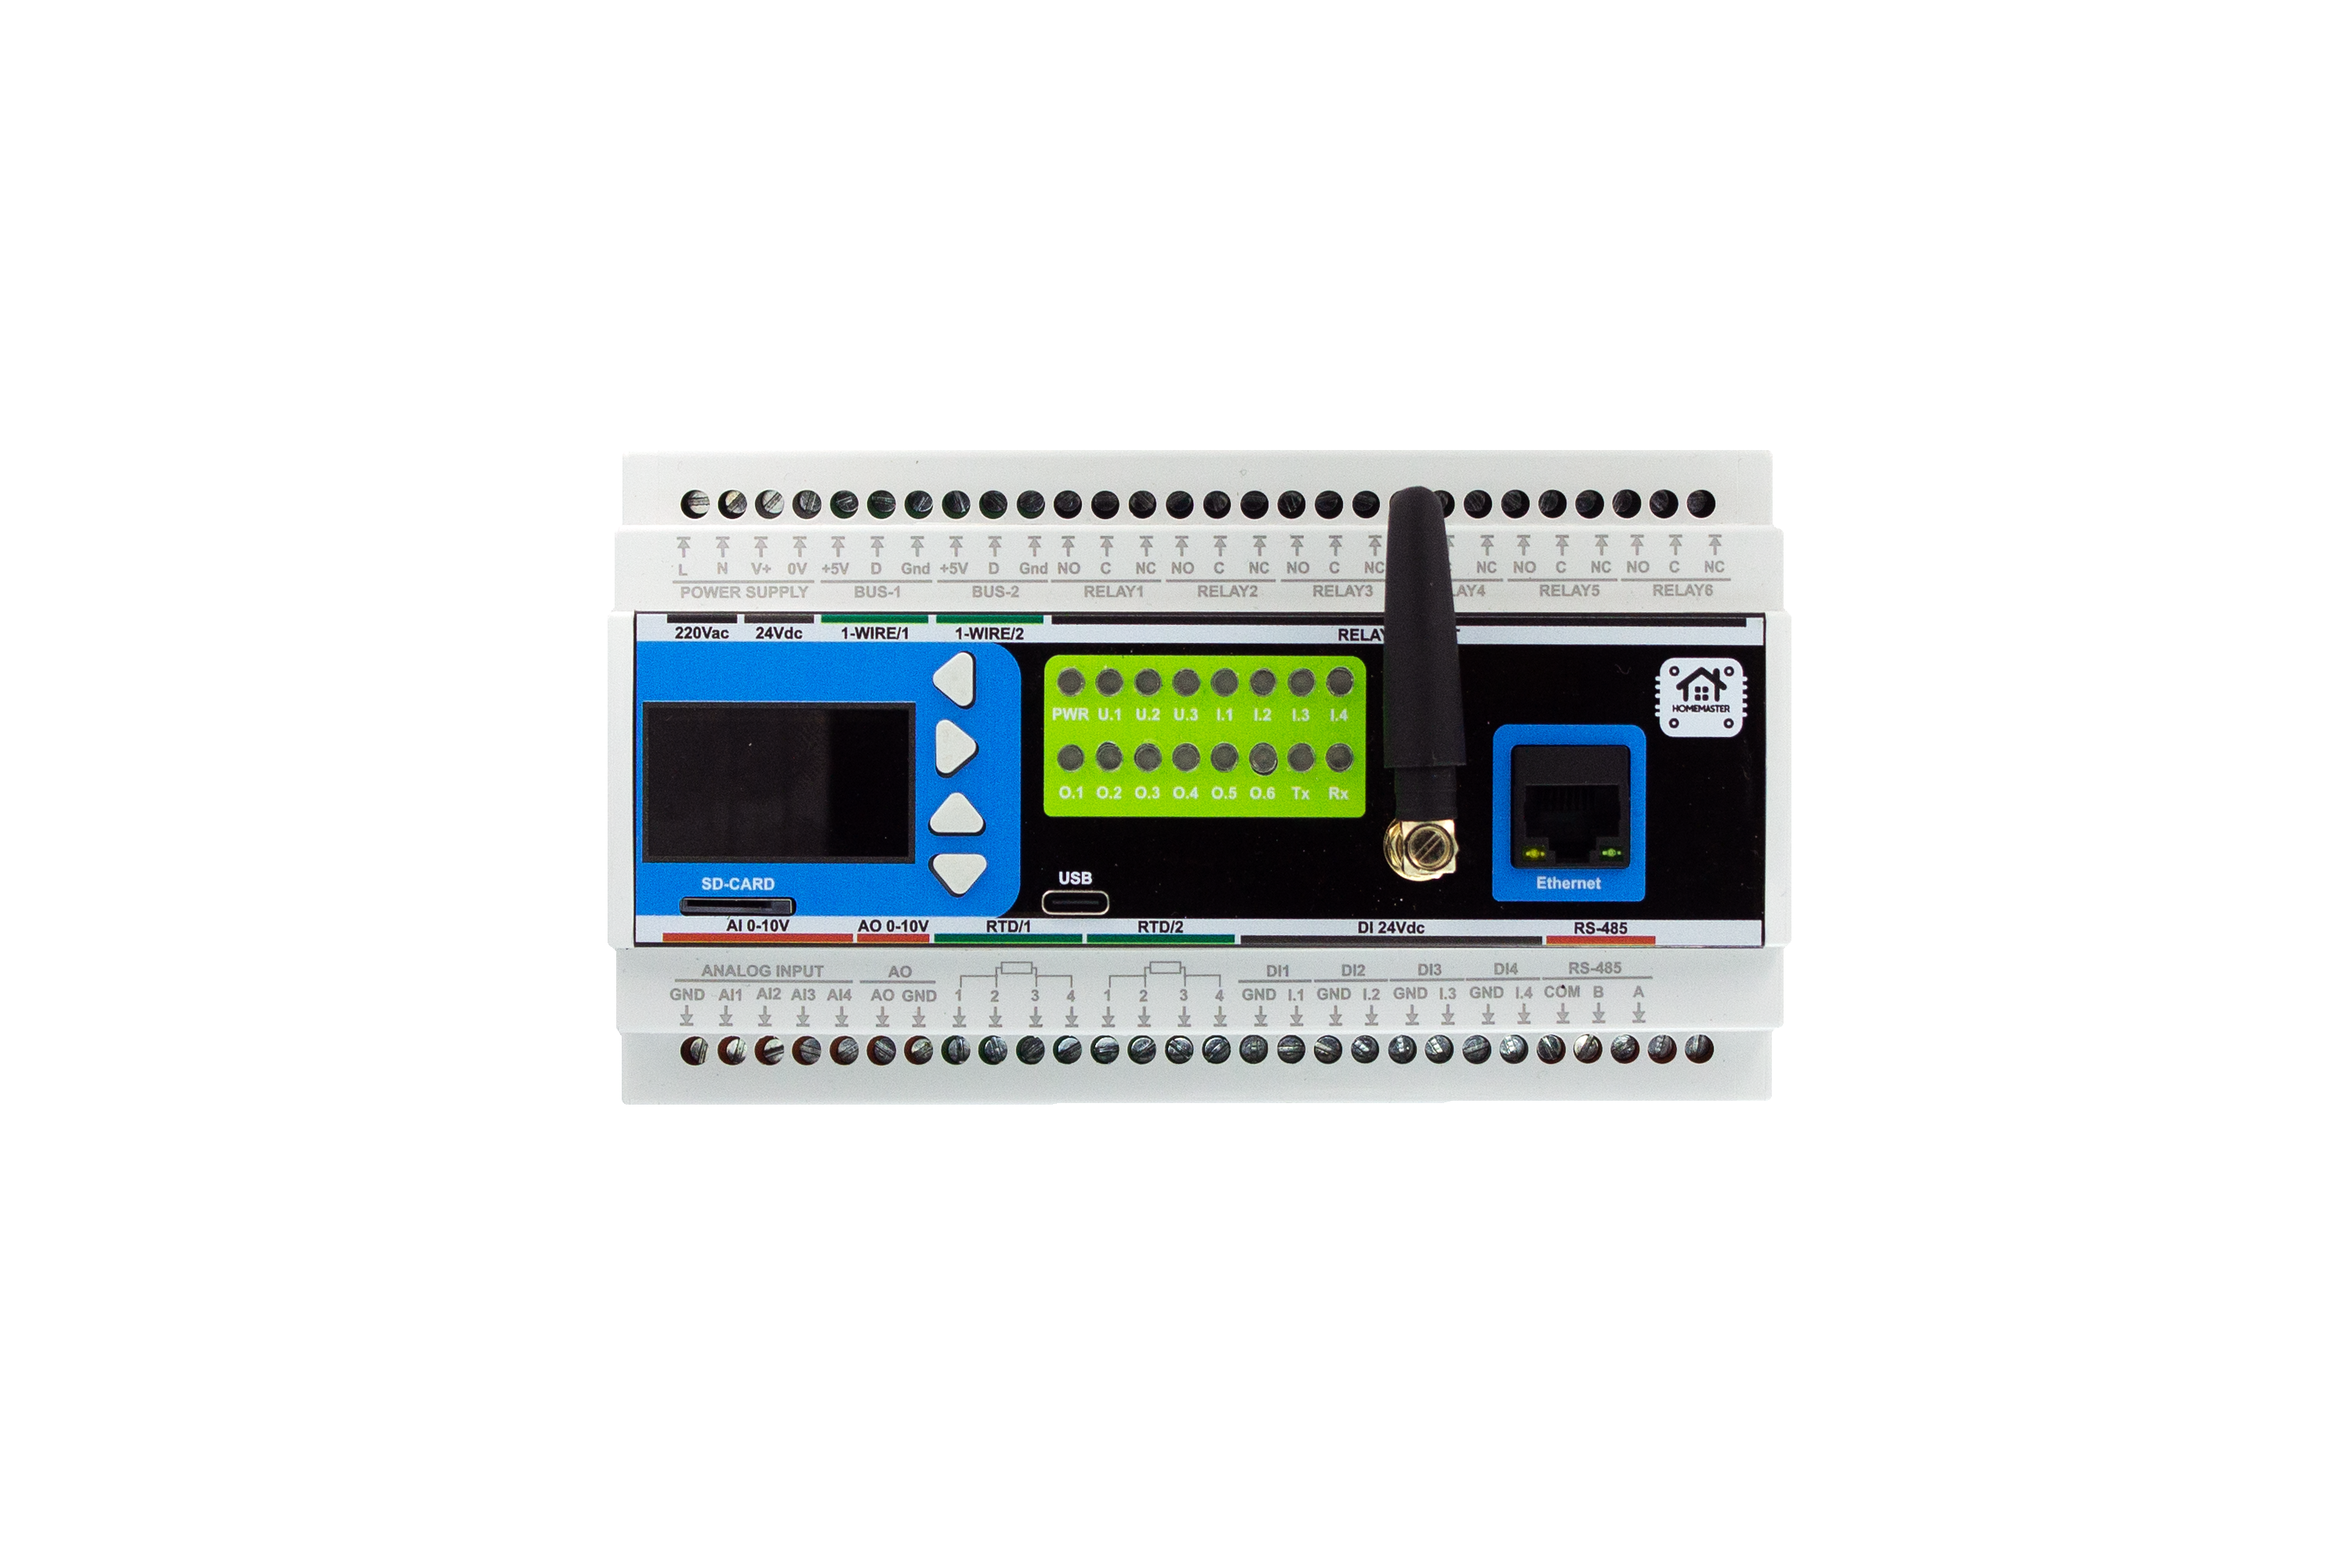
How to Wire a New House for Home Assistant — Before the Walls Close
There is a window of a few weeks, between first fix and plaster, when a cable costs almost nothing and afterwards costs a wall. Everything on this page is about what to put in the walls during that window so that the smart part of the house is a decision you can still make later — and change your mind about twice.

What a Wired Smart Home Actually Costs: One Bus vs a Device in Every Box
Every comparison of wired and wireless automation turns into an argument about the price of the hardware, which is the one part of the budget that is easy to look up and the one part that decides the least. Here is where the money in a wired installation really goes, with our own list prices used as the arithmetic,…
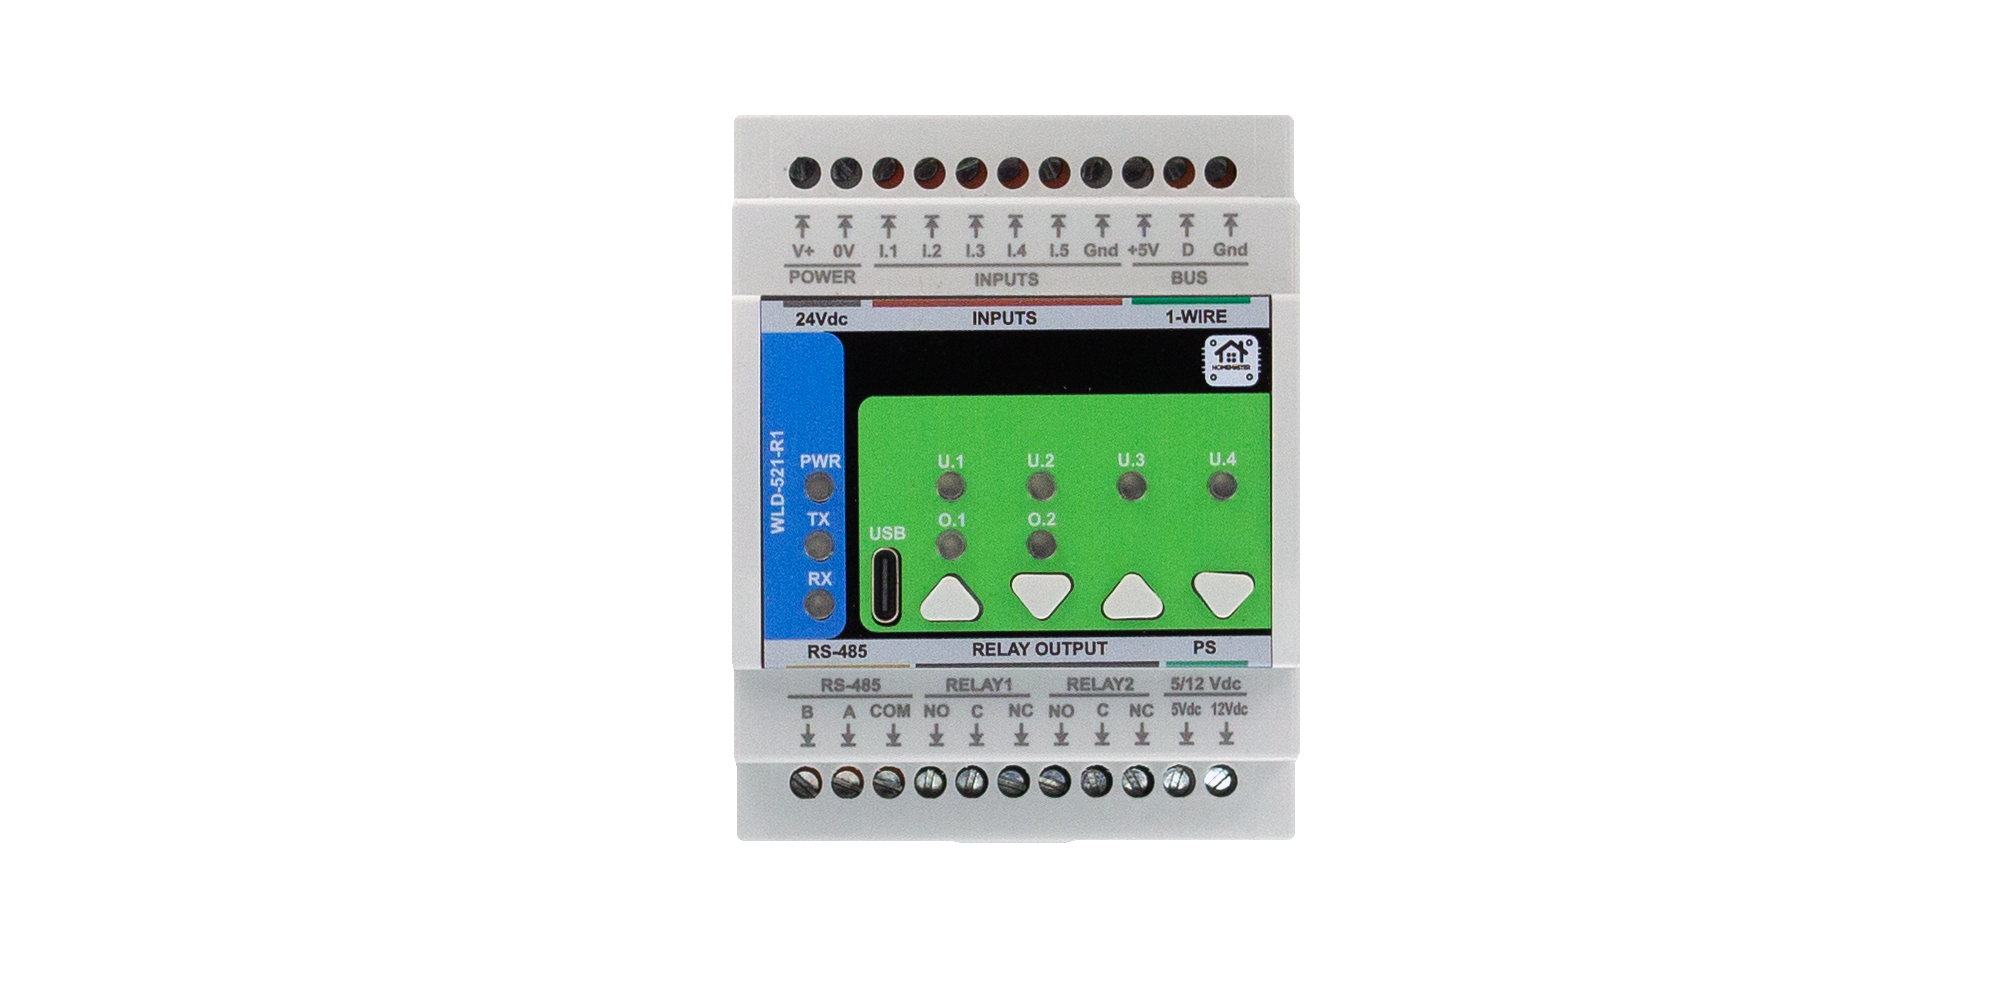
Building a Wired Water-Leak Shut-Off That Closes the Valve on Its Own
A leak system is only worth having if it can still close the valve when something else has failed. That means putting one small decision — water detected, shut the water off — somewhere that does not depend on a battery, a radio link, a network or a server. On a DIN rail, that place is the module itself.
How Many Relay Channels You Need — and What Should Switch the Load
Two questions decide the relay part of a panel, and people usually answer only the first. How many channels: that is arithmetic. What each channel is allowed to switch: that is where the number on the datasheet gets misread, because the relay inside is rated for far more than the module is.
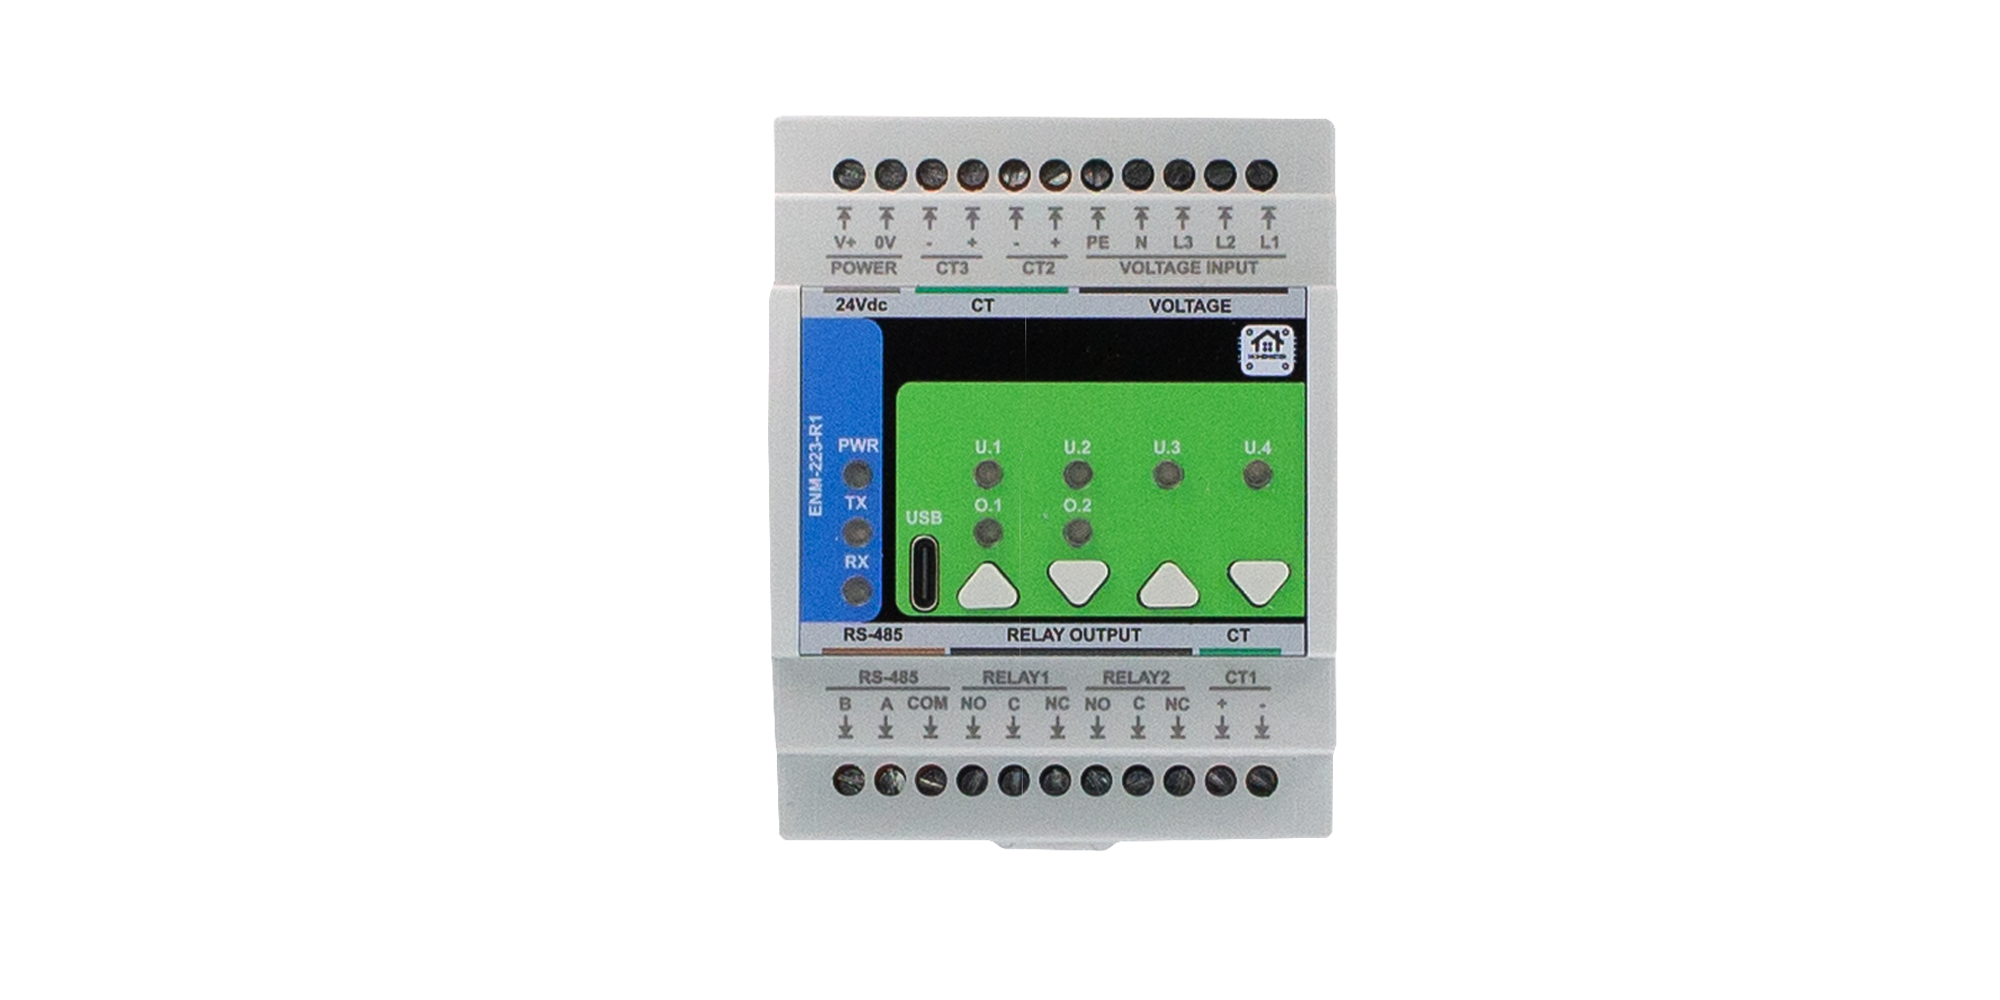
Monitoring More Circuits Than Your Panel Has Room For
A single meter on the incomer tells you that the house used electricity, which you already knew. Per-circuit metering tells you which circuit, when, and whether it is behaving — and the design question is never how to measure everything, it is which few circuits are worth a current transformer. Plus the one…
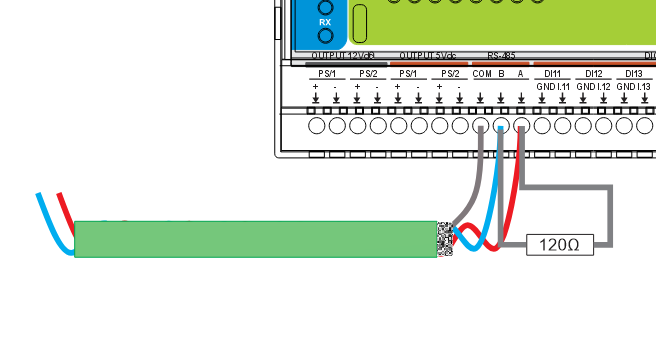
RS-485 and Modbus in ESPHome: Wiring, Termination and Why It Times Out
A Modbus bus either works perfectly or does not work at all, and the difference is almost never the software. It is two wires that got swapped, a common return nobody connected, two devices claiming the same address, or a terminator in the wrong place. Here is the wiring, the settings, and the fault list in the…
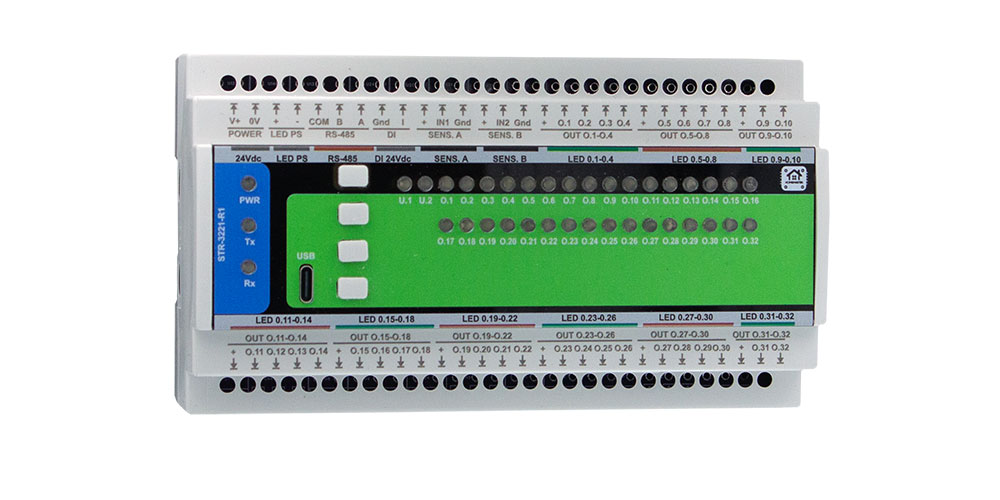
Lighting Every Stair Step Individually with Home Assistant
Lighting a staircase is easy. Lighting each step in turn, in the direction somebody is walking, dim enough at night not to wake anyone, is a different job — and it needs one output per step. Here is what that actually takes in wiring terms, and where the behaviour is decided.

What Still Works When Home Assistant Is Down
Most smart homes have exactly one place where decisions are made, so when that place goes away the house goes with it. A wired system does not have to be built that way. Automation logic can sit on the module, on the controller or on the server — and which one you choose is a question about how critical the…

Reading 4–20 mA and PT100 Sensors in ESPHome Without Guesswork
A pressure transmitter gives you a current, not a voltage. A PT100 gives you a resistance, and your cable is part of it. ESPHome makes the software easy — but the electrical interface has to be right first. Here is what actually happens between the sensor and Home Assistant, including the resistor value most guides…
How to Connect Dozens of Wired Sensors to Home Assistant Without a Wall of Boards
The first few wired sensors are easy. At thirty the cabinet starts to matter, and at sixty the architecture matters more than the individual input. This is how the arithmetic actually works: how many modules, how much DIN width, how much sensor current — and what an input really costs when you stop counting only…

What Your Boiler Really Exposes over OpenTherm — a Full Register Scan with the HomeMaster Gateway
Because the OpenTherm Gateway is open and runs ESPHome, nothing on the bus is off-limits. I swept the full 0–255 Data-ID space on a real boiler — including the manufacturer's private registers — entirely locally, with no cloud in the loop. Here's the complete map of what this boiler exposes.

Weather-Compensated Heating with the HomeMaster OpenTherm Gateway
Turn the factory OpenTherm Gateway config into a weather-compensated controller: the boiler's water temperature follows an outdoor-reset curve, gets trimmed by a room thermostat, and a relay opens the upper-floor zone — all local in Home Assistant, mostly native ESPHome components.

HomeMaster Completes EMC, LVD and RED Conformity Assessment — Production Hardware Now Shipping
Six months ago we walked into a certified test laboratory with the whole HomeMaster system, and some early-revision boards exposed weak points under EMC and electrical-safety testing. Today every product in the lineup now ships with a signed EU Declaration of Conformity issued by HomeMaster as the manufacturer.…
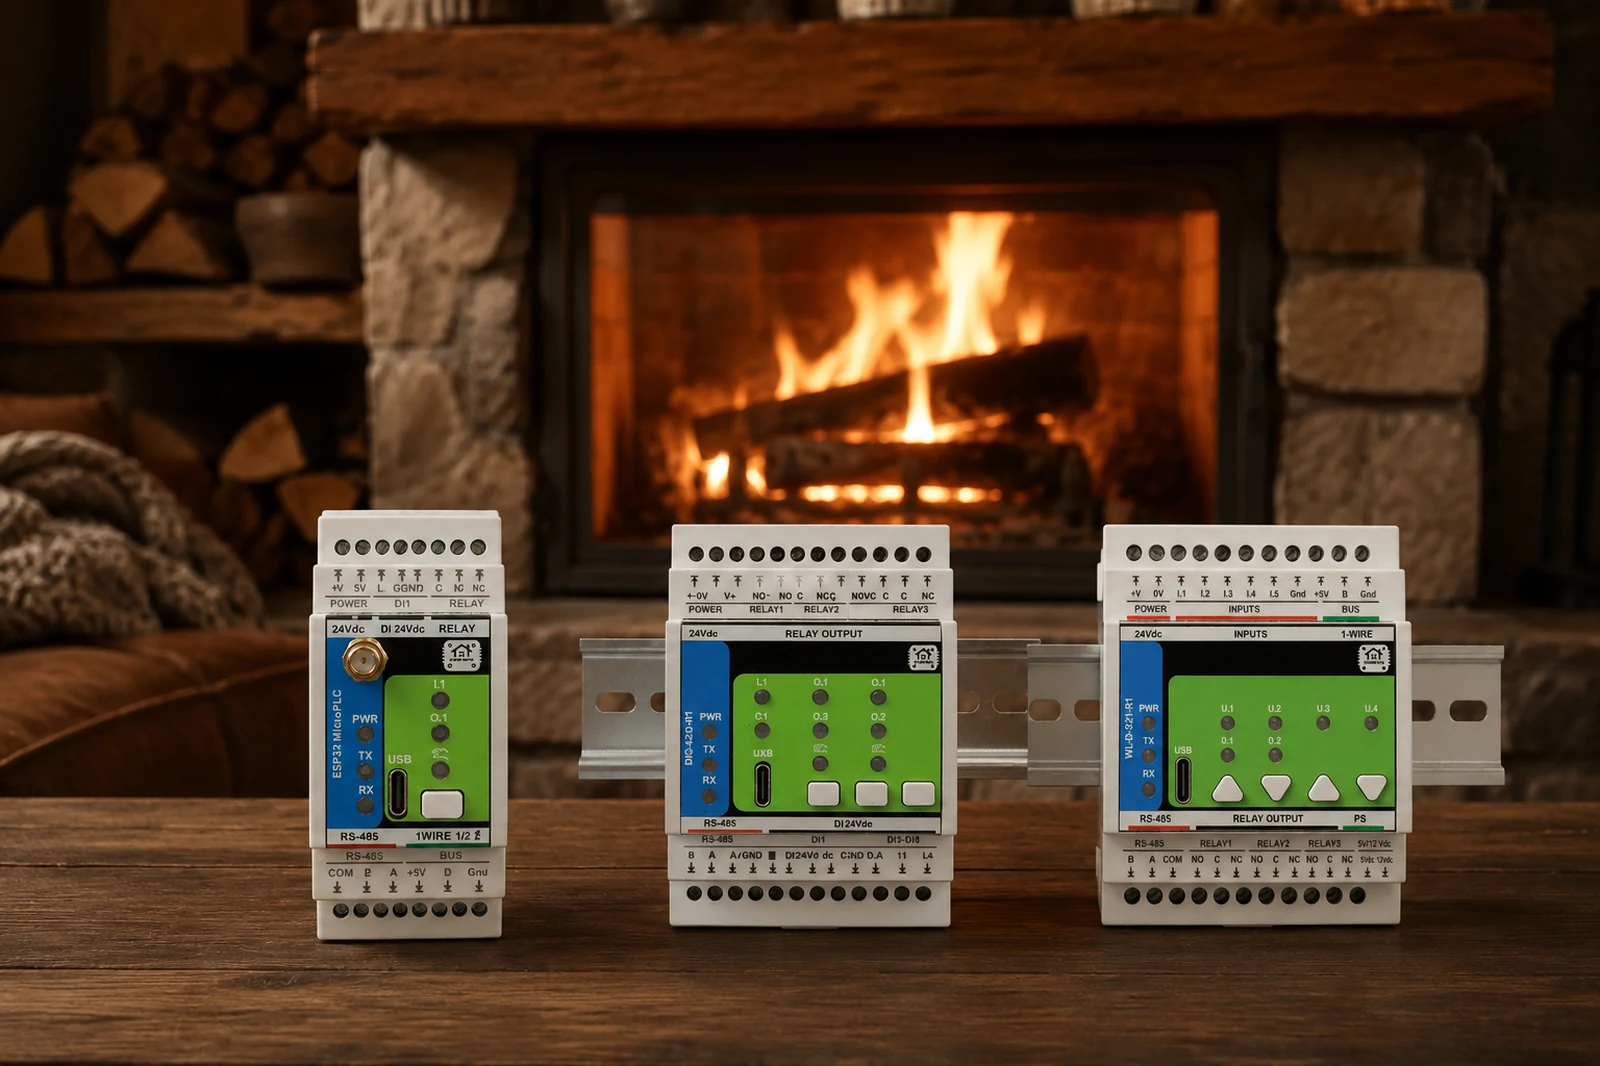
Smart Chimney with MicroPLC, ESPHome & Home Assistant
Wood-fired fireplace water-jacket automation built on a HomeMaster MicroPLC, WLD-521-R1, and DIO-430-R1 — two-pump logic, heat metering on Modbus, gas-boiler fallback, all driven by Home Assistant.

Home Assistant Automation System — Local Smart Home Control Done Right
Learn how to build and manage a smart home using Home Assistant. Discover automation logic, device integration, dashboards, and local control without cloud dependency.

ESPHome Smart Home Devices: Local Automation Without Cloud Dependency
Explore how ESPHome enables custom smart home devices with full local control. Configure sensors, relays, and automation logic using simple YAML-based firmware.
Top questions answered
The questions we are actually asked before an order, answered without marketing.
ESPHome is a firmware system that runs on ESP32 and ESP8266 devices, defining their behavior through simple YAML configuration files. Home Assistant is a smart home platform that runs on a server (Raspberry Pi, mini-PC, or NAS) and acts as the central brain that connects all your devices, automations, and dashboards. They work together: ESPHome creates smart devices with local control, Home Assistant orchestrates them into a coordinated smart home. HomeMaster modules ship with ESPHome firmware out of the box, ready to integrate with Home Assistant via the native API. You don't need to choose — you use both.
For basic installation — no. HomeMaster modules mount on a standard DIN-rail in your electrical panel, connect via screw terminals, and work with Home Assistant out of the box using included ESPHome configurations. For advanced customization (writing automations, modifying YAML, adding custom logic) — basic familiarity with YAML files and Home Assistant interface helps. We provide ready-to-use configurations for every module on our GitHub repository, so you can start immediately. For installations involving 230V mains wiring, we recommend a certified electrician.
Start with MiniPLC if you want a self-contained smart home controller with built-in 6 relays, I/O ports, temperature sensing, display, and integrated AC/DC power supply — it's a complete solution out of the box. Start with MicroPLC if you're building a modular system where the controller manages multiple expansion modules over RS-485 Modbus and you want to scale gradually — it's smaller, more cost-effective, and ideal as the brain of a multi-module installation. Both run ESPHome and integrate natively with Home Assistant. Most installations end up using MicroPLC + 2-5 expansion modules for full home coverage.
Yes — fully. HomeMaster is built on a local-first architecture with no cloud dependency. Each module runs its own logic locally, communicating with the controller via wired RS-485 Modbus. The controller (MiniPLC or MicroPLC) communicates with Home Assistant on your local network. Lighting, heating, security, and energy monitoring all continue working without internet — you only need internet for remote access (e.g., controlling your home from outside) and Home Assistant updates. Even if your router fails, the controller keeps running the logic that spans several modules, and each module keeps running the rules stored on it. Which rules survive which failure is worth deciding deliberately, and we go through it module by module in what still works when Home Assistant is down.
HomeMaster modules communicate over RS-485 Modbus RTU — a deterministic wired bus designed for the control cabinet. It gives predictable, real-time timing, works reliably over long cable runs, and is not affected by RF congestion in busy environments. Wireless links (Wi-Fi, Zigbee, Z-Wave) remain great for retrofit and battery sensors; for fixed, cabinet-based automation a wired bus keeps the core logic deterministic. Controllers still expose everything to Home Assistant over Wi-Fi or Ethernet — the wired bus is for the field layer, not for replacing your network. What that buys you once the sensor count grows is set out in connecting dozens of wired sensors. If the bus is already in and misbehaving, the wiring and termination faults are collected in RS-485 and Modbus in ESPHome.
Yes. Every HomeMaster module ships with ESPHome firmware that uses Home Assistant's native API. After installation, modules appear automatically in Home Assistant via mDNS auto-discovery. You don't need to write integration code, install custom components, or use MQTT brokers — just power up the module on your network and it shows up in Home Assistant ready to use. We provide ready-to-use YAML configurations for each module on our GitHub repository, and our online configurators help you customize behavior without writing code.
Modules that operate on low voltage (DC, sensor inputs, RS-485) can typically be installed yourself if you're comfortable with basic electrical work. For modules connecting to 230V AC mains (DIM-420 dimmer, MiniPLC AC input, AC-switching relays in DIO-430), we strongly recommend hiring a certified electrician — both for safety and to comply with EU electrical regulations. Most installations involve at least some 230V work since that's what controls your lighting and heating. We provide detailed wiring diagrams in every product manual, but the actual mains connection should be done by a qualified professional.
Standard on/off thermostats simply tell the boiler «on» or «off» — the boiler then runs at maximum power until target temperature is reached, leading to overshoot, energy waste, and noisy cycles. OpenTherm is a digital communication protocol that lets the thermostat communicate continuously with the boiler — adjusting flame modulation, water temperature, and operating mode in real time. In practice the boiler modulates instead of cycling: steadier room temperature, fewer start-stop cycles and quieter operation. How much energy that saves depends on the building, the emitters and the curve, so rather than quote a percentage we show the setup — the weather-compensated build guide walks through a real one. Our OpenTherm Gateway module brings this protocol into Home Assistant with full local control — no proprietary thermostat needed.
All 11 HomeMaster modules are CE marked. ISYSTEMS AUTOMATION S.R.L. (HomeMaster® brand) holds the technical documentation and a signed EU Declaration of Conformity (DoC) for each module, available for download on every product page. Compliance covers the EMC Directive 2014/30/EU, the Low Voltage Directive 2014/35/EU (EN 62368-1) and the RoHS Directive 2011/65/EU.
Yes — fully. All HomeMaster firmware (ESPHome YAML configurations) and hardware schematics are publicly available on our GitHub repository under permissive open-source licenses. You can fork, modify, and customize anything. We believe in zero vendor lock-in: your smart home should outlive the company that made the hardware. If we ever stop developing new products, the existing modules remain fully functional, fully documented, and fully modifiable. This is the opposite of cloud-locked smart home brands where the device becomes a paperweight when the company sunsets the product.
Yes. HomeMaster runs on a local-first architecture with no cloud servers required for operation. All firmware and schematics are open-source on GitHub. Modules use standard ESPHome firmware that the global community maintains. They communicate with Home Assistant via standard Modbus and ESPHome APIs — both are widely-supported open standards. If we disappear tomorrow, your modules keep working forever, you can still flash new firmware, and you have the full schematics if you ever need to repair or modify hardware. This is the deliberate design principle — not an accidental outcome.
DIN-rail mounting is the European standard for electrical panels — every modern home distribution board has DIN-rail slots where circuit breakers, RCDs, and other protective devices live. Mounting smart home modules on the same rail means: clean centralized installation, professional appearance, easy maintenance access, easier wiring with proper cable management, and visible status LEDs for diagnostics. Wall-mount smart switches scattered throughout a home become a nightmare to maintain — you have to unscrew faceplates and squeeze inside walls. DIN-rail centralizes everything, making your smart home maintainable for the next 20 years. What that means for a house still under construction is set out in how to wire a new house for Home Assistant.
HomeMaster modules are built for panel service: opto-isolated inputs, transient protection on the field side, high-temperature electrolytic capacitors and a DIN-rail enclosure. We started shipping in 2026, so we have no years of field data to quote and will not invent a figure for it. All modules carry a 2-year manufacturer warranty per EU regulations, with extended warranty options available for certified installer projects. Because firmware and schematics are open-source, the practical lifespan extends well beyond the warranty — you can repair, modify, or replace components long after standard warranty expires. We also publish a public firmware changelog and continue supporting older modules with security updates.
Yes — HomeMaster modules integrate seamlessly with any Home Assistant installation (Home Assistant OS, Container, Supervised, or Core). They use Home Assistant's native ESPHome integration which is built-in and requires no additional setup. After connecting a HomeMaster module to your network, it appears in Home Assistant's «Discovered devices» section automatically. You can then add it with one click and start using it in automations, dashboards, and scripts. They coexist with any other Home Assistant integrations you have — Zigbee, Z-Wave, MQTT devices, cloud integrations — all in one unified system. No conflict, no migration needed.
