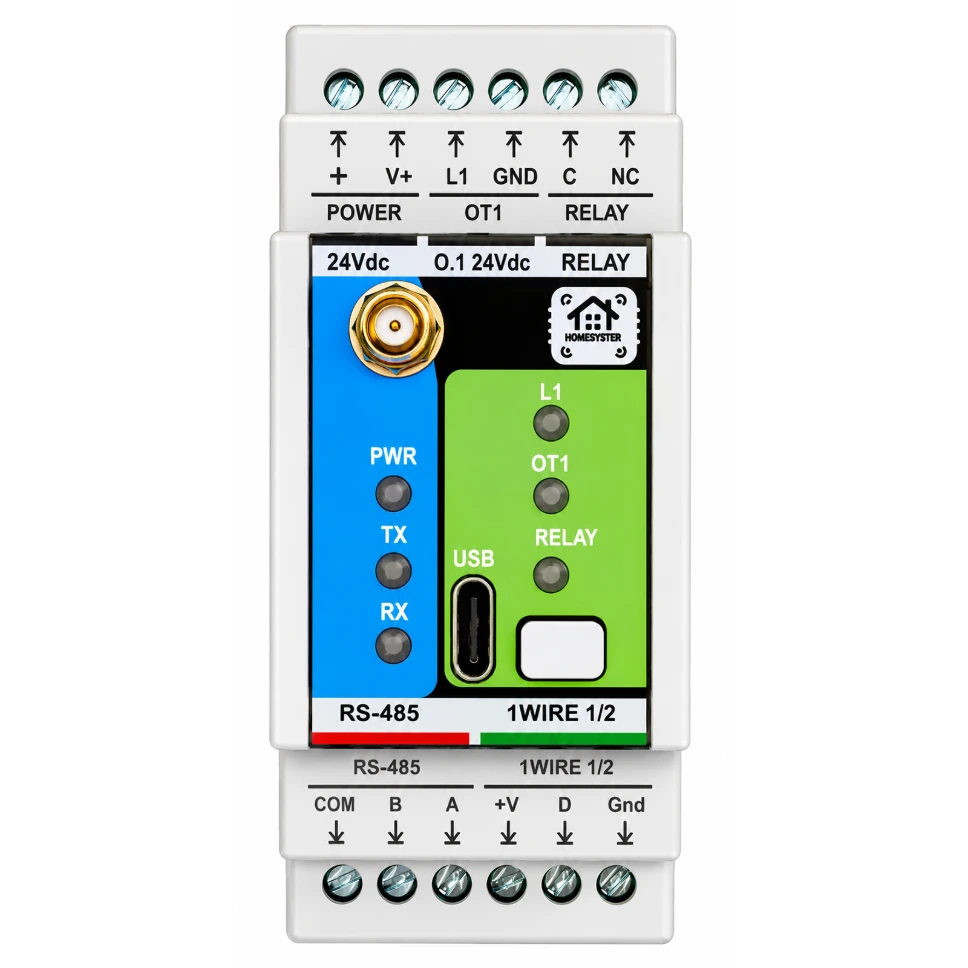
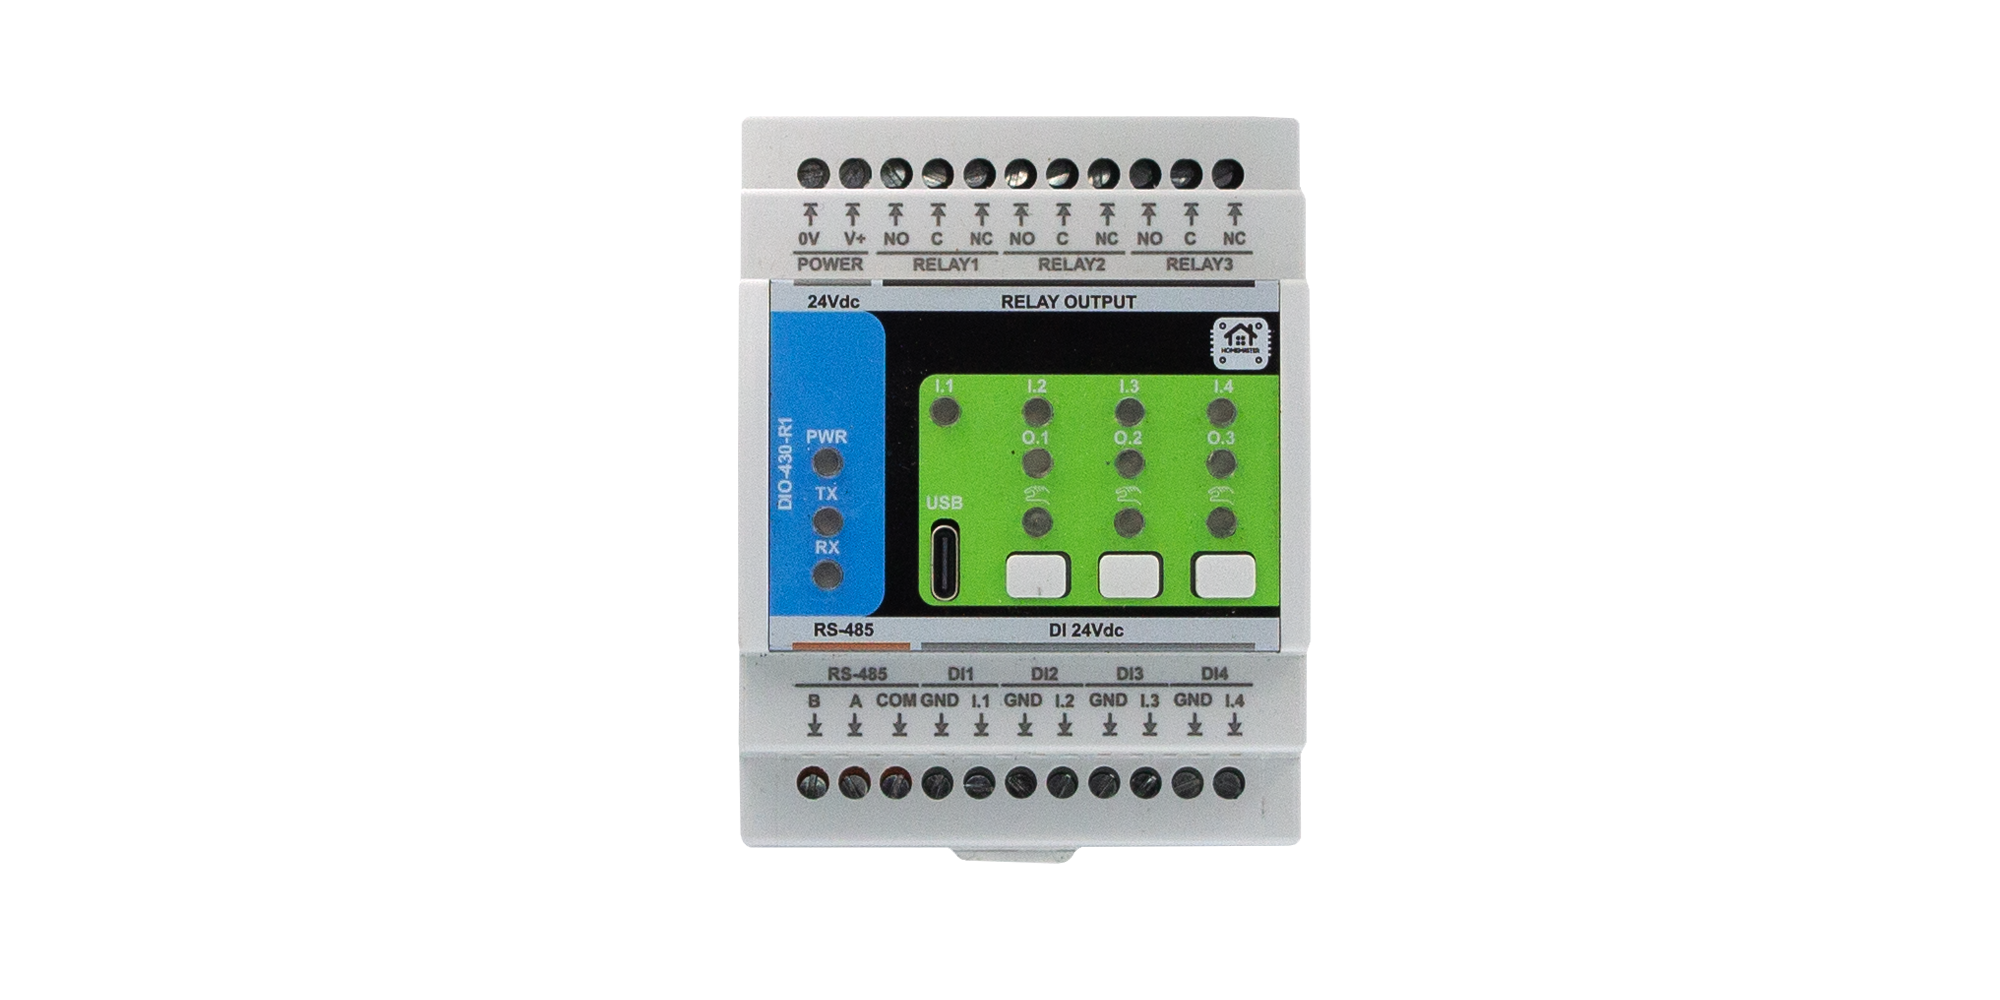
How to Wire a New House for Home Assistant — Before the Walls Close
There is a window of a few weeks, between first fix and plaster, when a cable costs almost nothing and afterwards costs a wall. Everything on this page is about what to put in the walls during that window so that the smart part of the house is a decision you can still make later — and change your mind about twice.
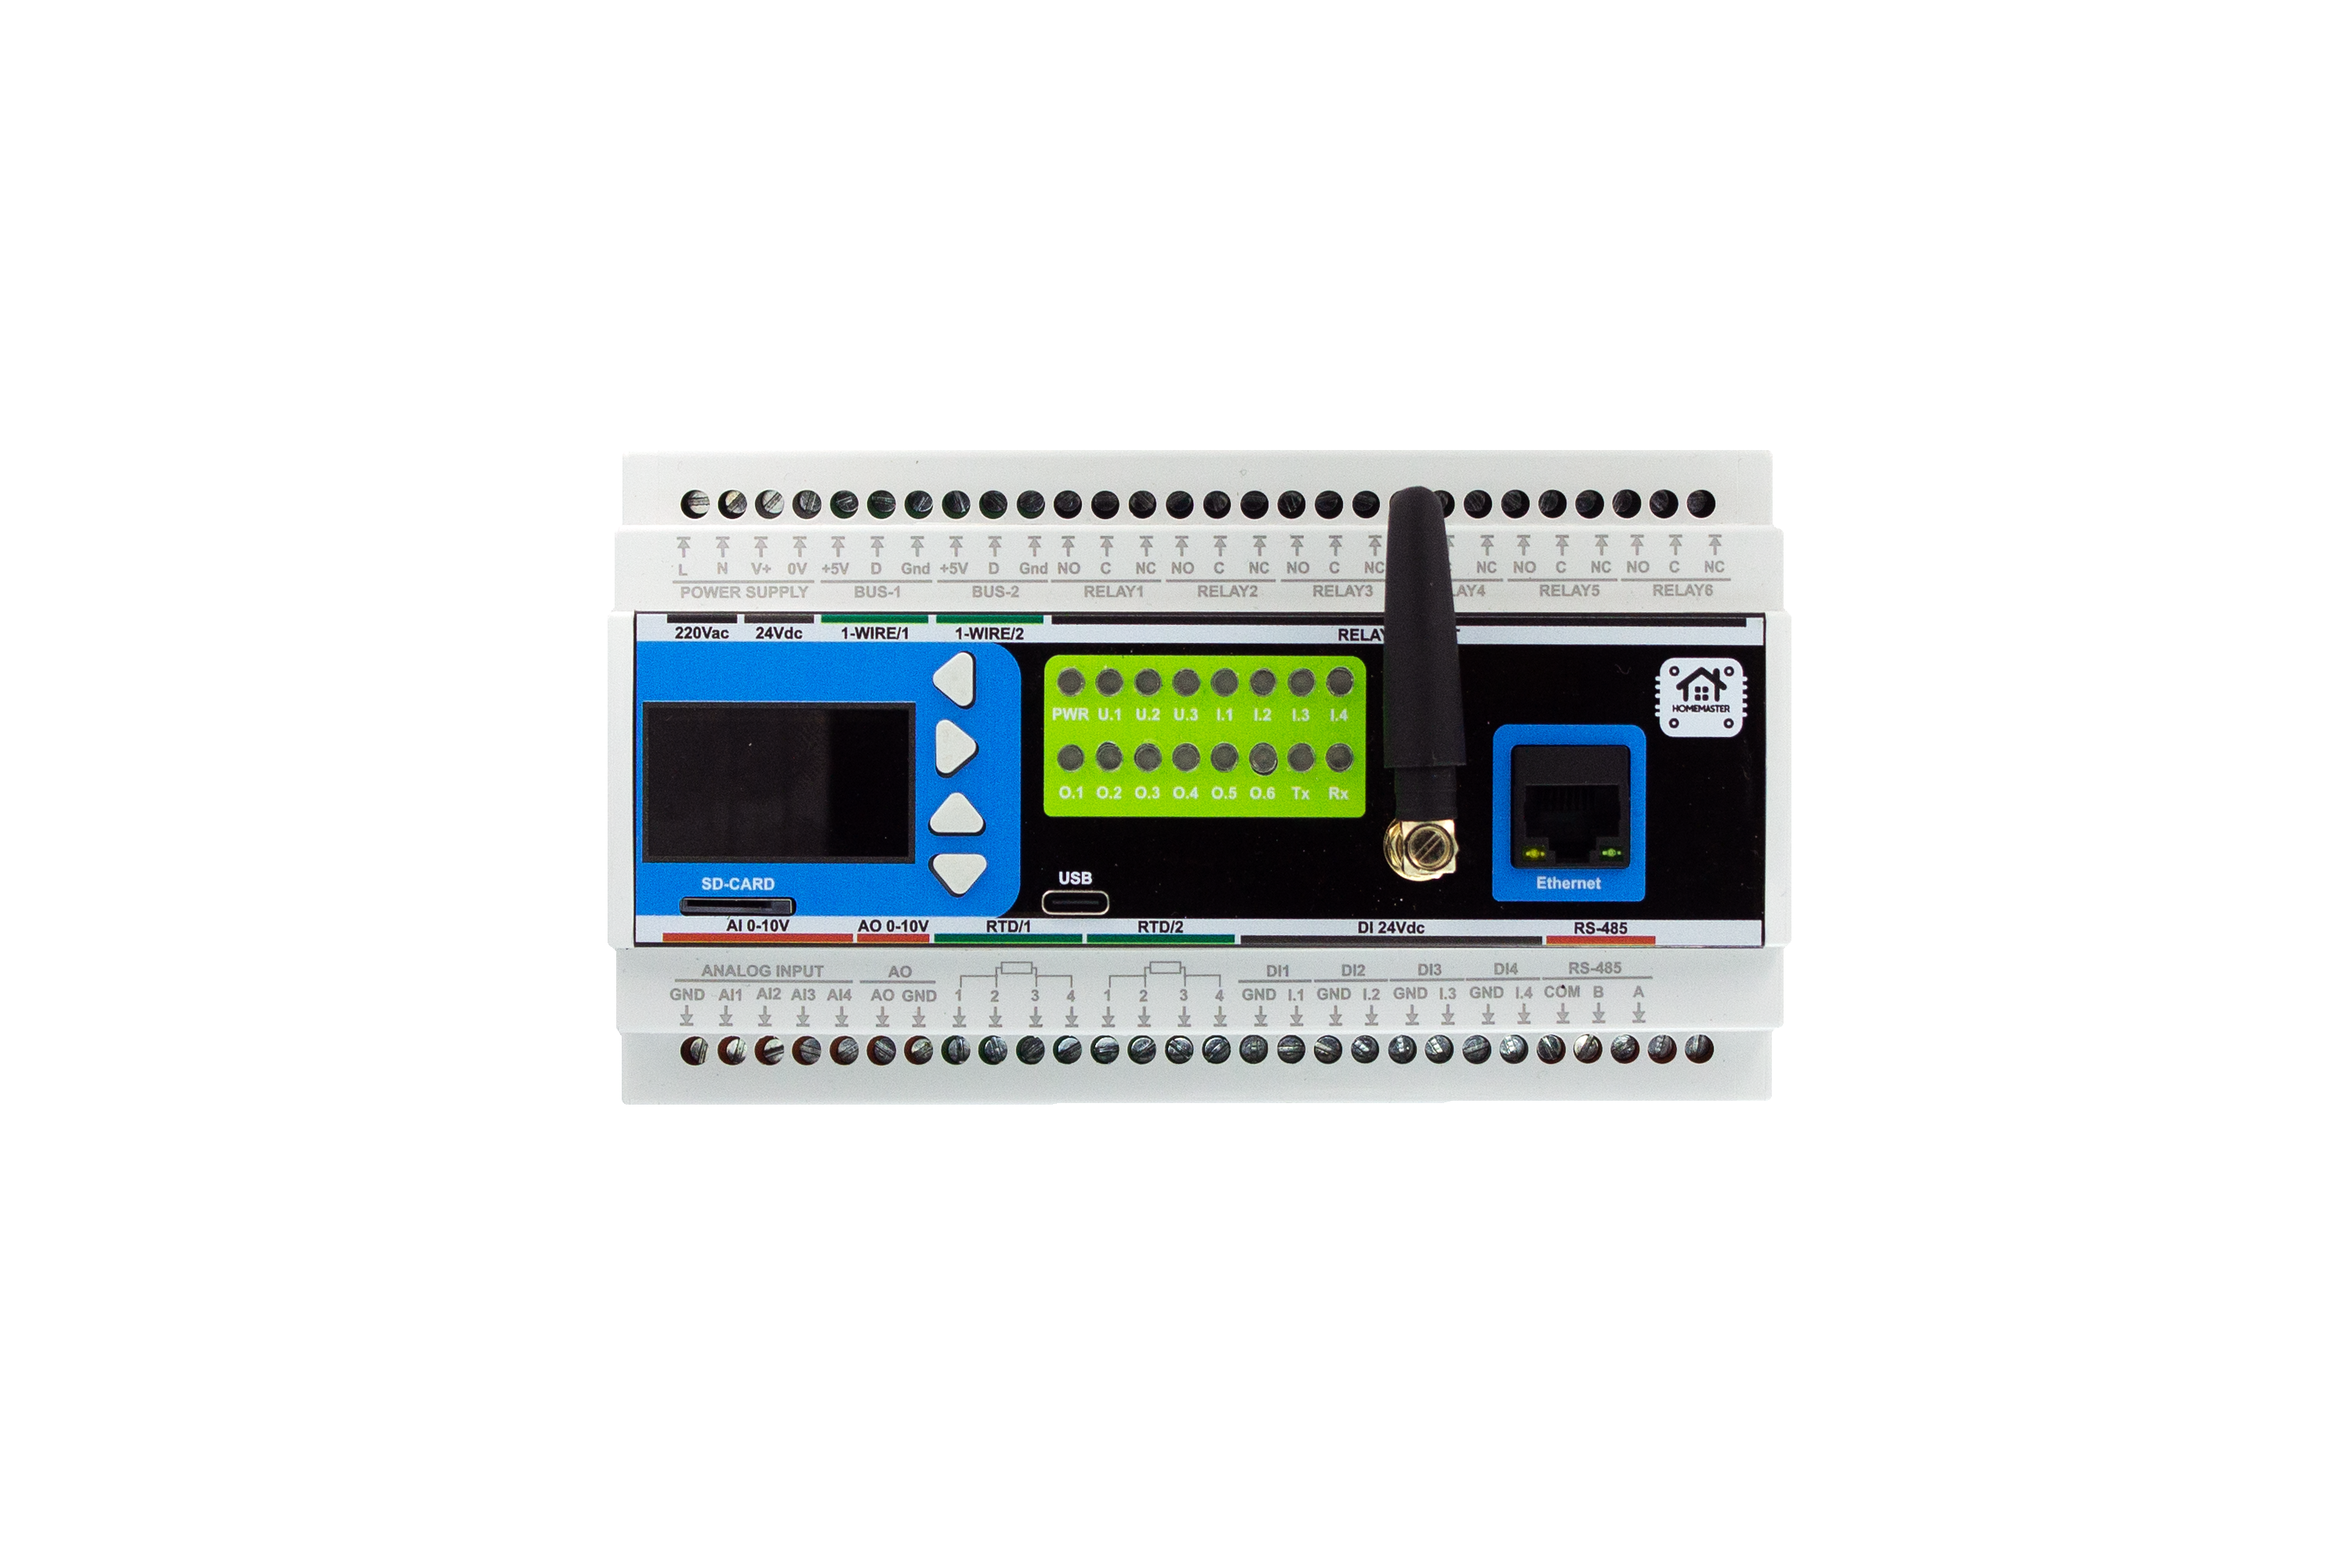
The short version. Bring every lighting and socket circuit home to one panel instead of daisy-chaining switches in the walls. Run a data cable to every place a wall switch, sensor or thermostat might ever go. Run one continuous bus cable from the panel through every room in sequence. Put a conduit into every wet area and every window with a motor. Then leave a third of the panel empty. None of this commits you to a brand, a protocol or a controller — it commits you only to having options.
1. The Window, and What Closes It
A house is wired twice. First fix is cables and boxes in open walls; second fix is the accessories on the finished surface. Between them the plasterer arrives, and after that every new cable is a chase, a repair, a repaint and an argument.
What that means for automation is specific. Three things become expensive to change after plaster and cheap before it:
- Where a circuit is switched. A conventional install switches the light at the wall, so the live loop passes through the switch box. A panel-based install switches it in the panel and runs the switch as a signal. The difference is entirely in the cable route, and the cable route is set at first fix.
- Whether a cable exists at all. A sensor with no cable to it is not a design decision, it is a battery.
- How much room the panel has. Enclosures are sized once, and the second one goes in the same cupboard or nowhere.
Everything else — which modules, which controller, which server, whether you use Home Assistant at all — can be decided or reversed later. That is the whole argument for doing this: not that a wired system is inherently better on day one, but that the cable is the part you cannot add on day one thousand.
2. The One Decision That Matters: Home-Run Everything
If you take a single thing from this page, take this one. Every load circuit goes from the panel to the load and stops there. Every switch goes from the panel to the switch and stops there. Nothing loops through anything else.
In a conventional install, a lighting circuit leaves the consumer unit, arrives at a switch, and the switched live carries on to the fitting. The switch is part of the mains path. To automate that light you have to put a device in the wall behind the switch, and now you have a device per switch, in a box, behind a plate, powered from the mains, needing a neutral that older boxes do not have.
In a home-run install the light's live comes from a relay in the panel, and the wall switch is just a pair of dry contacts on a signal cable back to the panel. Two consequences follow, and they are the reason the whole approach works:
- The intelligence is in one place — one accessible cupboard, one set of terminals, one place to test with a meter, no devices sealed behind tiles.
- Any switch can control any load — because the association between the button and the relay is configuration, not copper. Changing which switch runs which light becomes a five-minute edit rather than a rewire.
The cost is honest and worth stating: more cable, and a bigger panel. In a new build the cable is a small line on a large invoice, and the panel is a cupboard you are building anyway. What that adds up to across a whole house is worked through in what a wired smart home actually costs.
3. What Actually Runs Through the Walls
Four kinds of cable, each with a job. Sizing, protection and separation are your electrician's call under local wiring rules — this is about the routes, not the ratings.
3.1 Mains, home-run. One circuit per load group, from panel to load, no switch in the path. Lighting groups per room or per function; sockets as your electrician plans them; a dedicated circuit for anything you will ever want to meter or switch on its own — the immersion heater, the car charger, the workshop, the outbuilding. Which of these should be switched by a relay directly and which need a contactor is a real decision with a real limit behind it, covered in how many relay channels you need and what should switch the load.
3.2 Signal, home-run. This is the cable most people under-run and later regret. It goes to every switch box, every place a sensor might sit, every thermostat position, every door and window you might ever want a contact on. It carries dry contacts and low-voltage sensors, not mains. A multi-core or twisted-pair data cable in each box gives you spare cores, and spare cores are the whole point — the second button, the temperature sensor, the door contact you did not think of. Getting dozens of these back to one place without turning the panel into a bird's nest is its own subject: connecting dozens of wired sensors.
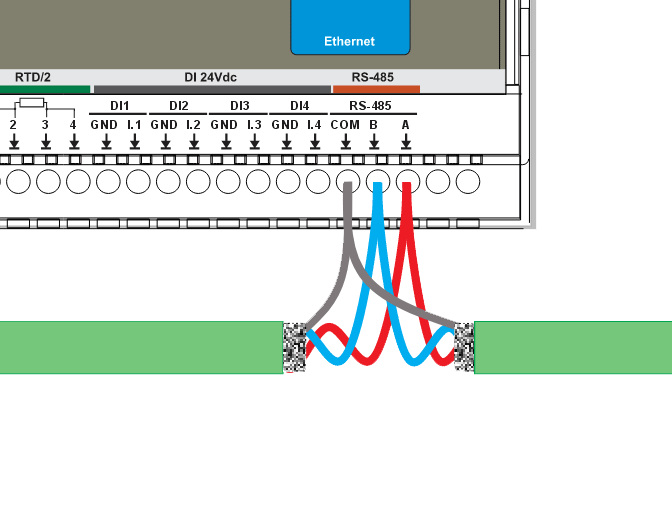
3.3 The bus. One shielded twisted-pair cable that leaves the panel and visits each room or sub-panel in sequence, ending at the last device on the line. This is the RS-485 line that ties modules together, and its topology is not a matter of taste — a daisy chain works, a star does not, and the difference shows up as intermittent faults rather than a clean failure. If you take one shortcut in this whole article, do not take it here; the failure modes and the termination rules are in RS-485 and Modbus in ESPHome.
3.4 Network. At least one run to the panel, because the controller and any server want a wired connection rather than a hopeful Wi-Fi link. Then whatever the house needs for access points and fixed devices. Wi-Fi is for phones and laptops; it is not a foundation to build a house's automation on.
4. The Panel Is the Building, Not the Box
The panel stops being a consumer unit and becomes the machine room. Plan it as a space, not as a component.
Put it somewhere you will actually go. Not the loft, not behind a fitted wardrobe, not in an unheated garage. Modules are indoor devices — IP20, 0 °C to +40 °C — and they belong in a dry, ventilated, reachable enclosure. A utility room or a hall cupboard is right. Somewhere you have to move boxes to reach is not.
Count DIN units, then add half again. Every module, every breaker, every RCD, the power supply, the controller, terminal blocks, and the empty space you will need in three years. The most common regret in a panel-based house is a panel that was exactly big enough on the day it was commissioned.
Feed it properly. The low-voltage side wants its own DIN power supply with headroom, not a wall adapter dangling off a socket. Sensor rails and module supplies are a budget you can add up in advance rather than discover.
Label at first fix, not at commissioning. Every cable gets a tag when it is pulled. Forty unlabelled greys in a trunking is a day of work with a continuity tester and a helper shouting from the other end of the house.
To turn a room-by-room list into a module count and a panel width before you buy the enclosure, the System Builder does the arithmetic directly.
5. Room by Room, at First Fix
What to pull where, assuming the home-run rule from section 2.
Every room, always: mains home-run per lighting group; a signal cable to each switch position; a signal cable to the ceiling or a high corner if a presence or temperature sensor might go there; the bus passing through if the room will ever hold a sub-panel.
Kitchen and utility. Separate circuits for the appliances you will want to meter or control — that is what makes per-circuit energy monitoring possible later rather than a rewire. The current transformers that do the measuring clip around the live conductor inside the panel, which is why this is a first-fix decision and not a gadget you add afterwards: the circuits have to arrive separately to be measured separately. The practicalities, including the fact that a module of this kind needs current-output CTs and not the 1 A or 5 A metering type, are in multi-circuit energy monitoring in a DIN panel.
Bathrooms, kitchen, boiler room, laundry. Anywhere with a water connection gets a signal cable to floor level for a leak detector, and — this is the part people skip — a cable to wherever the shut-off valve will live, with a conduit if the valve sits behind tiling or under a floor. A leak sensor that can only send a notification is a smoke alarm for water. A leak sensor wired to a valve is a repair that does not happen. The design, including what these inputs honestly can and cannot detect, is in wired water leak detection with automatic shut-off.
Windows with motors. Roller shutters need a mains cable to the motor and a signal cable to the wall buttons — and the motor's two directions are two separate windings, which is why the panel end needs a pair of relays that are physically prevented from closing together. Two relays per shutter is the number to plan around. See driving roller shutters with an interlocked relay pair.
Stairs and corridors. If there is any chance of per-step or segmented lighting, the cable for it has to be in the stair structure before it is closed, and afterwards it is impossible rather than expensive. Even a single spare run to the bottom and the top of the flight keeps the option open: per-step stair lighting.
Boiler and heating. A signal cable to the boiler position, a route for flow and return temperature sensors, and a cable to the outdoor wall for an external sensor if weather compensation is on the table. Temperature sensing has its own wiring rules — what a two-wire, three-wire or 4–20 mA sensor needs is in reading 4–20 mA and PT100 sensors without guesswork, and the control strategy in weather-compensated heating with the OpenTherm Gateway.
Outside. Gate, garage, garden lighting, an irrigation valve, a driveway sensor. Each of these is a duct or a cable that costs an hour now and a trench later. Pull them even if the landscaping is undecided — an empty conduit terminated in a box is the cheapest option you will ever buy.
6. Spare Capacity Is the Actual Deliverable
Every rule above has the same shape, so it is worth naming directly. The point of first fix is not to install a system. It is to make sure that the system you install in year three does not need a wall opened.
- Spare cores in every box. A four-pair cable to a switch box where you need one pair today is not waste, it is the second button and the temperature sensor you will want.
- Spare runs to the panel. Two or three unused cables from the panel to the far corners of the house, coiled and terminated in blank boxes.
- Empty conduit where cable cannot go. Through floors, into the stair structure, out to the garden, up to the loft.
- Empty DIN space. A third of the rail, on purpose.
- A drawn record. Photographs of every open wall before plaster, with a measurement, filed somewhere you will find them. This is worth more than any label.
None of this is exotic and none of it is expensive at first fix. All of it is the difference between "we could add that" and "we would have to open the wall".
7. What You Are Not Committing To
A common objection to wiring a house this way is that it locks you into somebody's ecosystem. It does the opposite, and the reason is worth being precise about.
What the walls contain is copper: mains to loads, dry contacts to switches, a twisted pair for a bus, and network cable. None of that is proprietary. A panel wired like this can be run by our modules and a controller, by a completely different manufacturer's, or by a bank of ordinary contactors and nothing clever at all. The house works either way; what changes is what sits on the rail.
That also decides where automation logic actually runs, which is the part most people think about last and should think about first. In our architecture a rule can live in three places — on the module, on the controller, or on the server — and which one it belongs in is decided by how badly it must survive something being switched off. A shutter interlock and a leak valve belong on the module. A rule that reads a temperature from one module and drives a pump on another belongs on the controller. Dashboards, notifications, sun-tracking and everything you enjoy having but can live without for an evening belong on the server. That model is laid out on the platform page, and what each layer actually keeps doing when the one above it dies is tested in what still works when Home Assistant is down.
The wiring in section 3 is what makes that choice available at all. Logic can only run close to the load if the load and its switch both come back to the same place.
8. The Order of Operations
- Before first fix. Decide the panel location and rough size. Walk the plan room by room and mark every switch, sensor, motor, valve and meter position. Assume you will want more than you can currently justify.
- First fix. Pull mains home-runs, signal home-runs, one bus chain, network, and the spares from section 6. Label everything as it is pulled. Photograph every wall.
- Before plaster. Walk it again with the plan in hand. This is the last opportunity, and it costs an hour.
- Second fix. Accessories, plates, buttons, sensors. The buttons are dry contacts, so the plates are ordinary plates.
- Panel build. Protection, power supply, modules, controller, terminals. Commission circuit by circuit, with the house still working as a plain house at every step.
- Automation. Local rules on the modules first — interlocks, leak shut-off, button behaviour — so the house is fully usable before any server exists. Then the controller. Then the dashboards.
Step six last is deliberate. A house that needs its server to turn a light on is a house that has a bad week when the server has a bad week.
9. The Five Expensive Mistakes
Switch loops. Wiring the lights conventionally and planning to "add smart switches later" gives you a device in every wall box, a neutral problem, and none of the benefits. This is the one that cannot be undone.
A star-wired bus. Running the twisted pair out from the panel to each room individually because it looked tidier. It works on the bench and misbehaves in the house.
A panel that is exactly big enough. See section 4.
No cable to the valve. Leak detection without a shut-off is a notification, and notifications do not arrive when you are on a plane.
Unlabelled cable. Cheap to prevent, expensive to fix, and entirely self-inflicted.
10. The Takeaway
Wiring a house for automation is not really about automation. It is about geometry: putting every circuit and every input in one reachable place so that what happens between them stays a decision instead of becoming a wall.
Home-run the mains. Home-run the signals. One bus chain, not a star. Cable to every wet area, every motor, every place a sensor might live. A panel with a third of it empty, in a cupboard you can open. Photographs before plaster.
Do that, and the smart part of the house can be built the week the plaster dries, or three years later, with modules from us or from anyone else, running logic on the rail, on a controller or on a server as each rule deserves. Do not do it, and every one of those choices is a chase and a repaint.