Replacing a Cloud Thermostat with OpenTherm in Home Assistant
Most app thermostats switch the boiler on and off through a receiver box and keep the schedule on someone else's server. If your boiler speaks OpenTherm, Home Assistant can do much more: set the water temperature, read the boiler's own data, and keep heating the house when the internet or the server is down. Here is what changes, what you need, and the two wiring mistakes to avoid.
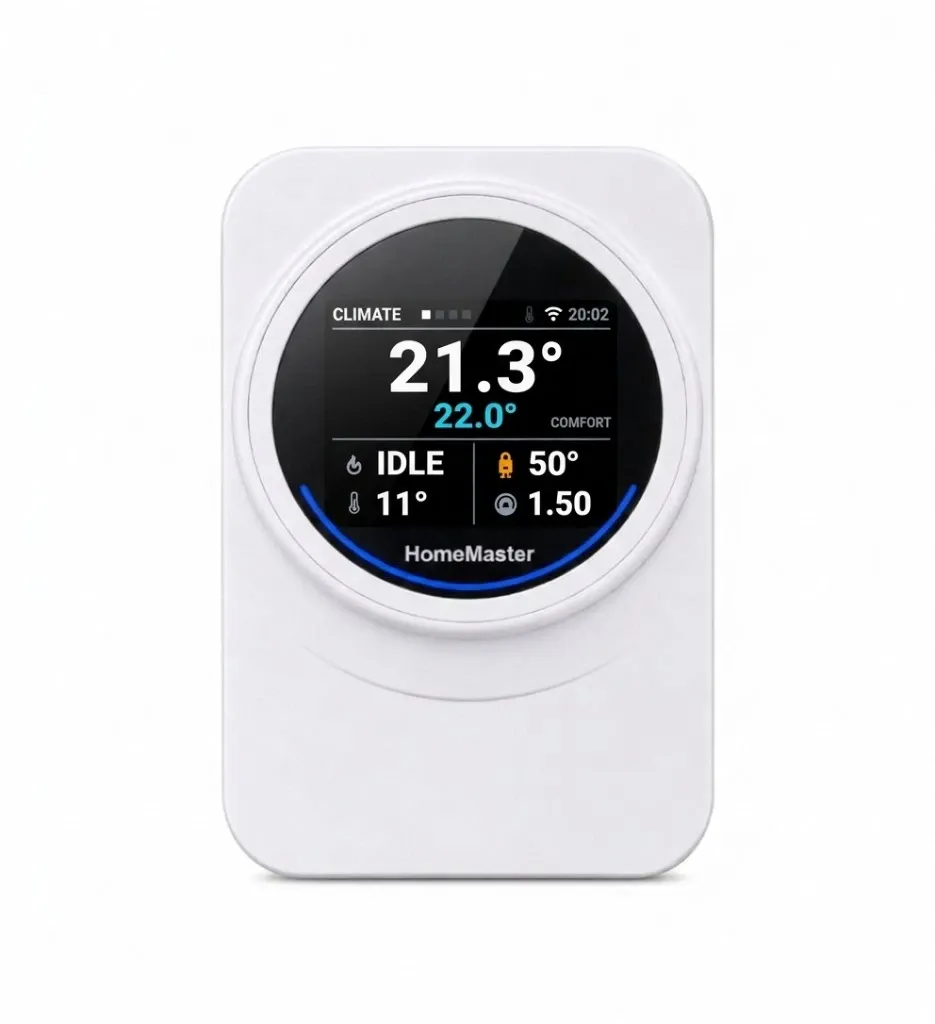
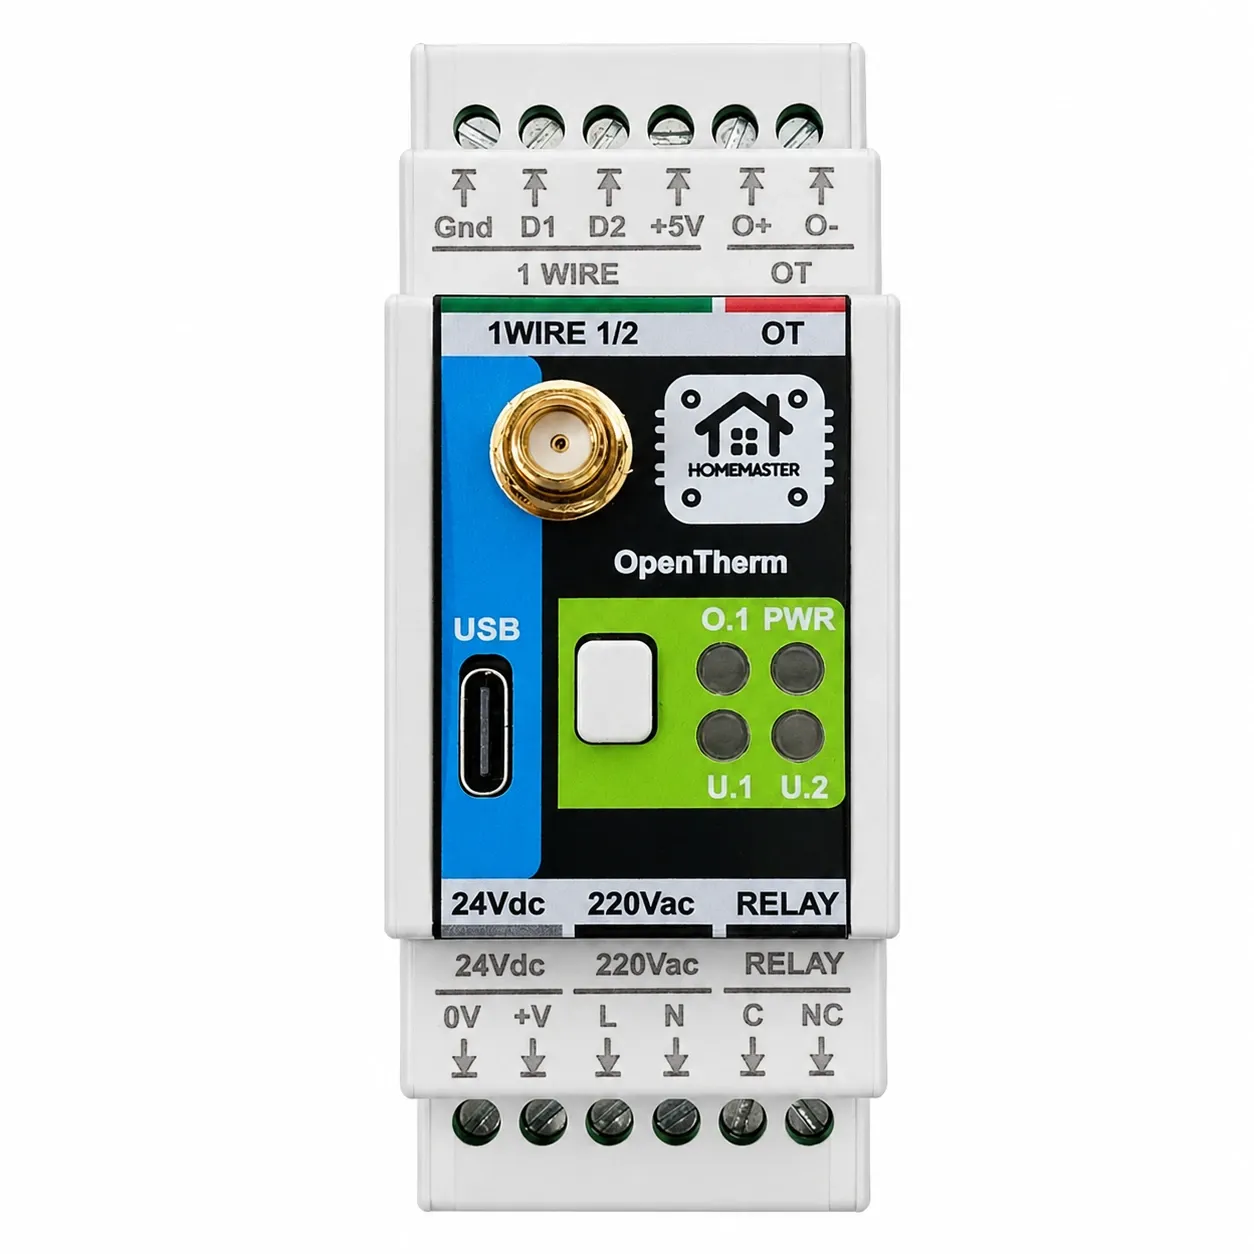
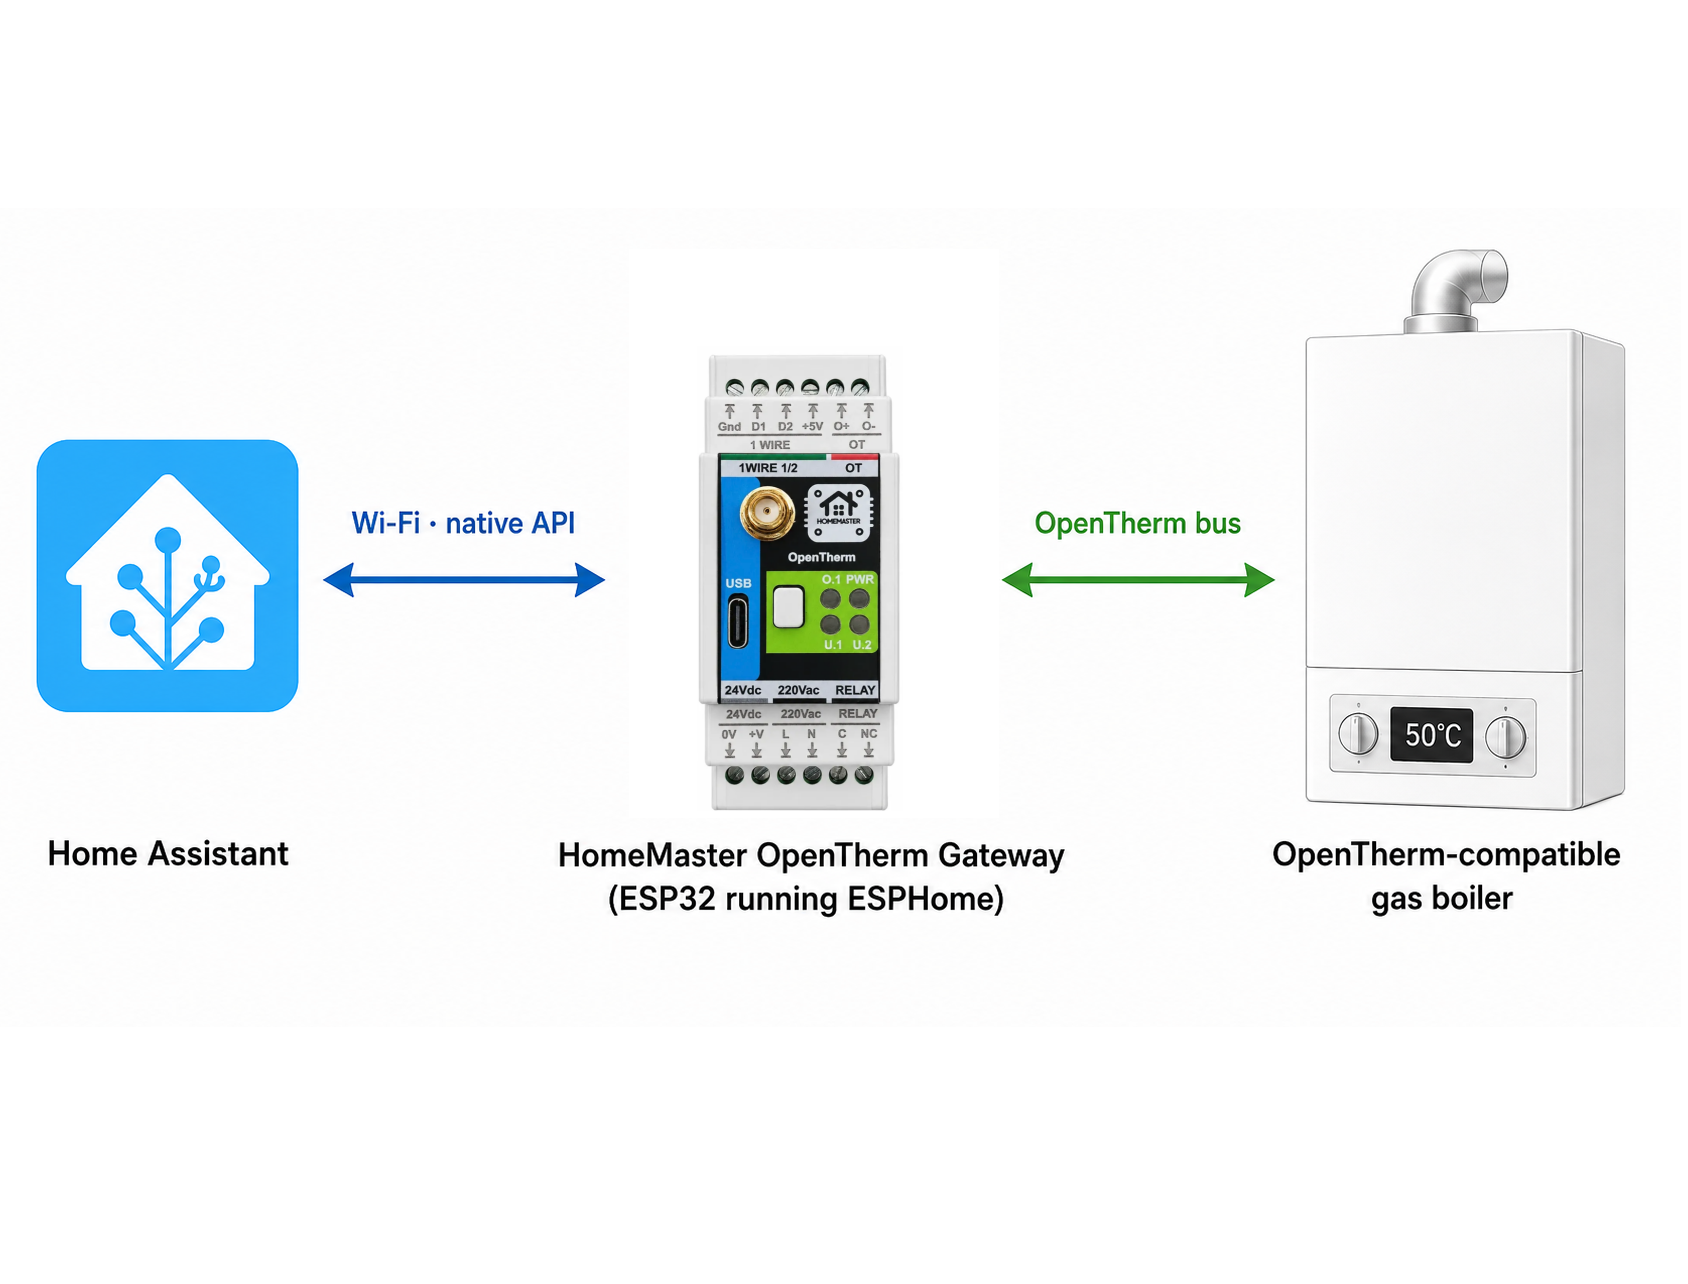
The short version. A typical app thermostat gives your boiler one instruction: on or off. OpenTherm turns that into a conversation: the controller asks for a flow temperature, the boiler modulates its burner to reach it and reports back what it is doing. To move from one to the other you need a boiler with OpenTherm terminals, one OpenTherm master on that pair of wires, and somewhere for the heating logic to live that does not depend on a cloud account. In a HomeMaster system that master is either the OpenTherm Gateway on the DIN rail or the Thermostat for OpenTherm on the wall.
1. What an App Thermostat Actually Does to Your Boiler
Open the box behind most app thermostats and you find a relay. The wall unit or the hub decides whether the house is warm enough; the receiver closes a contact; the boiler fires at whatever water temperature is set on its own dial and keeps going until the contact opens again.
That has three consequences people notice once they start looking at the data:
- The boiler cannot modulate to the house. It only sees on and off, so in mild weather it overshoots, switches off, cools down and starts again.
- The schedule lives somewhere else. If the vendor's service changes, the app stops, or the internet is down, you are back to the button on the receiver.
- Home Assistant sees very little. Usually a setpoint and a room temperature, through a cloud integration, with no view of flow temperature, modulation, pressure or fault codes.
2. What OpenTherm Adds
OpenTherm is a two-wire digital link between a room controller (the master) and the boiler (the slave). The master sends a requested flow temperature every second or so; the boiler answers with its state: flame on or off, actual flow and return temperature, burner modulation, hot-water state, water pressure where the boiler reports it, and fault flags.
In practice that gives you:
- Lower water temperatures most of the year. The controller asks for 40 °C on a mild day instead of the 70 °C on the boiler dial, so the burner runs longer and lower.
- Weather compensation without a separate outdoor sensor wired to the boiler, if you have an outside temperature in Home Assistant. See weather-compensated heating with the OpenTherm Gateway.
- The boiler's data in Home Assistant, which is how you find out whether it short-cycles. The limits of that are in OpenTherm doesn't stop short cycling.
What OpenTherm does not do: it does not make an oversized boiler smaller, and it does not override the boiler's own safety logic. The boiler always has the last word.
3. Check the Boiler First
Before buying anything, find out what your boiler actually offers:
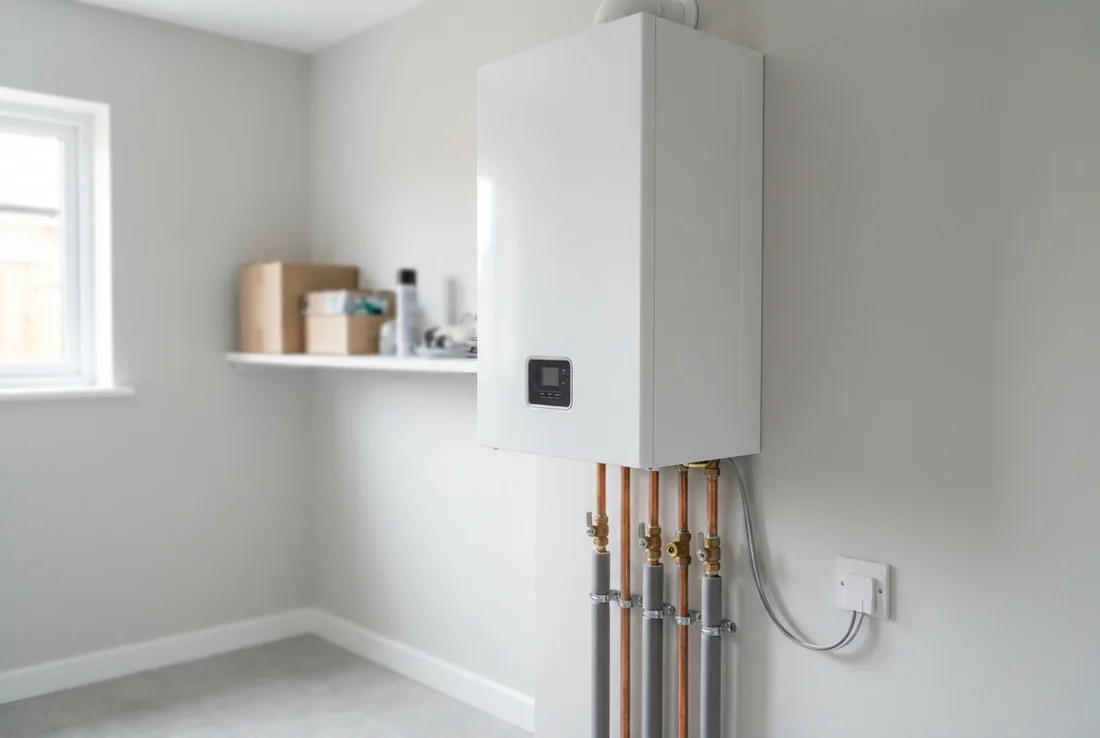
- OpenTherm terminals. Usually two low-voltage terminals marked OT, OT+/OT−, or with the OpenTherm logo, often on the same strip as the room-thermostat input. If the manual only shows a volt-free or 230 V thermostat input, the boiler is on/off only.
- A proprietary bus instead. Some boilers only talk their maker's own bus. OpenTherm will not work there; you can still switch them on and off through a relay.
- What it reports. Not every OpenTherm boiler answers every data ID. The OpenTherm register scan shows how to see exactly what yours exposes.
4. The Two Wiring Mistakes That Matter
One master per boiler. An OpenTherm pair carries one master. If the boiler maker's own OpenTherm room unit, or a receiver that speaks OpenTherm, is still connected, take it off the pair. Two masters on one boiler do not share; they fight.
The 230 V terminal next door. Many boilers put a mains-voltage room-thermostat input right beside the OpenTherm terminals. Removing an old receiver often means removing a 230 V switched live. Identify both terminals in the boiler manual before connecting anything; an OpenTherm device on a mains terminal is destroyed instantly. This is work for someone qualified to open the boiler.
5. On the Wall or in the Cabinet
Where the OpenTherm master sits changes the installation more than the result.
| Thermostat for OpenTherm (wall) | OpenTherm Gateway (DIN rail) | |
|---|---|---|
| Where | Replaces the room unit on the wall | In the distribution board or next to the boiler |
| On the device | Schedule, weather curve, boiler data and faults on a 2.8″ screen, encoder and keys | No screen; boiler data and control in Home Assistant |
| Room temperature | Built-in sensor, or any sensor from Home Assistant | Two 1-Wire inputs, or any sensor from Home Assistant |
| Power | 24 V DC, not taken from the boiler | 24 V DC or 85–265 V AC |
| Extra | 24 GHz presence radar, humidity, light | One relay output for a pump or an on/off boiler |
Both run ESPHome and appear in Home Assistant through its native API, with no MQTT broker and no cloud account. Choose by where the cable already is: if the old thermostat cable reaches the boiler, the wall unit uses it; if you are rewiring a panel anyway, the gateway sits there.
6. When the Internet or Home Assistant Is Down
This is the point of moving away from a cloud schedule. The OpenTherm master keeps talking to the boiler on its own. With the wall thermostat the schedule and weather curve run on the device, so the house heats as planned with the router unplugged. With the gateway in the cabinet, keep the essential logic on the device (a fixed or weather-compensated flow temperature) and use Home Assistant for the rest. What still works when Home Assistant is down goes through the options.
7. Step by Step
- Confirm OpenTherm terminals in the boiler manual and note the 230 V terminals.
- Remove the old receiver or room unit from the boiler; make the boiler safe while you work.
- Run a two-core cable to the OpenTherm terminals (polarity does not matter on OpenTherm).
- Power the HomeMaster device from its own supply.
- Connect it to Wi-Fi with Improv; Home Assistant discovers it.
- Set a comfort and eco temperature and a maximum flow temperature, then watch flow, return and modulation for a few days before tuning the curve.
8. What This Is Not
Not a way to make an on/off boiler modulate. Without OpenTherm terminals you get on and off through a relay, controlled locally, but no modulation.
Not multi-zone by itself. One OpenTherm master controls one boiler. Several rooms with their own temperatures need valves per room; that is a separate article.
Not a boiler repair. If the boiler short-cycles because its minimum output is larger than the house needs, the protocol cannot fix that.